10 Best Logo Design Services & Online Logo Makers [2025]
The biggest logo design service comparison ever performed
We tested all the major online logo makers and logo design platforms in search of the best new logo for Website Planet. We found a winner, and it is now the official logo for our site!


Your logo is the face of your brand, and it deserves love and attention. While you could hire a professional agency to design yours for thousands of dollars, there’s no guarantee you’ll be satisfied with the result.
Traditional design agencies are a relic of the past. By using an online logo design platform, you can receive equally good designs – if not better – much quicker and for a fraction of the cost. But with so many options, how will you know which platform’s right for you?
That’s where I come in. As a long-time graphic designer and part of the Website Planet team, I set out on a quest to find the best new logo for our site. I spent months testing all the major logo design platforms to see where I could get the highest quality for the best price. Services with intuitive interfaces, easy hiring processes, and excellent customer support earned extra points.
Only the best logo design services that met my strict standards made the shortlist. Look at the final designs below, consider each platform’s strengths, and pick one that ticks all the right boxes for you. You can also jump down to learn more about how I evaluated these logo design services and my design process. I’ll also share some advice on what makes a good logo design.
-
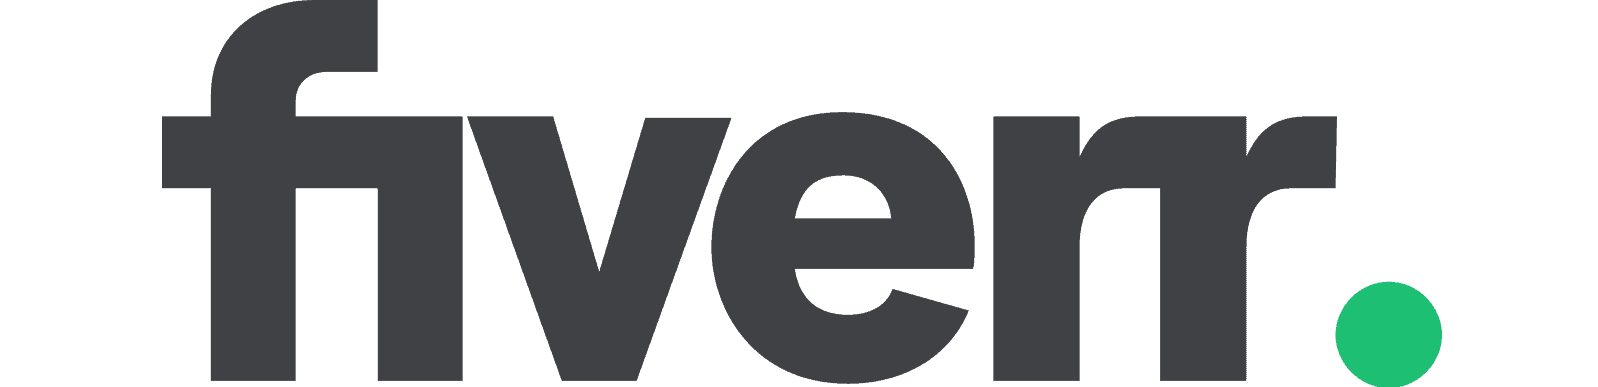
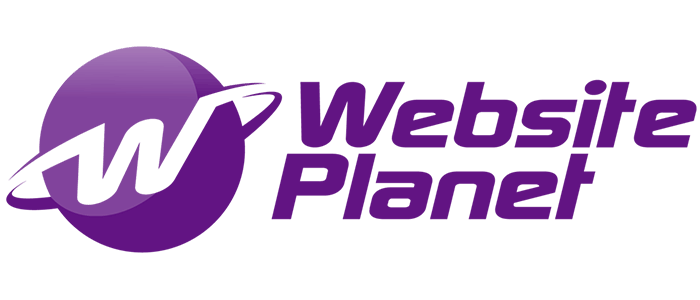
![Website Planet logo from Fiverr]()
- The lowest prices for professional design
- Thousands of gigs and design styles available
- Best way to get high-quality logos fast
- Starting price: $5
I tested several different designers on Fiverr to see the quality I could get at different price points. In general, I like how the platform works. There’s a handy logo design search wizard that helps you find the perfect designer for your project. You can browse designers’ profiles to see their past work and feedback from other clients, and the messaging system is quick and easy.
But what’s really interesting about Fiverr is the quality of work you can get for such low prices. I’ll admit I was a bit skeptical about having a logo designed for only $5. But I was pleasantly surprised with what I got, both from the inexpensive designers and the pricier “Fiverr Pro” I hired – and I’d definitely feel comfortable using Fiverr for future projects.
While you may still want to mess around with a DIY logo maker to create something for yourself, I have to admit that hiring a freelancer on Fiverr to do the work for you is a hard deal to beat. Plus, Fiverr is generally cheaper than the leading logo services and you’ll get a custom-made logo that you know no one else is going to have. You could even hire several different designers and run a little “design contest” of your own.
-
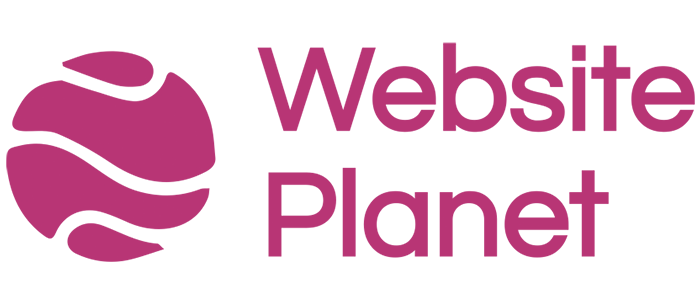
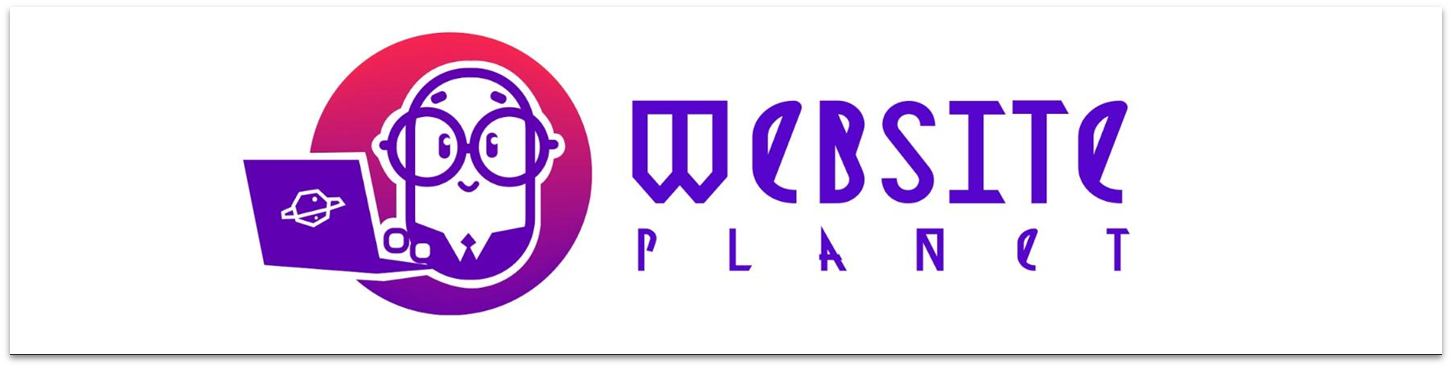
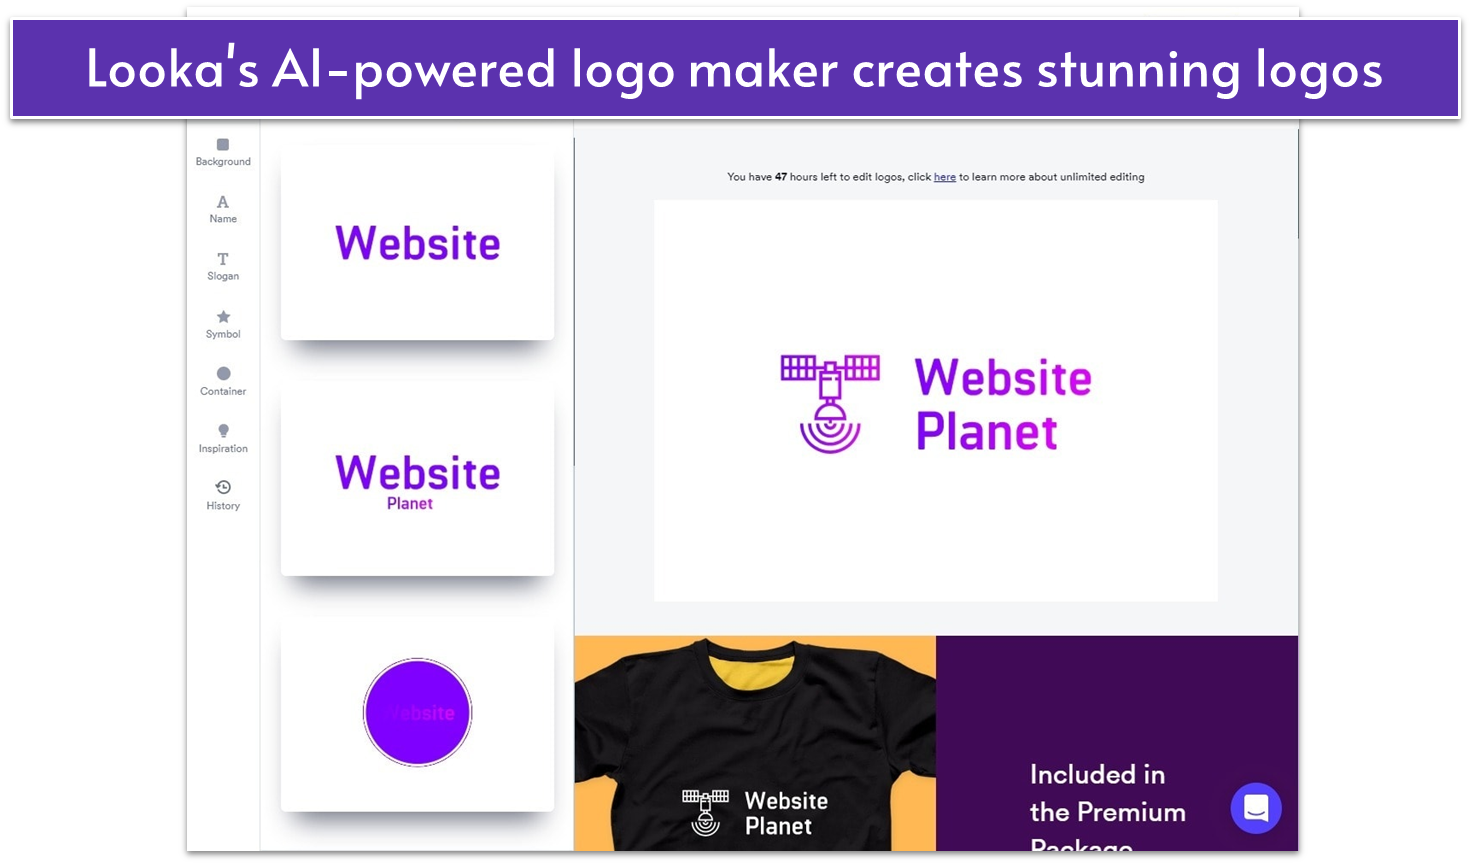
![Website Planet logo made with Looka]()
- Powerful wizard can generate 100s of logo options
- Inspiration and logo ideas from thousands of curated designs
- Free to try; pay only if you like the logo
- Starting price: $20
Looka’s user-friendly AI logo tool quickly generates high-quality logos by asking for basic inputs like your company name and industry. I was impressed by Looka’s ability to generate modern, well-designed logos. You get numerous design options that can be customized to match your brand’s identity.
One of Looka’s strengths is its comprehensive Brand Kit, which includes over 300 branded templates. These templates cover a wide range of uses, such as social media posts, business cards, email signatures, and more. This helps maintain consistency across all your marketing materials, making your brand look cohesive and professional from the start.
While I like Looka’s logo maker, I found its logo editor quite limited – you can’t drag and drop elements and place them wherever you want. As a designer, I understand why it works this way: the layout and spacing have been carefully calculated, and the system prevents users from accidentally messing things up. Still, I would have appreciated the option to remove these guardrails and customize my logo even more.
Looka provides crisp, high-resolution PNG and JPG files for online and offline use, as well as scalable SVG and EPS files, ideal for printing at any size. It also offers additional features like a drag-and-drop website builder and a print shop for merchandise like T-shirts and mugs.
-
![Website Planet logo made with DesignCrowd]()
- Run contests and receive 30+ designs with each request
- Full refund within 60 days if you don’t like any of the logos
- Option to work with a designer one-on-one
- Starting price: $109
DesignCrowd connects you with a global network of professional designers through its crowdsourcing model. You start by submitting a detailed brief, and designers from around the world submit their design proposals.
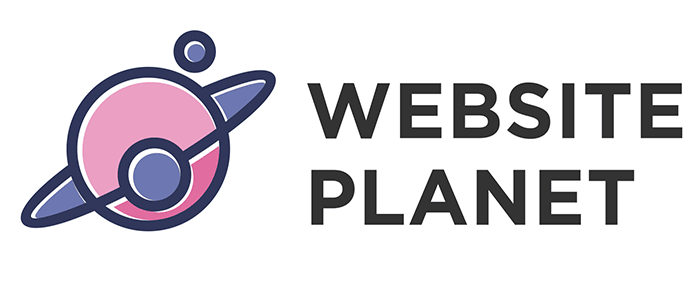
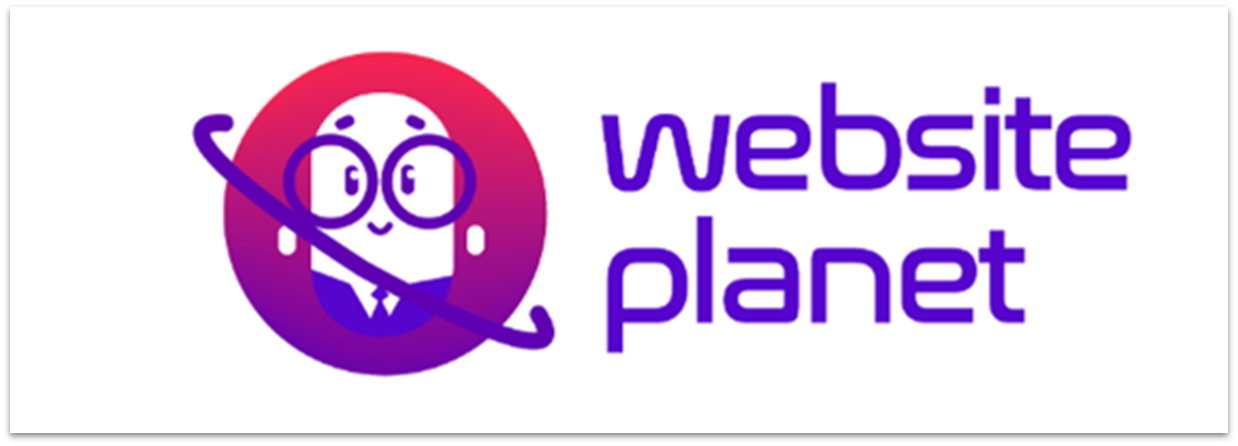
The logo we got from DesignCrowd won the office vote, and it is now our new logo for Website Planet! That is definitely an impressive achievement, and you might be wondering why DesignCrowd isn’t ranked #1 on my list.
Well, we all like the logo I got from DesignCrowd, but I still had a couple of issues with the platform. First, there was the price. When you can hire a designer on Fiverr for as little as $5, paying over $100 for DesignCrowd is comparatively expensive. My second issue was the user interface – I didn’t like all the calls to action and other distractions on the site.
You can run logo design contests on DesignCrowd and receive multiple proposals and ideas from professional designers. That said, I chose to work one-on-one with a designer instead. With DesignCrowd’s cheapest package, I couldn’t choose my own designer, but I did pay a little extra to hire one of the top designers – a wise investment. There’s also a 60-day money-back guarantee, so you don’t have to worry about being stuck with a design you don’t like.
-
![Website Planet logo from 99designs]()
- Quick turnaround time for contest submissions
- Option to work directly with a designer
- 100% money-back guarantee within 60 days of payment
- Starting price: $299
99designs can be a bit pricey compared to the other services on this list, but it offers excellent value for your money, especially if you have long-term design work. You can run a contest for just about any design project, from logos to product packaging to book covers.
I decided to run a logo design contest to see what I would get. I received about 40 different submissions of varying quality; as you’d expect, some weren’t usable. Still, I was able to narrow them down to a few options that I really liked. Then we had an office vote, and the chosen winner was my favorite as well. Communicating with the designer to ask for revisions was easy and I had no problem getting exactly what I wanted.
If you don’t want your competitors to know what you’re up to, you can run a private design contest with 99designs for an extra fee. Agencies can sign up for 99designs Pro, which includes expedited service and a dedicated account manager.
If design contests aren’t your thing, you can browse through individual designers’ profiles and portfolios, choose your favorite, and work with them directly.
-
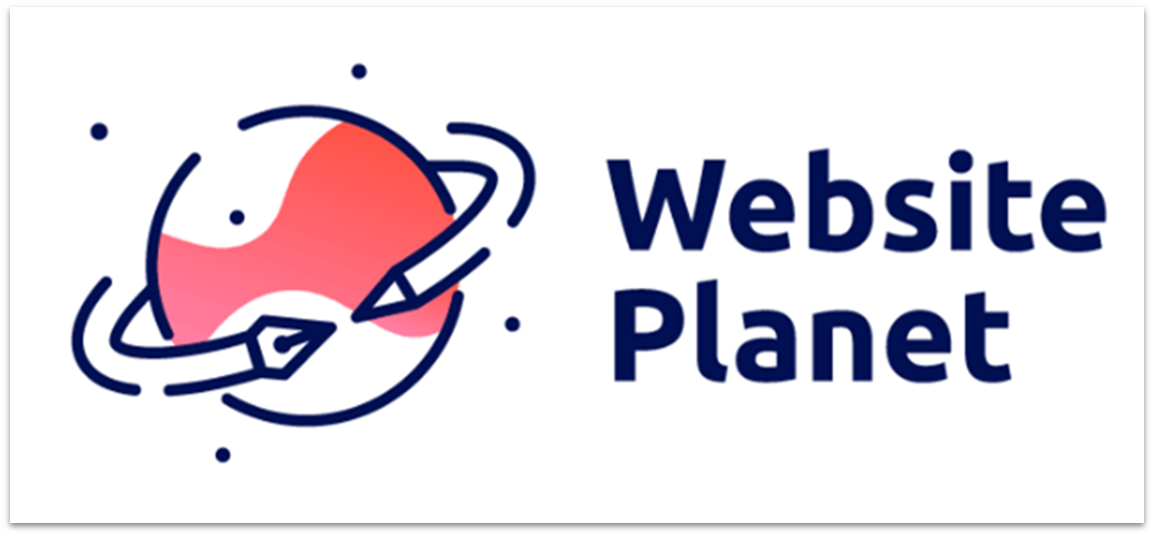
![Best-Logo-Design-Services-01]()
- 40 logo variations in less than a minute
- Unlimited design regenerations
- 14-day free trial
- Starting price: $49
I wanted to see how far AI could go in logo creation, so I gave Enso.bot a try. It’s part of a larger AI tool suite, and once you’re logged in, the logo creation process is incredibly fast and easy. I just typed in my business name and slogan, chose four base colors, and within a minute, I had 40 logo variations to scroll through.
The interface is intuitive, helping you quickly sort through the results. Enso.bot groups logos by style, and you can favorite or download any you like directly to your device. You get everything with a monthly subscription, which also provides access to Enso’s other AI tools, including a content writer and a marketing strategist.
That said, you can only download logos as 1024×1024 PNGs, and there’s no way to edit a logo after it’s generated. Fortunately, you can regenerate any logo style as many times as you want until you get one that works for you. Overall, if you want a ton of logo ideas in seconds and don’t need pixel-perfect vectors, Enso.bot is a fantastic AI-powered option.
-
![Website Planet logo made with Tailor Brands]()
- Simple logo maker for easy branding
- Plenty of downloadable file options
- On-the-go logo editing with the mobile app
- Starting price: $9.99
Out of all the logo makers I’ve tried, Tailor Brands is among my personal favorites. The editor is easy to use, and the logo generation process feels intuitive. You only need to enter your company name, give a short description of what you do, and choose up to 3 fonts. You’ll get an AI-generated logo less than a minute later.
I was a bit disappointed that the Tailor Brands logo editor doesn’t have all the advanced customization features that some of its competitors offer. However, there’s a massive library of icons to choose from, and you can customize what matters most: the text, fonts, and colors.
The logo maker is 100% free to try. You can design as many logos as you like – you pay only if you’re satisfied with the results. You can even download a free sample, but keep in mind that it will be low-quality.
Tailor Brands isn’t just about logos, either. The platform offers complete branding solutions, from printed merchandise to branded business presentations.
-
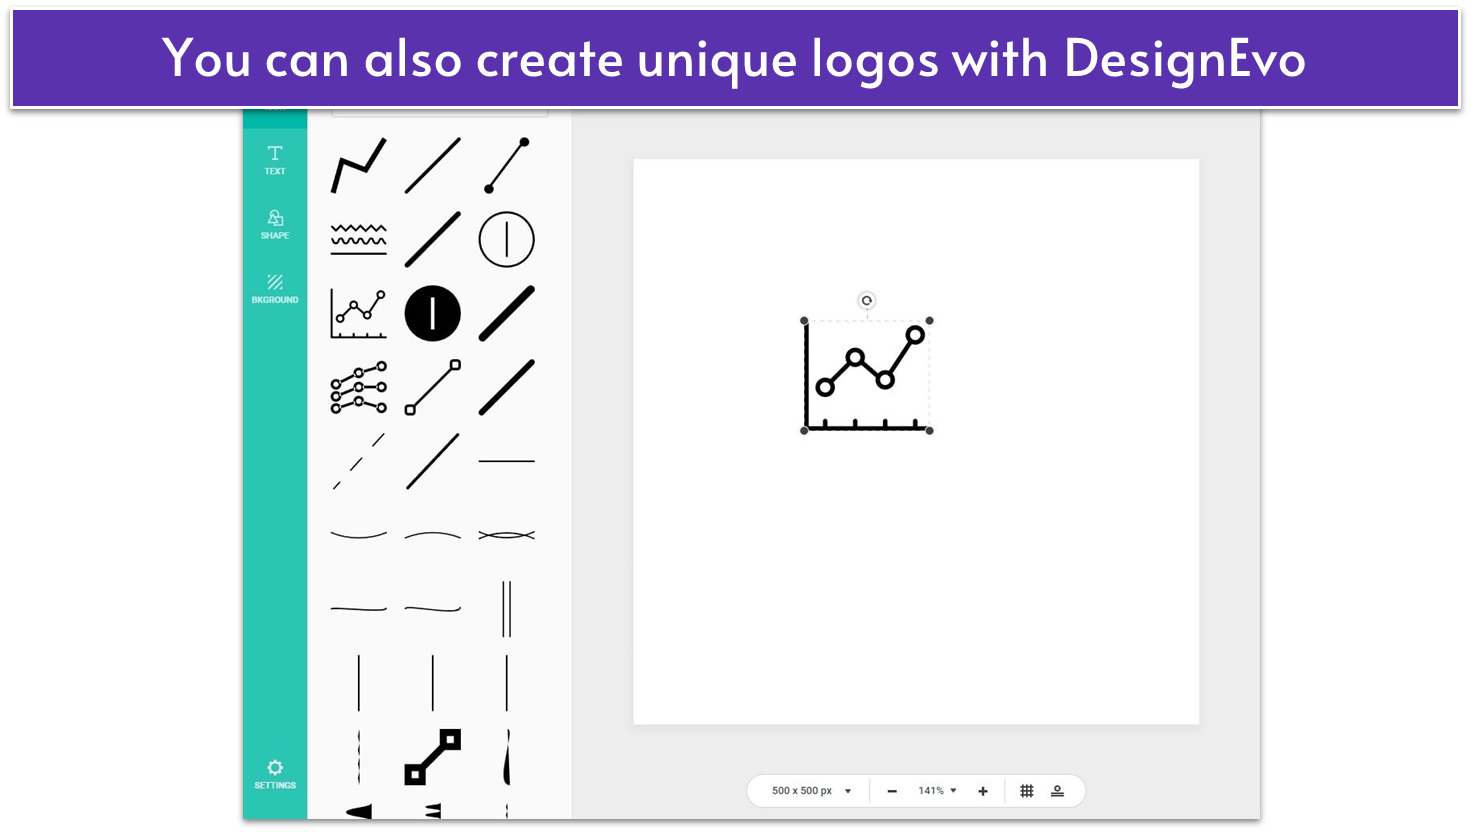
![Website Planet logo made with DesignEvo]()
- The best logo editor for design flexibility
- Choose from 10,000+ fully-customizable logo templates
- Free logos available (if you credit DesignEvo on your website or social media)
- Starting price: $1
I don’t usually get excited about this kind of thing, but working with the DesignEvo logo editor was one of the best experiences I’ve had throughout this entire process. Unlike similar tools, DesignEvo gives you true freedom: You can start with a blank canvas or customize an existing template. The drag-and-drop interface allows you to easily adjust icons, fonts, shapes, and colors to your liking.
DesignEvo has a wide range of templates and customization options, making it a powerful tool for beginners and non-designers alike. With over 10,000 templates and millions of icons to choose from, I had no trouble creating a logo that fit the WebsitePlanet brand.
But don’t worry if you don’t have any design experience because DesignEvo is very easy to use. Instead of a wizard that asks you questions, you simply browse through a searchable library of logo templates and choose your favorite. Then, you can customize it however you like.
What’s even more exciting is that you can download a PNG file of your design for free. The only issue is that you’re restricted to a 300px by 300px size. Still, you can do whatever you like with your free logo – even use it commercially, as long as you link to DesignEvo from your website.
-
![Website Planet logo from The Logo Company]()
- You get 5 logos by different designers
- Logo delivery time is only 3 days
- Unlimited changes and revisions
- Starting price: $199
The Logo Company is a bit different from the other services on this list. Once you sign up, you fill out a very detailed design brief. Then five experienced designers work on your logo, and it’s up to you to pick the concept that best represents your brand.
I wasn’t crazy about all the logos I received, but there was one I liked a lot. I was happy to learn I could get unlimited redraws and revisions which proves that the company cares about its customers and wants them to walk away with a logo they love.
While you can undoubtedly find lower prices on Fiverr and other platforms, I felt that the quality and service I got from The Logo Company were worth the price. It felt more like hiring a classic design agency, but paying quite a bit less for similar, high-quality work.
-
![Website Planet logo made with Squarespace Logo Maker]()
- 100% free DIY logo maker
- A large icon library with many styles
- Simple, easy-to-use interface
- Starting price: $0
The Squarespace website builder is one of the best ways to get a professional-looking website online fast, but what does that say about Squarespace Logo Maker? I was definitely curious to find out.
First of all, it’s incredibly easy to use. There aren’t a lot of settings and features to figure out, and the whole process is very straightforward. Not only that, but you can download and use your logo for free, no strings attached.
That could make Squarespace Logo Maker a good solution if you just need a quick logo for personal use. However, if you need a logo for your business or are looking for a more professional design that really stands out, this probably isn’t the way to go. The platform doesn’t offer many options, and the logos usually end up looking very generic.
You don’t need a Squarespace account to use the logo maker, but if you are a Squarespace user, you can easily integrate your new logo into your Squarespace site.
More on Squarespace Logo Maker
Visit Squarespace Logo Maker > Read our Squarespace Logo Maker review -

![Website Planet logo made with Wix Logo Maker]()
- Free sample logo for non-commercial use
- Beginner-friendly drag-and-drop logo editor
- Many icons, fonts, and colors to choose from
- Starting price: $20
Wix Logo Maker is a decent DIY design tool that offers a user-friendly experience, ideal for those without previous design knowledge. Upon signing up, you answer a few basic questions, and the service generates a variety of logos tailored to your preferences. The logo editor also provides significant creative freedom – letting you choose colors and fonts, and arrange elements as desired.
However, the initial generated designs aren’t very inspiring, and you might need to invest extra time to achieve a logo you’re fully satisfied with. Additionally, the free plan doesn’t offer scalable vector graphics. SVG files are only included in the Advanced plan and the Brand Plus plan, which also comes with unlimited logo changes, printable business card designs, and additional assets.
Despite these drawbacks, Wix Logo Maker is a practical solution if you need a simple logo for personal use or small-scale online projects. It allows you to download a PNG file for free, but you’ll need to pay to use it for more professional purposes.
How I Compared The Best and Worst Logo Maker Services
What Makes a Good Logo Design?
Whether you’re designing your own logo, running a design contest, or hiring a professional, these design principles should be your top priority. They’re essential to creating a memorable logo that reflects your brand and communicates your message.
- Keep it simple. The best logos are clean and uncluttered. A simple design is more recognizable and more likely to leave a lasting impression.
- Stick to clear, crisp fonts. The font is one of the most important elements of your logo. A serif font can give your logo a classic, trustworthy look, while sleek sans-serif fonts can look more contemporary. Avoid overly decorative fonts, which can come across as tacky and are less readable at smaller sizes.
- Choose colors strategically. Color psychology plays a vital role in logo design. Dark blues and grays, for instance, evoke a feeling of security, so they’re a good choice for logos with a corporate feel. Bright reds and yellows can make your logo stand out but may feel less professional.
- Prioritize versatility. Your logo needs to be versatile so it reads well across different media and business assets. Vector files are best because they can be sized up or down without image distortion.
- Make it relevant. Your logo should reflect your audience’s identity and values and those of your brand. Whether minimalist, playful, vintage, or modern, the design should be appropriate for your industry.
Methodologies
All right, so how exactly did I test these services? That greatly depends, as each one is a little different, and some are a lot different. On the whole, these services fall into two main categories: DIY and DIFM. That’s “Do It Yourself” and “Do It For Me.” Ah, there’s a joke in there somewhere. Don’t tell the kids.DIY (Do It Yourself)
DIY services allow you to design your own logo using the provided tools. Typically, these tools include a visual editor for selecting icons, colors, and fonts and modifying the layout. They often feature extensive libraries of icons and predesigned logo templates and sometimes incorporate artificial intelligence (AI) for enhanced customization. I tested almost all of these services in pretty much the same way. I just followed the instructions on screen (and usually recorded this process on video), paid for the logo, and then wrote my review, evaluating the following main factors:- The quality of the AI, if it was present.
- The quality of the icon/logo library.
- How advanced the logo editor was, and how easy it was to use.
- The available image formats.
- Add-ons, such as images scaled for social media or personal attention from a real designer.
- Extra services, such as printing and web design.
- The site’s ease of use overall.
- The customer support offered by the service.
- The pricing plans/packages.
DIFM (Do It For Me)
DIFM services involve hiring a designer to handle the entire logo creation process. You provide detailed instructions to the designers, and they work to deliver a logo that meets your specifications. Many of these platforms offer the option to run a contest or hire individual designers directly. To obtain a range of design examples, I opted for contests whenever possible. My team and I then evaluated these services based on the following factors:- How easy it was to run a contest.
- The quality and quantity of designs submitted.
- How easy it was to manage and organize submitted designs.
- How easy it was to communicate with the designer(s).
- How long it takes to get your logo.
- How easy it was to browse designer profiles and work history, in case you want to hire one individually.
- Add-on services, such as having your contest featured by the site, or having a guaranteed number of “top designers” participating in your contest.
- The other services offered by some of these community-based sites, like web design, print design, and more.
- The personal support offered by the service.
- The pricing plans/packages.
The Exceptions
Two of the DIFM services I tested do not offer the option of running contests, so I had to approach them a bit differently. With Fiverr, you just browse for designers, select one, and hope for the best. To get a variety of designs, we worked with three designers: one starting at 5 USD, another at 40 USD, and a verified “Pro” designer at 400 USD. The Logo Company operates more like a traditional design agency but apparently has lots of designers. You provide your project brief, and someone chooses the designers most likely to suit your needs. You get five initial concepts and unlimited redraws/revisions for one single payment. There’s not a lot to say about the methodology here other than that I followed their process and got myself a logo.My Personal Experience With 10 Different Logo Services
Here’s where I condense an estimated 24,000 words into a list of ten logo design services, each with a brief overview. These are not all the services I tested, and more reviews are on the way. If you don’t see the one you’re interested in, use the search bar at the top of this page.
Fiverr (DIFM)
Fiverr, of course, is not a “design site” exactly. It’s a site where you can hire people from all over the world to do pretty much anything, and that includes a logo design. You can pick the designer you want based on their past work, their prices, the services they offer, and the deadline they promise to meet. Fiverr is one of the more slickly-designed marketplaces overall, and it’s fairly easy to filter out designers based on your criteria to find one you’ll like. It even has a quick and easy wizard to help you get started with the designer-filtering: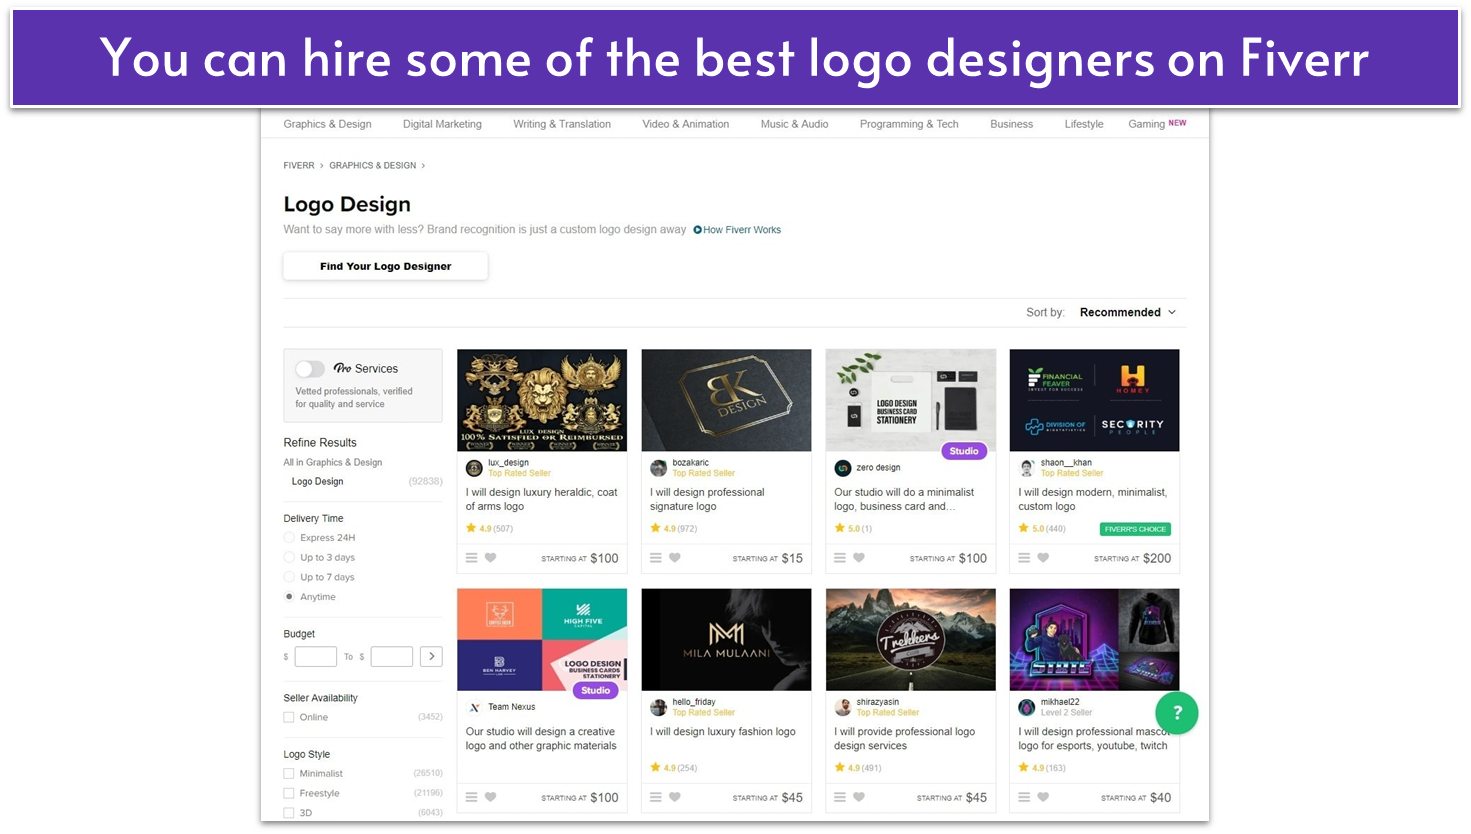
 These logo concepts from designer juancharles (the 40 USD designer) are fun, and I love the mini-mascot. I personally prefer the type and general design of the first option, but I wish it had the white outline of the second, for contrast. Either way, they’re both adorable.
 And lastly, we have the design from the 400-dollar “Pro” seller, animteam. It’s sleek, it’s stylish, and it’s a gorgeous concept. This wasn’t the winner in the end, but it was a strong contender in my opinion.
Looka (DIY)
DesignCrowd (DIFM – Contest… Sort Of… Not Really)
DesignCrowd has a large community with some great designers, but the user experience leaves something to be desired. There are far too many calls to action and general distractions from whatever task you want to complete at any given time. We tried to start a contest, but what we started was a “project,” which turned out to be a catch-all term for both single-designer jobs and contests. And contests are more expensive. Basically, we hired one single designer by accident, and someone from DesignCrowd picked them out for us. Fortunately, we also paid extra for access to their top designers, so we got a good one. Here are some of their concepts after one round of refinements:
99designs (DIFM – Contest)
99designs has been running contests for a long time and has refined its process significantly over the years. That refinement shows that of all the DIFM-type services on this list, this may well be the easiest one to use. In about five days, I had over 40 design submissions to look through, and 99designs made organizing all of this quite easy. I had a little trouble deciding which logo I wanted, so I sent a poll around the office for feedback (there’s built-in functionality for this). Communication with the designer was smooth, and overall I enjoyed my experience. Here are some of the logos that made it to the “semifinals”:
Enso.bot (DIY)
Enso.bot is a relatively new player in the logo-making space, but it already delivers a great experience. I encountered a few dashboard crashes and occasional login hiccups, where the platform would load without actually logging me in. However, a quick page refresh usually resolved these minor issues. The interface is refreshingly simple. You jump straight into the logo maker from the dashboard, and the layout makes it obvious how things work. Although customization is limited, you can personalize your color palette by choosing from premade color schemes, entering hex codes, or selecting individual colors.The logo generation process starts almost instantly. Within a minute of entering a prompt, I’d have about 40 logos ready to explore, neatly grouped by style for easy browsing.
Managing results was just as seamless. I could favorite designs with a single click and download them either individually or in bulk.
![]()
![]()
Tailor Brands (DIY)
Tailor Brands is AI-based and has one of my favorite logo creation processes. It offers icon-based logos, pure text logos, and logos with randomized abstract shapes. It certainly creates some of the more interesting AI-based logos. I just don’t particularly like its pricing model, which is a monthly subscription.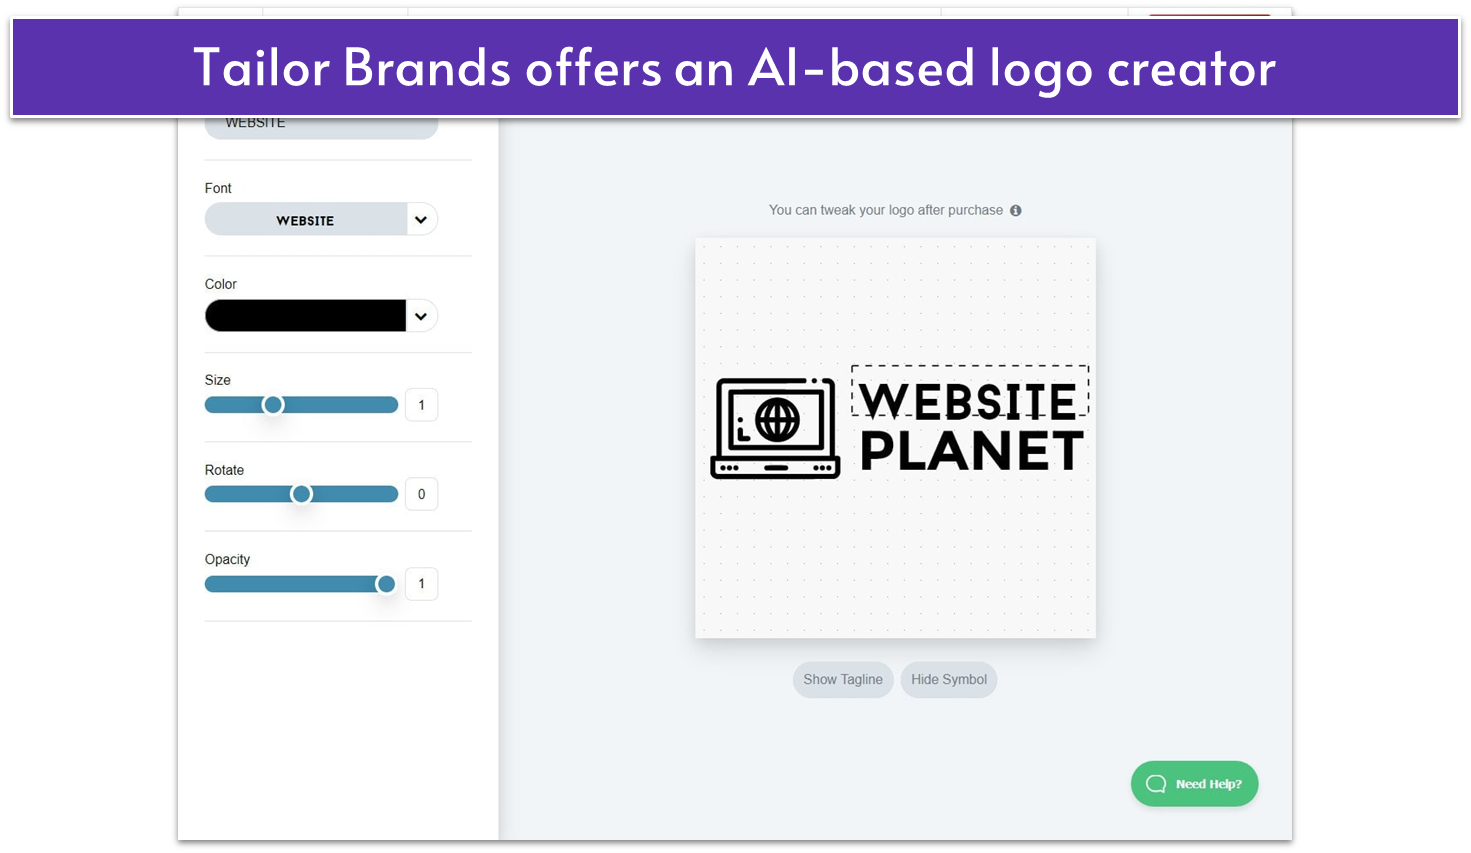
DesignEvo (DIY)
DesignEvo has a big library of premade logos and no AI, so they don’t ask you a lot of questions about what sort of logo you want. Some of these logos are quite good, and some look like they’re from the ‘90s. Aside from the premade logos, though, there’s also another large library of more basic icons and shapes so you can build your own logo design with their logo editor.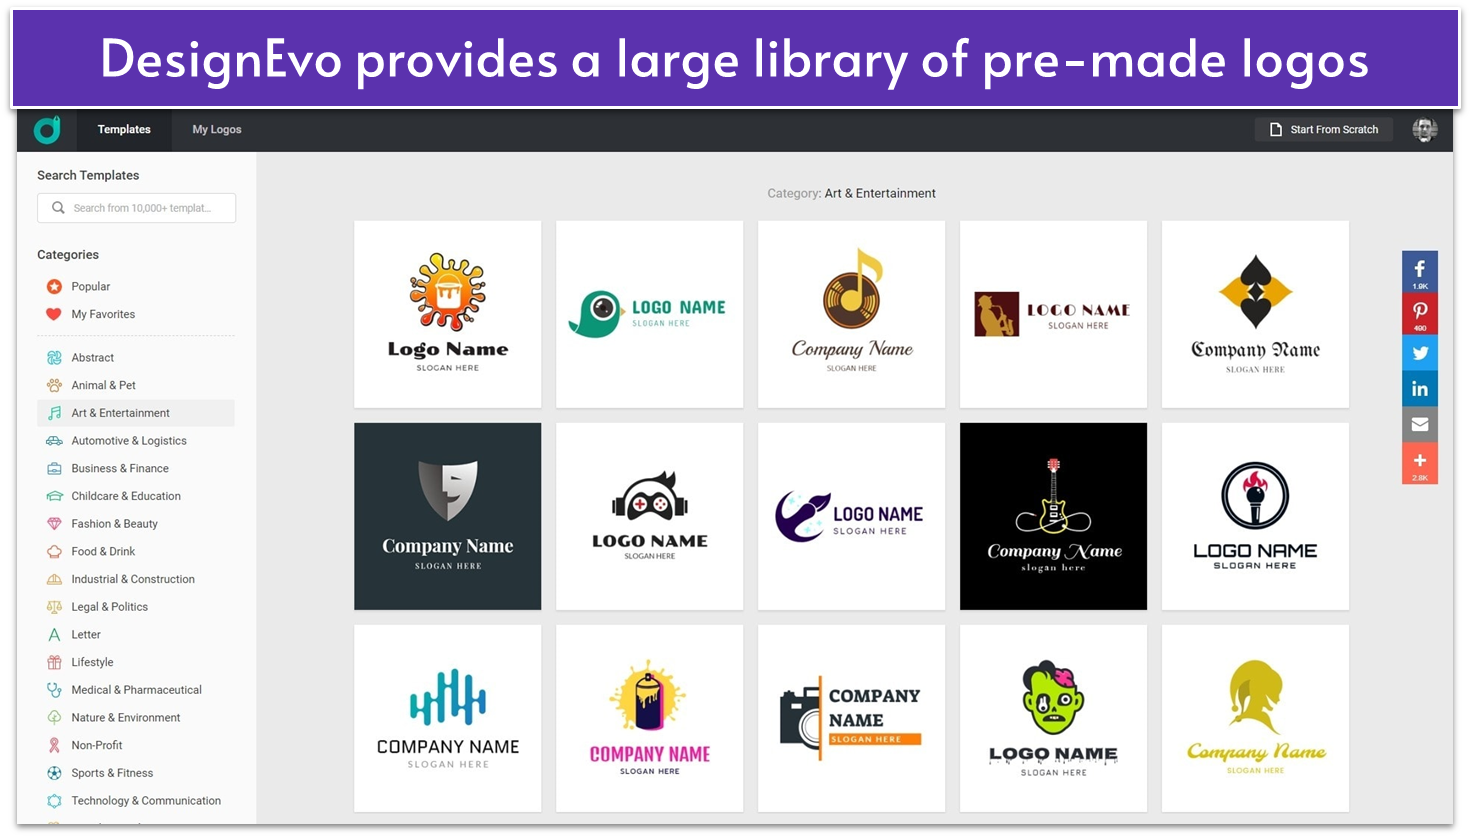
The Logo Company (DIFM)
As previously mentioned, The Logo Company works more like a classic design agency. You provide the brief, someone picks five designers for you, and you get five initial concepts from them. And here’s something definitely worth mentioning again: free revisions. The Logo Company runs all of its projects on Basecamp (it’s very simple project management software), so it didn’t exactly design most of its client experience. Even so, everything was made very simple, and the tutorials help to explain the entire design process. The Logo Company gave me logo concepts, I picked the one I like, and their designers made revisions until I was happy. That simple.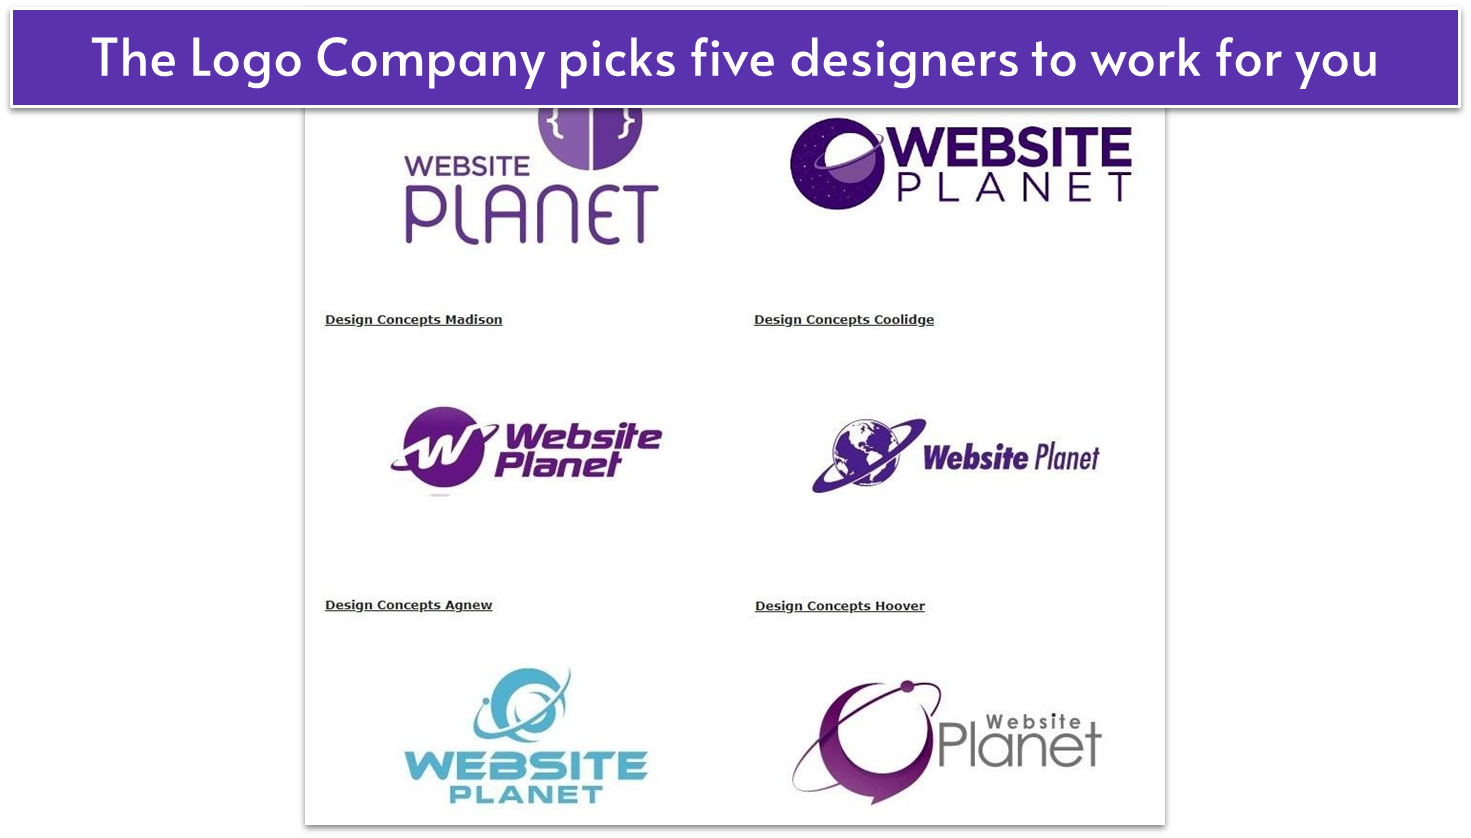
Out of all the logo concepts, I liked this one best because it fits our site the best. It’s that simple. It looks great at small sizes, the layout is just right, and I particularly liked that bit of sci-fi feel on the type.
Squarespace Logo Maker (DIY)
The Squarespace Logo Maker is an interesting one in that it is completely free. It also doesn’t have any premade logos, as such. You get an editor, the ability to add text, and a library of icons from The Noun Project, at least some of which are also used by Looka and Wix Logo Maker. The editor is a bit basic, and you can’t pick specific sizes for your text or icons. You have to eyeball everything except the actual layout. There’s a handy grid, and objects sort of “snap” to each other, so I was able to create a fairly decent, if very basic, logo quickly.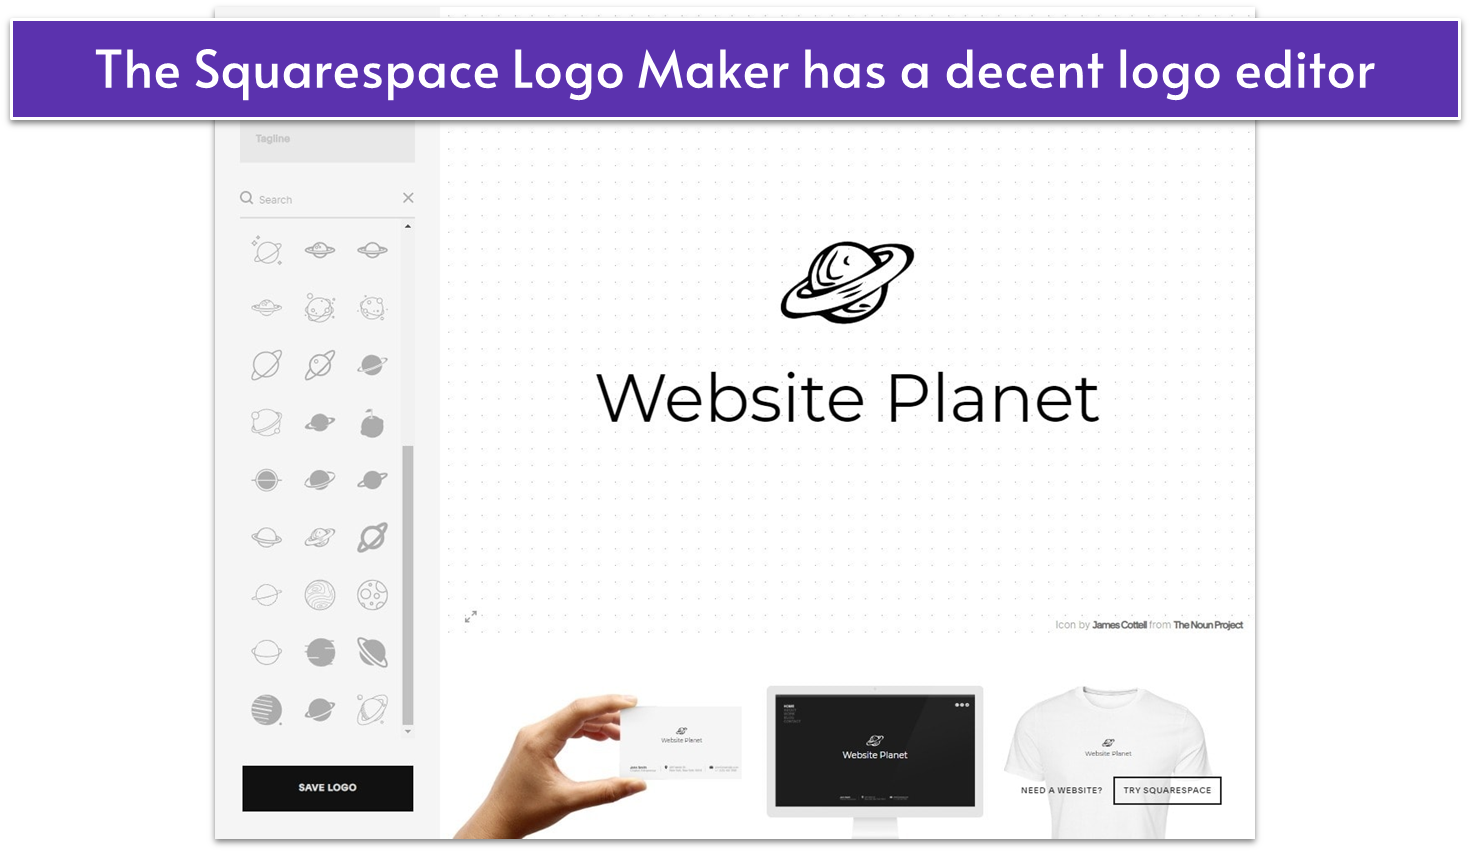
Wix Logo Maker (DIY)
Lastly, we have Wix Logo Maker, which (as you might imagine) comes from the people who make the Wix website builder. It’s got a big library of logos, but they’re not as inspiring as others. Wix’s real strength lies in its editor, which—while not quite as advanced as DesignEvo’s—is absolutely fantastic.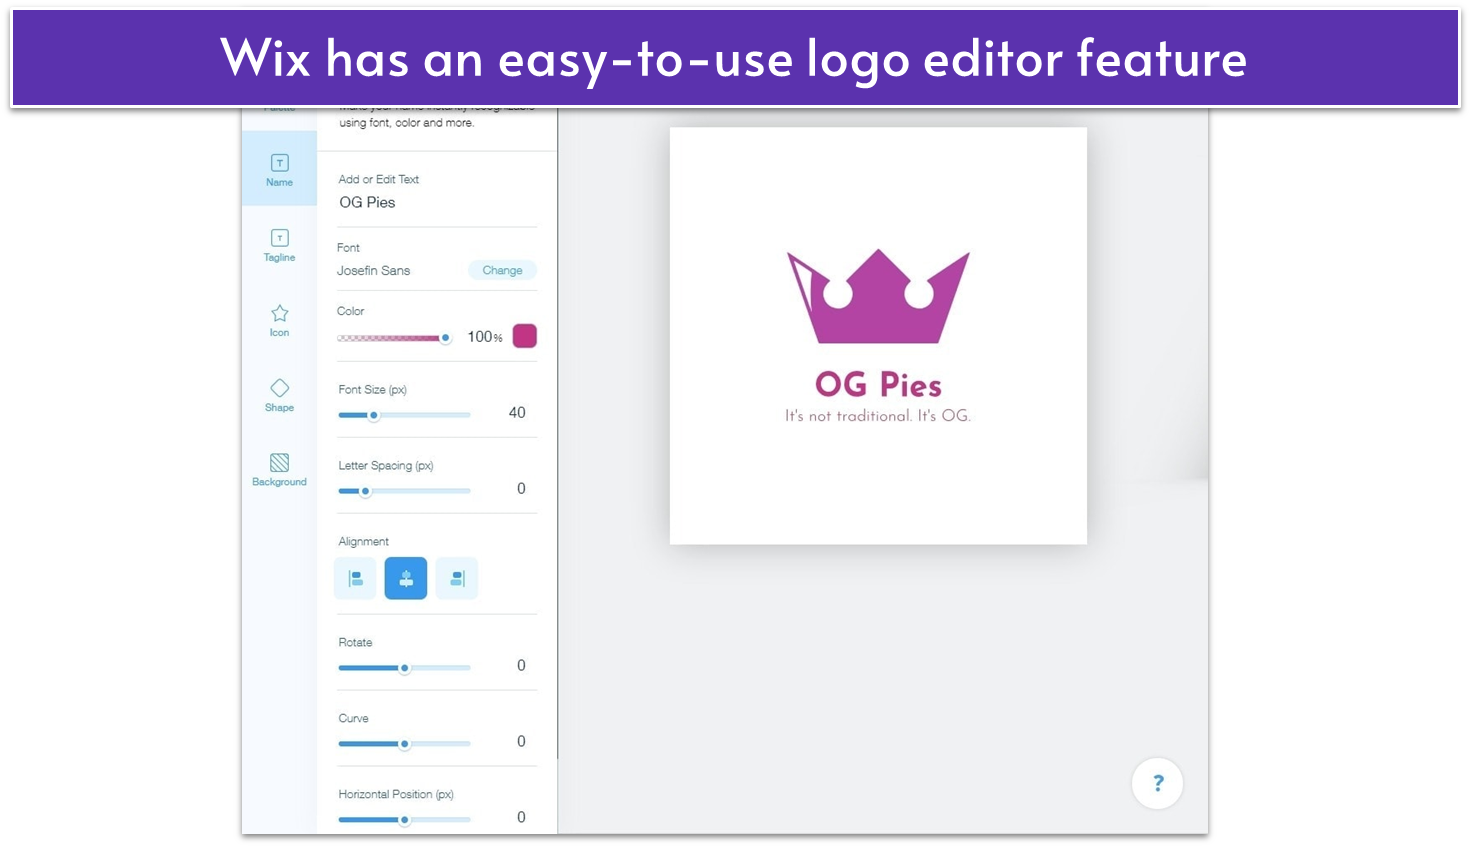
 So, that was a whole lot of information to read all at once, so let’s break it down. I’ve created a couple of simple tables to help make your decision a little bit easier:
DIY Logo Makers: How Do They Compare?
| AI/Templates | Icon Quality | Logo Editor | Support Channels | ||
|---|---|---|---|---|---|
| Looka | AI | Good | Basic | Chat | |
| Enso.bot | AI | Good | None | Ticket, AI chat | |
| Tailor Brands | AI | Good | Advanced | ||
| DesignEvo | Templates | Good | Advanced | ||
| Squarespace | Templates | Good but basic | Basic | No | |
| Wix | AI | Good | Advanced | Tickets, phone, chat |
Logo Design Services: How Do They Compare?
| Design Contests |
Work Directly with a Designer |
Timeline | Support Channels |
||
| Fiverr | No | Yes | Depends | Tickets | |
| DesignCrowd | Yes | Yes | 5 days | Email, chat, phone |
|
| 99designs | Yes | Yes | 5 days | Email, tickets, phone |
|
| The Logo Company |
n/a | n/a | 3 days | Email, chat, phone |
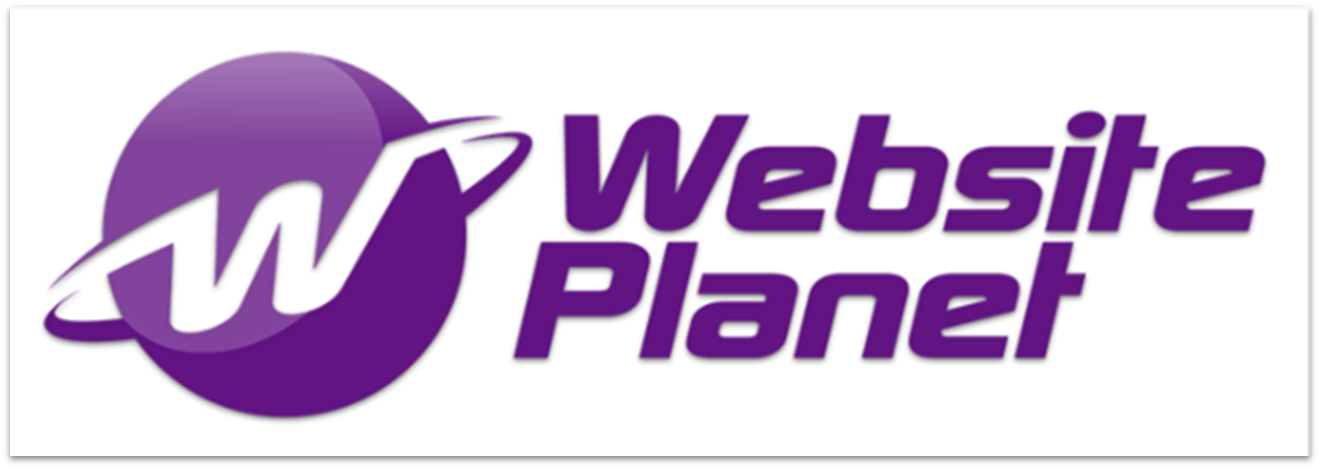
How Our New Logo Was Chosen
In the end, here’s our new logo: A vote was held amongst the Website Planet staff, and it was decided that the logo from DesignCrowd was best. There was some stiff competition (particularly from the logo from 99designs), but this design won out for a few reasons:
- It perfectly fits the “Website Planet” theme.
- It looks great at really small sizes.
- As minimalist as it is, it still has personality and a little bit of flair.
- I personally love how the type looks fairly straightforward and business-friendly but has that little bit of sci-fi flair. And yeah, a capital “A” without the line in the middle is officially “sci-fi” now.
Frequently Asked Questions
What’s the difference between a logo generator and a logo design service?
A logo generator is a type of logo design software that creates a variety of logos based on your input, while a logo design service is a lengthier and more complex process that involves collaborating with professional designers to craft a custom logo. You’ll pay less for a generator, but your logo will be less unique. Services can deliver higher quality and tailored designs, making them worth considering for brand identity.When I use one of these services, who owns my logo copyright?
It depends on the service, but in most cases, once you purchase a logo, the copyright is yours. In some cases, you can even file for a logo trademark.How much should a high-quality logo cost?
A high-quality logo typically costs $100 to $500 if you hire a freelancer or use a logo design contest service. Premium custom logos from top design firms may range from $1,000 to $10,000. For startups or tight budgets, logo generators can cost as little as $20 to $50.How can I get a professional logo design for free?
You can use free logo generators to design your logo. Platforms like Looka and DesignEvo offer free templates and customization tools. Keep in mind that free designs may include limited features or require you to pay for higher-resolution downloads or full ownership rights.What’s the best logo design service for a small business?
The best logo design services for small businesses offer a balance of affordability, quality, and customization. Services like Fiverr or 99designs allow you to hire skilled designers at competitive rates. Depending on your budget and branding needs, a DIY logo generator like Looka or Tailor Brands may be a good solution.
So happy you liked it!

We check all comments within 48 hours to make sure they're from real users like you. In the meantime, you can share your comment with others to let more people know what you think.
Once a month you will receive interesting, insightful tips, tricks, and advice to improve your website performance and reach your digital marketing goals!