There’s a reason for that popularity: WordPress is incredibly flexible. With a little know-how, you can create any kind of website using the WordPress CMS. However, that flexibility comes with a learning curve, and it can feel incredibly daunting to stare at that dashboard for the first time if you have no idea where to go next.
That’s why we decided to bring you this digestible, step-by-step guide to creating your WordPress site. And to show you that it really works, I’ll be creating a website alongside you, accompanying you every step of the way.
Keep reading for a full guide to creating your WordPress website. Or, if you’d rather follow along with me, take the first step and sign up for a WordPress plan from Hostinger.
Step 1: Decide What Kind of Site You’re Going To Build
This first step might seem a little self-explanatory, but it’s still (arguably) the most important decision you’ll have to make regarding your site. Everything from your choice of host, plugins, and templates, to the way you measure your site’s success, will vary depending on the kind of site you want to create.
There’s not much for me to say on this one, as only you can know precisely what you’re after. However, the one piece of advice I can offer is to be specific. A CV website with a blog is very different from a blog with an “about me” page. As such, they’ll need vastly different considerations.
Also, try to be realistic in your approach. It’s great to shoot for the stars, but too often I’ll see people who want to create the next YouTube/Facebook/Instagram/WebMD hybrid. The problem? A site like that needs massive amounts of work, a robust infrastructure, and a large team of dedicated people behind it.
That doesn’t mean that you can’t create a large site. Many sites will naturally grow and expand as their popularity increases. But make sure to take your resources (money, but also time, staff, technical experience, etc.) into account. Instead of going wider, go deeper. Use what you have to create the best possible website for your purpose.
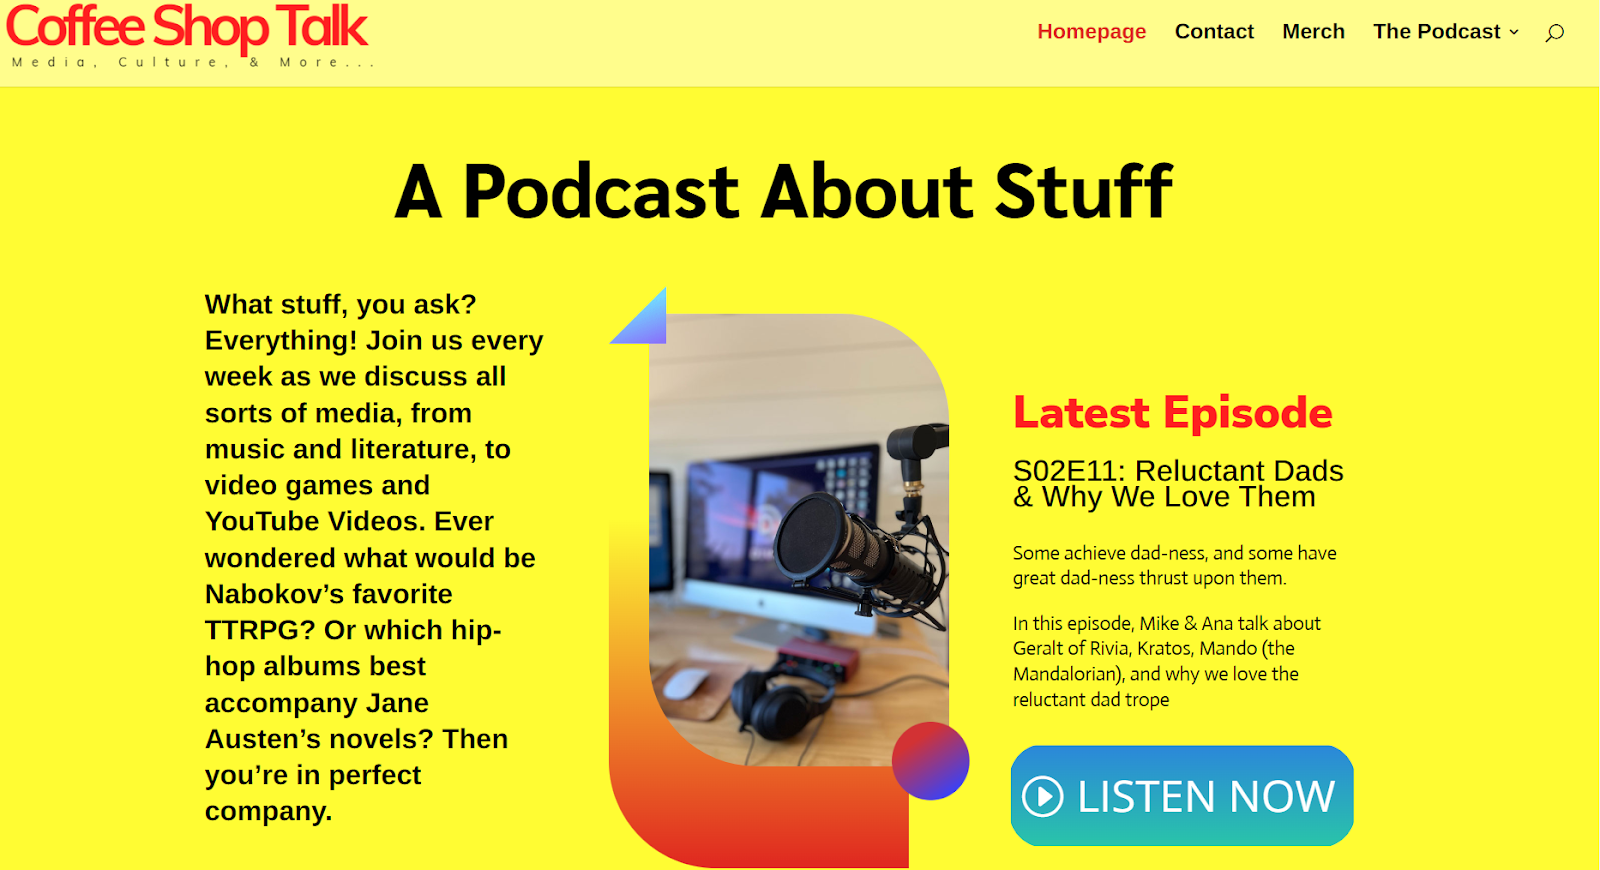
I’ll be creating a website for a podcast, as it can help me illustrate several of the basic concepts below. Also, I’ve been pretty obsessed with podcasts lately, and it would be good to put that energy into something productive (unlike starting an actual podcast).
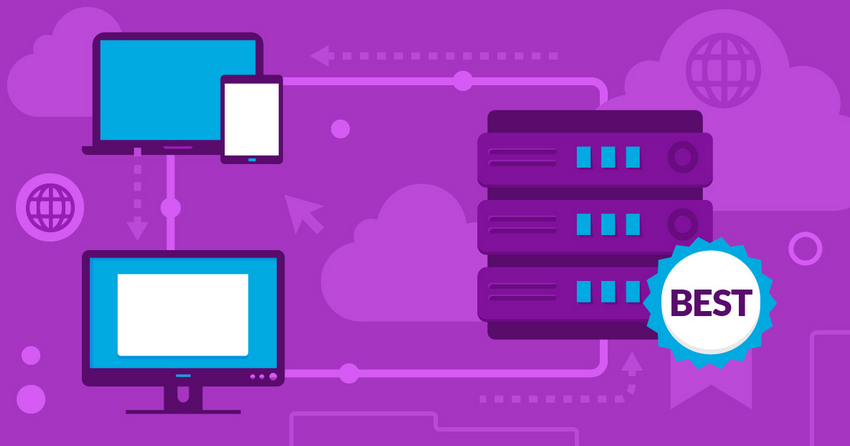
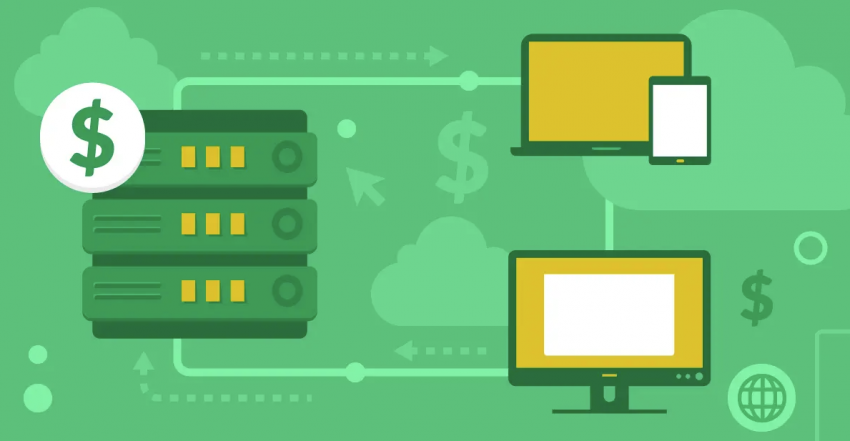
Step 2: Find a WordPress Hosting Plan With a Reasonable Starting Price
It’s important to note that WordPress isn’t a website builder, but a content management system. What that means, in practical terms, is that to create a WordPress website, you’ll need somewhere to host your website’s data and make it accessible through the internet.
There are thousands of hosting providers on the market, and nearly all of them are compatible with WordPress. However, there are only a handful of hosting providers that offer the reliability, performance speeds, and features that you need. Especially if you’re looking for something easy to use and reasonably priced.
Our experts have tested and reviewed the best WordPress hosts in 2026. To help you out, I’ve rounded up my favorites here – all of which offer a variety of plans to suit different needs and budgets.
1. Hostinger – Outstanding Performance at Great Prices
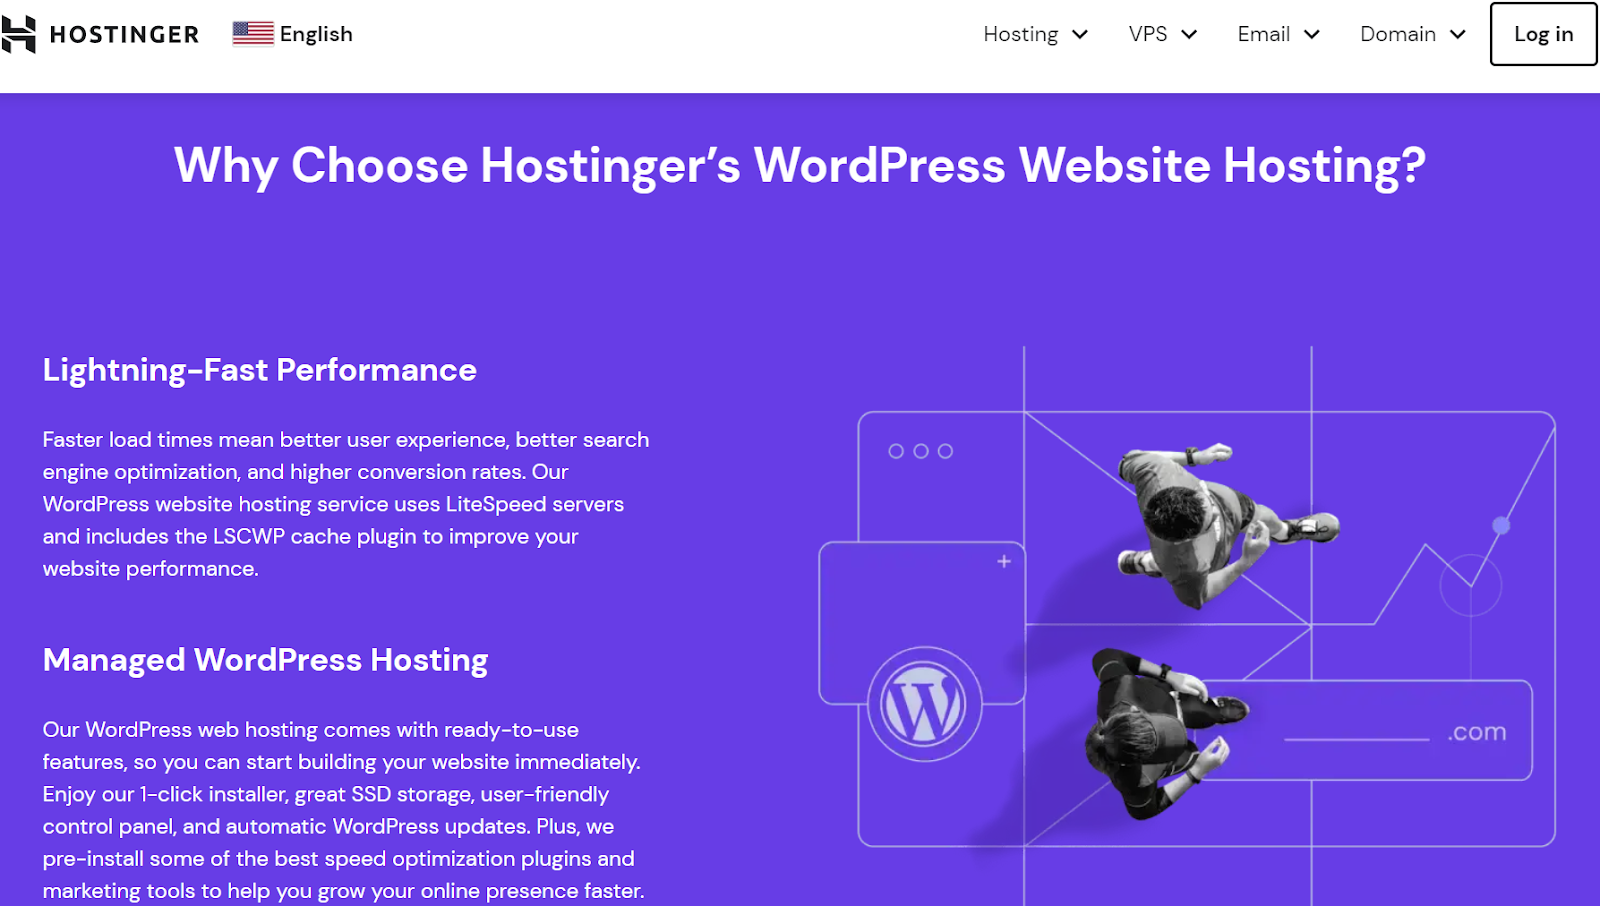
Hostinger consistently tops the charts in most of our hosting lists for one simple reason: it offers remarkable performance at very reasonable prices. Thanks to the LiteSpeed technology on its servers, it offers impressively fast load times for WordPress sites.
Not only does Hostinger consistently score well on our performance tests, but its intuitive user interface gives you a ton of control without being unwieldy. You’ll also get unlimited bandwidth, a free email, and a free domain name with all of Hostinger’s WordPress plans.
Features
- User-friendly hPanel. Hostinger replaces the common cPanel for hosting with its own proprietary version, the hPanel. This dashboard makes it easy to manage and fine-tune your hosting, without ever seeming overwhelming.
- LiteSpeed caching. Hostinger offers the LiteSpeed Cache for WordPress (LSCWP) plugin. Combine this with its LiteSpeed servers, and you get consistently great performance scores across the board.
- One-click restore. With hPanel, you can easily download and restore website backups. That means that if you ever want to make a huge change to your site that you’re not so sure about, you can always download a backup right before, and restore a previous version if anything goes wrong.
2. IONOS – Reliable Service With Incredibly Cheap Plans
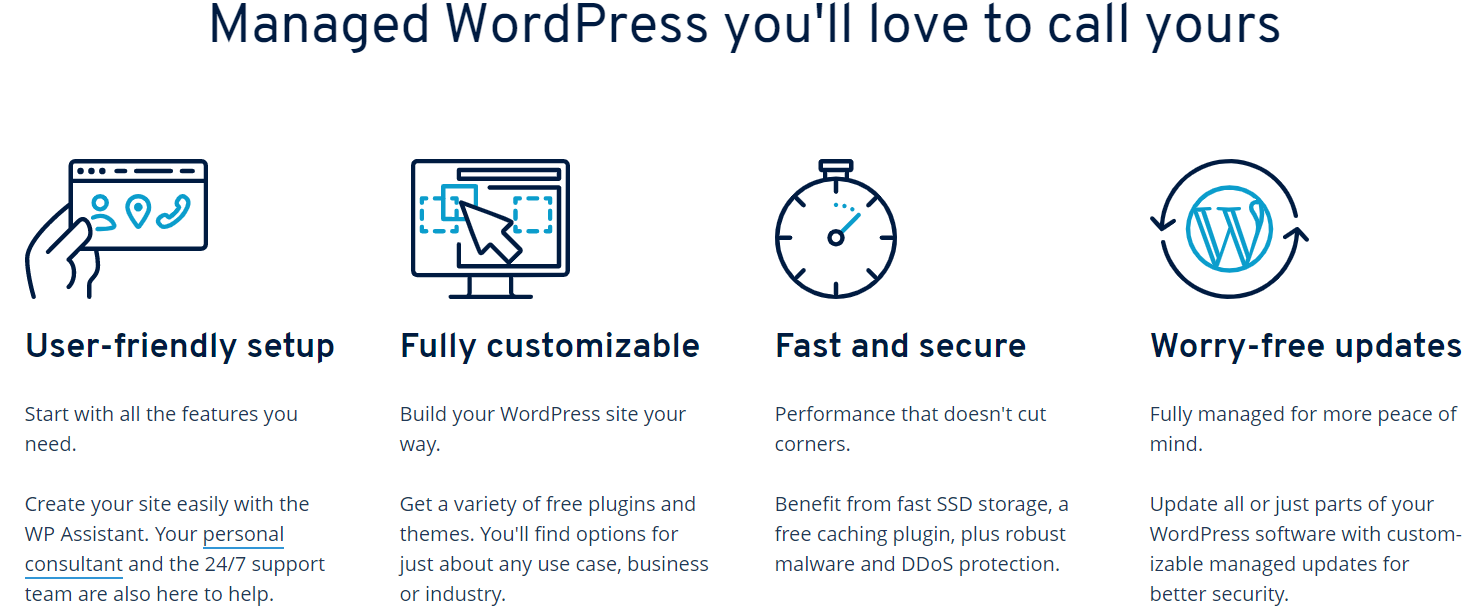
IONOS is a very strong contender for second place. Not only does it offer great speeds with a 99.98% uptime guarantee, but it also has remarkably cheap plans. Right now, you can get fully managed WordPress hosting for as little as $1.00 per month (when you pay for the whole year).
The prices jump up a little on renewal, and it doesn’t offer as many flashy features as Hostinger. But if you’re in the market for reliable and cheap hosting, IONOS is one of the best choices you could make.
Features
- Powerful security tools. IONOS does everything in its power to keep your site safe. With IONOS, you get malware scanning, daily backups, and full protection against DDoS attacks.
- Advanced developer tools. If you have more website design experience, you’ll like that IONOS offers a full suite of developer tools to give you full control over your site’s code.
- Variety of WordPress plans. IONOS offers plans for basic shared WordPress hosting, managed hosting, WooCommerce managed hosting, and the WP PRO plan. So there’s at least one option to suit your WordPress hosting needs.
3. WordPress.com – Easy-to-Use Hosting for Basic Websites
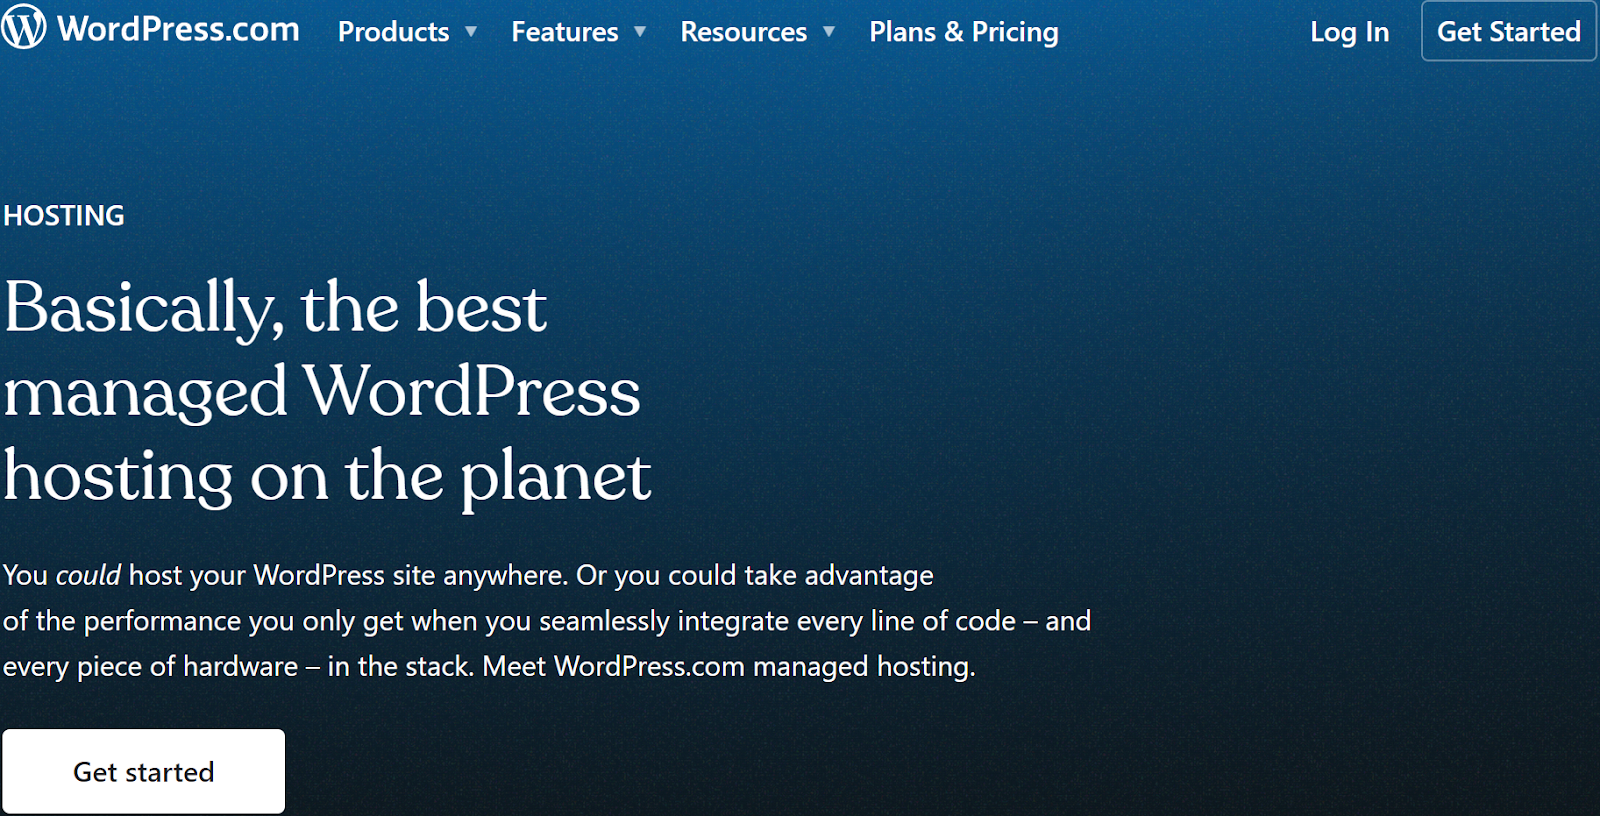
WordPress.com allows you to build your website using the WordPress CMS and host it on the same platform. It’s great if you want an easier version of WordPress without having to worry about any hosting details. Plus, WordPress.com even offers a fully free plan.
However, you’ll need a paid plan to connect a custom domain, you only get a limited selection of themes, and you can’t install plugins or third-party themes without paying a hefty monthly fee. Still, if you’re looking for something to dip your toes in the water, WordPress.com is a great entry point.
Features
- A selection of free templates. WordPress.com offers an impressive collection of free templates to cover nearly any need. These aren’t too advanced, but they’re great if all you want to build is a simple blog.
- Collect payments from your site. Starting from the personal plan, WordPress lets you accept payments directly from your site.
- Built-in subscription tools. With the personal plan and up, you can collect paid subscribers and create premium, gated content on your site.
4. Nexcess – The Best Option for Larger Ventures
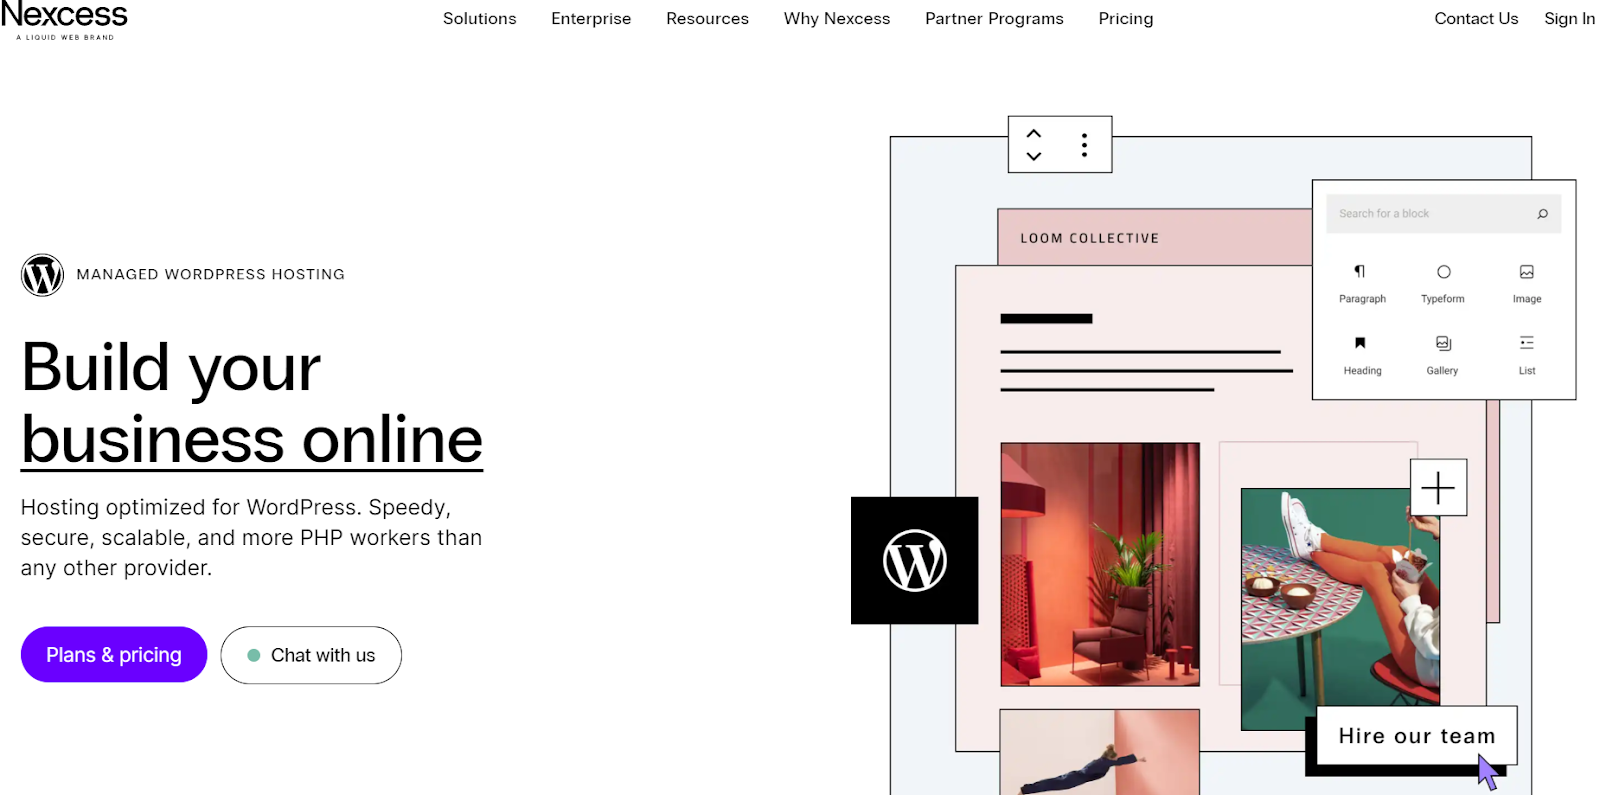
Nexcess offers outstanding features and infrastructure capable of handling large sites. It’s a great host if you’re planning to create a big site with regularly updated content, like a media site or an online store. It offers fantastic support and free daily backups, and you can add multiple user accounts which is a great bonus for large teams.
That said, Nexcess does come with a hefty price tag, so I’d only recommend it if you’re creating a site that earns enough revenue to justify the investment.
Features
- Performance optimization tools. Nexcess offers a suite of in-house monitoring and optimization tools to ensure that your site is running at top-of-the-line speeds.
- Plugin performance monitor. With this plugin, you’ll always receive the latest info about your site’s performance.
- Language translation tools. If you’re planning on going international, Nexcess offers tools to help you translate every part of your website with ease.
Step 3: Sign Up, Choose a Domain Name, and Install WordPress.
Now that you’ve found the ideal host for you, feel free to create an account, but don’t choose a plan yet. First, you need to choose the ideal domain name for your website. Your domain is the most identifiable aspect of your site, so make sure to pick something that’s catchy and effectively conveys what your site is.
If you already have a domain name in mind, great! If not, I won’t dwell on it too much here, but I recommend you check out our comprehensive guide to choosing the perfect domain name.
With the perfect domain name in mind, head back to your host of choice and select the best WordPress plan for your needs. If you don’t know where to start, I recommend choosing the cheapest available plan with managed WordPress hosting. Managed hosting means that the host will take care of server optimizations, so you’ll get an extra level of reliability for your site. You can always upgrade to a higher-tiered plan as your site grows.
I’ll be using Hostinger to create my site since it offers the best features for my needs (and I personally prefer the proprietary hPanel to cPanel), but every one of the following steps should look similar regardless of your hosting provider.
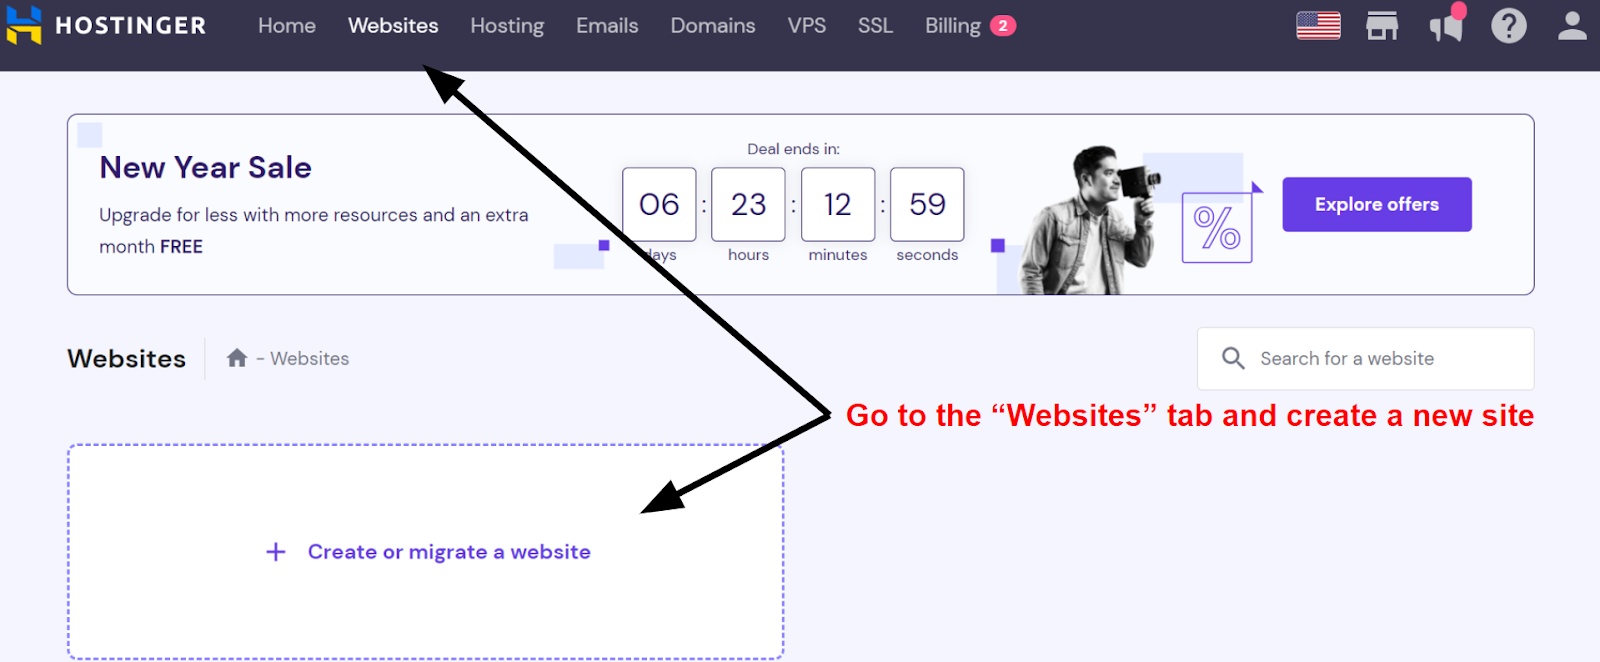
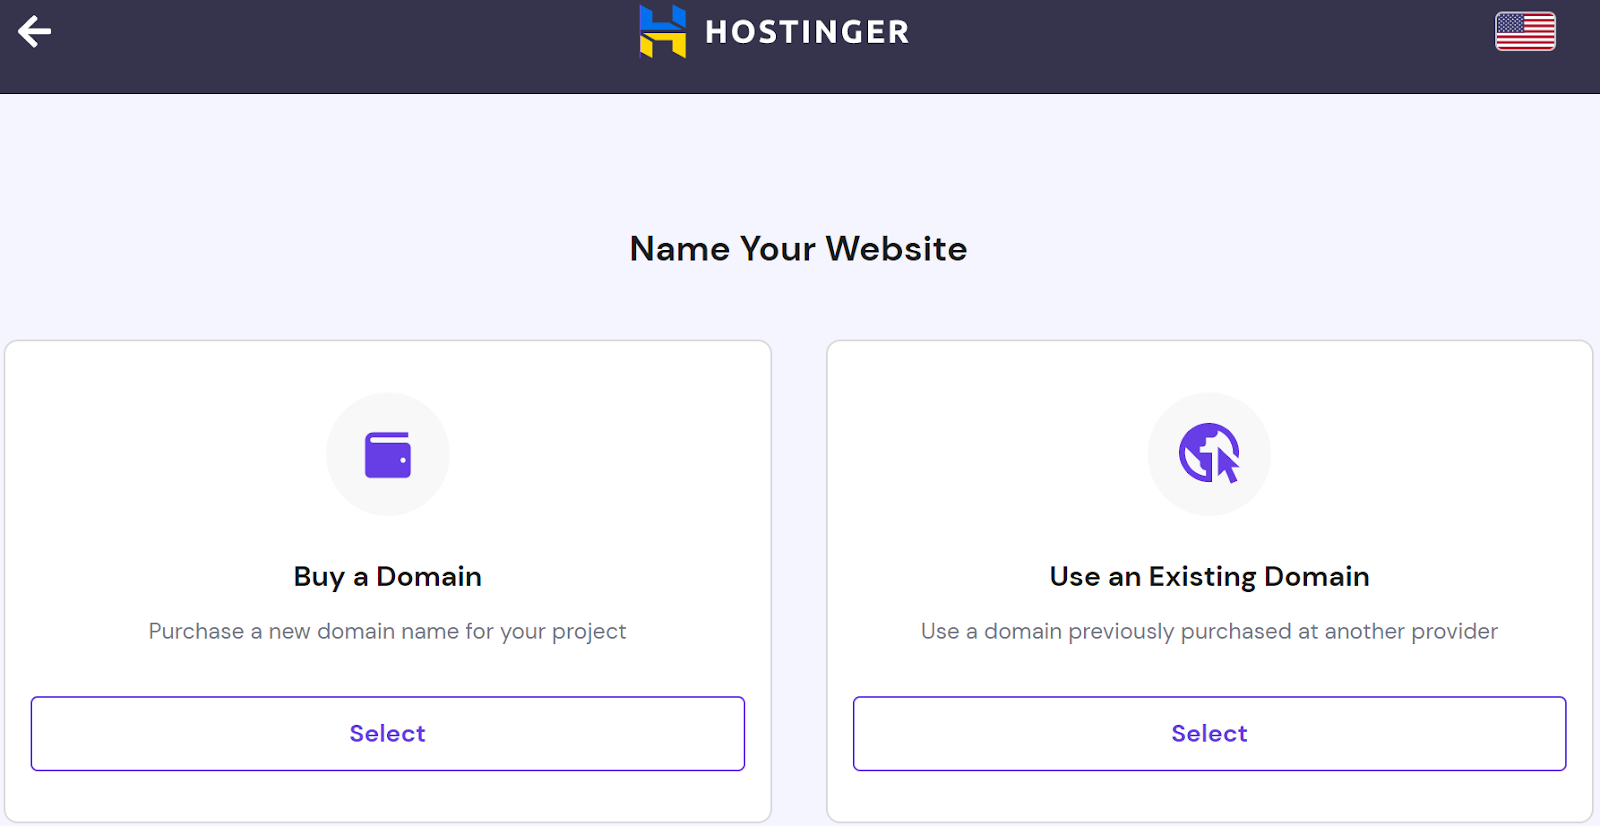
Once you’ve selected your plan, go to your hosting panel and click on Create or migrate a website (or a similar option). Then, select the option to create a WordPress site. From there, you can either purchase a domain for your site or connect an existing domain registered elsewhere. Most hosting providers offer a free domain for a year with their annual plans, so now’s the time to cash it in.
Once you’re done, all you have to do is wait for WordPress to install. While many web hosts offer automatic WordPress installation, you may need to use Softaculous or a similar app installer to complete the process. This step is generally straightforward, but if you run into any issues, be sure to contact your hosting provider.
Step 4: Plan Out Your Site
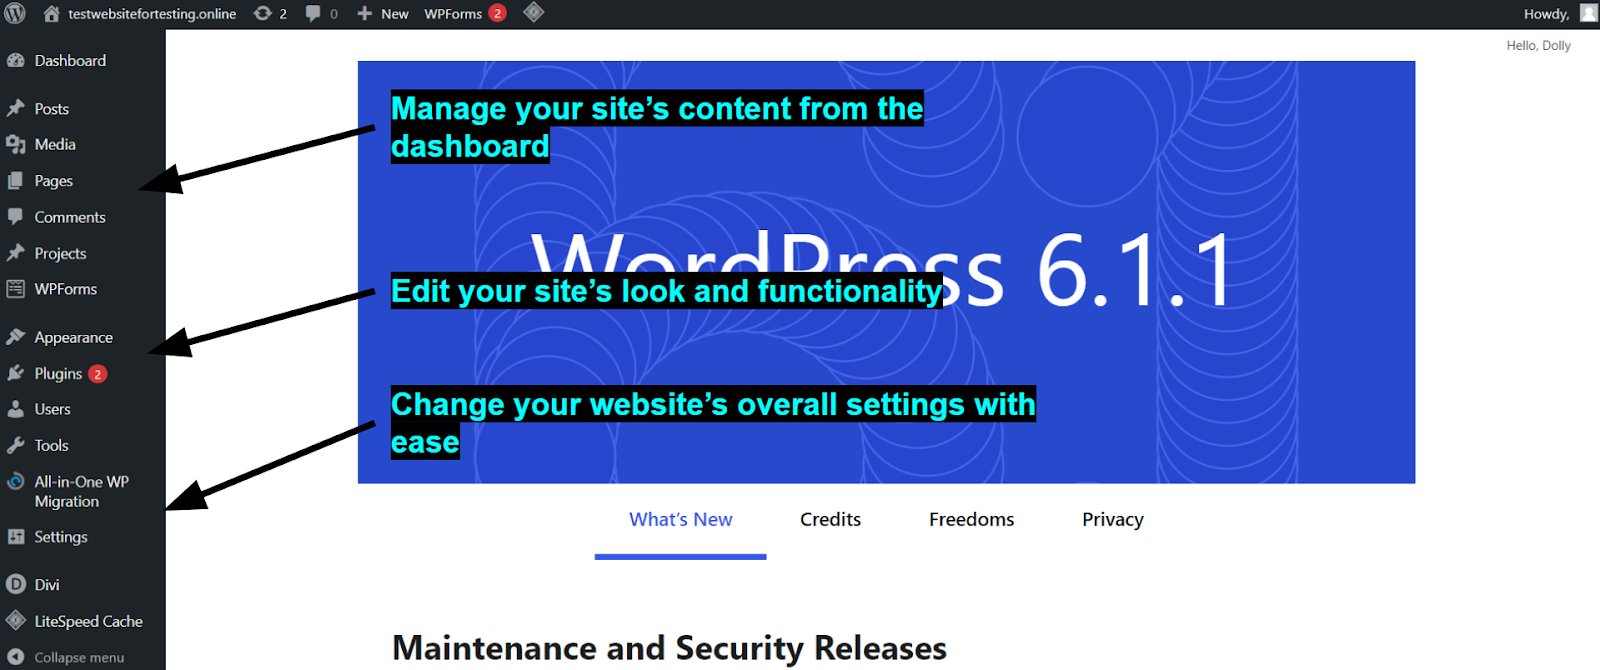
Before we go any further, it’s a good idea for you to familiarize yourself with the WordPress dashboard. That’s where you’ll be managing the backend of your site, and though it might seem daunting at first, it’s actually rather user-friendly (even if it’s not particularly pretty).
If you’ve never ventured into WordPress before, I recommend that you install one of WordPress’ free themes and create a couple of posts and pages just for practice. Don’t worry too much about relating it to your original idea. In fact, feel free to fill this site with complete nonsense. The idea here is to help you learn by doing, and you can delete all those pages once you feel confident navigating the WordPress dashboard.
Once you have a clear(er) idea of how WordPress works and what it can do, you can start building the “skeleton” of your site.
The planning stage will look different for everyone. I created a pen-and-paper flowchart for my site’s navigation. But you might prefer to write it out as a list, or even create the most important pages and leave them blank for the moment. Either way, what’s important is that you have a clear notion of how you want your site to be structured.
I would also recommend that you sketch out your site’s look at this stage. You can also decide on things like your color palette and fonts of choice, but all that stuff is likely to change as you start editing.
Step 5: Choose a Theme That Fits Your Style
Now that the preliminaries are out of the way and you have a good idea of what you want your website to be, it’s time to start building it. On your WordPress dashboard, head over to Appearance, select Themes, and then Add New Theme.
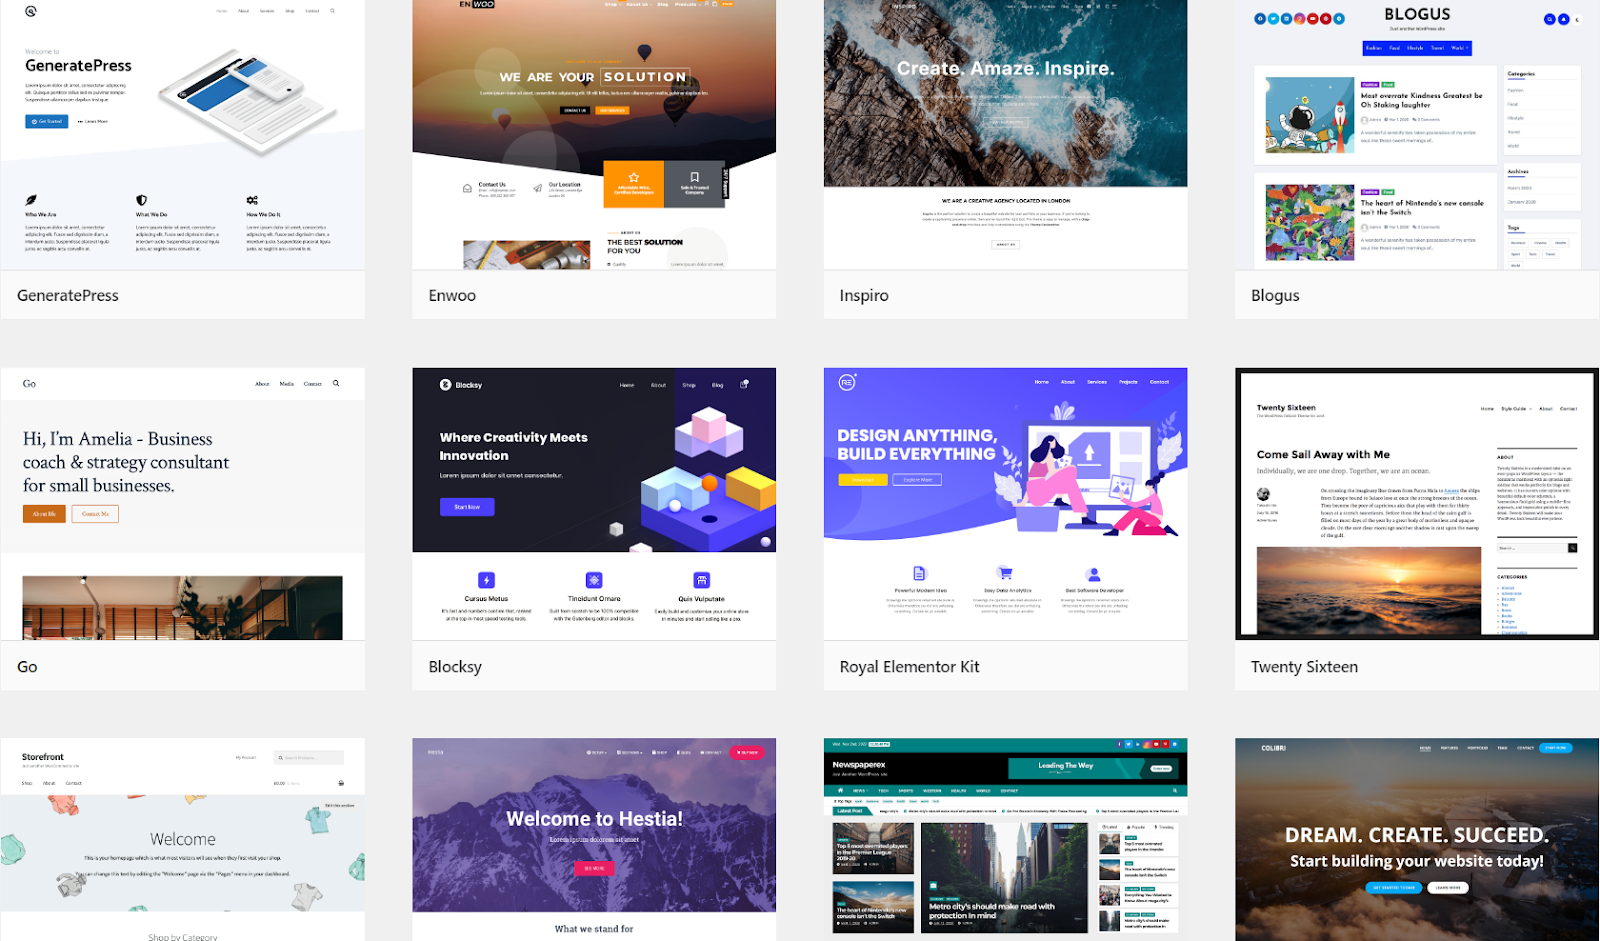
WordPress offers a catalog of over 5000 unique themes that you can filter based on subject, features, and layout. If none of the free WordPress options catch your eye, there are also thousands of free and premium third-party themes out there. Most of the built-in WordPress themes are made for simple sites with lots of dynamic content (i.e. blogs). If you’re looking for something a little more advanced, I recommend that you check out the premium themes available on marketplaces like Envato, TemplateMonster, and Elegant Themes.
If you plan on using a page builder for your site (such as Elementor, Divi, or Beaver Builder), install that first. Your page builder of choice might come with built-in templates that could work for your site.
To install a page builder, go to your WordPress dashboard, select Plugins, and then Add New. If you’ve already purchased your page builder from a third party, all you have to do is click on Upload Plugin and upload the relevant .zip file from your computer. You can also search for your page builder of choice directly from the Search Plugins bar.

For me, Divi by Elegant Themes was a clear choice since it offers both a very intuitive visual builder and a selection of modern-looking pre-made layouts, including a couple explicitly made for podcasts.
Step 6: Install Your Plugins & Integrations
Don’t worry if there’s a specific feature that you’re looking for and can’t find on your dashboard – that’s what plugins are for. I mentioned site-builder plugins before, but there are thousands of WordPress plugins available online, each of which can expand your website in virtually limitless ways.
If you have something specific in mind or want to integrate your site with any other software or service (like Twitch, YouTube, Instagram, WooCommerce, and more), now is the time to install the relevant integrations.
Even if you weren’t dead set on any plugins before, I would still recommend installing a few to help you in the following aspects:
- SEO. Search engine optimization is crucial if you’re trying to get your site on the map. Though WordPress offers some basic SEO settings, there are plenty of tools out there that can give you a much more substantial leg-up in your search engine rankings. Some of the most popular SEO plugins are All in One SEO and Yoast SEO.
- Optimization. It’s important to keep your site’s performance in mind at all times. Optimization plugins work in the background to make your site as fast as possible. I mainly recommend the LiteSpeed Cache for WordPress (LSCWP), especially if your site is hosted on Hostinger.
- Analytics. Once your site is live, it’s important to have access to actionable information that can help you identify potential pain spots and keep improving your site. I recommend MonsterInsights or HubSpot.
- E-commerce. WordPress doesn’t include any e-commerce functions on its own, but there are hundreds of e-commerce plugins available if you want to sell stuff from your site. WooCommerce is the obvious choice, but there are cheaper alternatives available.
You can install optimization and SEO plugins pretty much whenever, but you may want to install any integrations with interface elements before you start customizing your site, like social media sharing plugins. That way, you can add the appropriate social media links and extra buttons as you edit.
Step 7: Customize Your Homepage
Remember when I said that design choices would change as you start customizing your site? Well, now’s the time to test that out. Start by customizing the general aspects of your site, such as background color, default fonts, navigation styles, etc.
Once you’re done, head over to your homepage and fine-tune the design. Don’t focus too much on your other pages or content right now. First, make sure that your homepage looks exactly how you want it to look.
This process will vary depending on whether you’re using a page builder, and once again, your creative process will probably look different from mine. I’ll only include a quick overview of both options below, but it’s important that you don’t rush this process. Take as long as you need to ensure that you’re satisfied with the result.
Method 1: Using the WordPress Editor
From your dashboard, head over to Appearance and choose Editor. You’ll get redirected to your website’s homepage. Before you start editing, click on the black and white circle on the top right. From there, you’ll be able to edit the overall styles of your site, such as your site’s colors, typography, and layout. You can also edit the look of specific blocks if you want to make changes across your site.
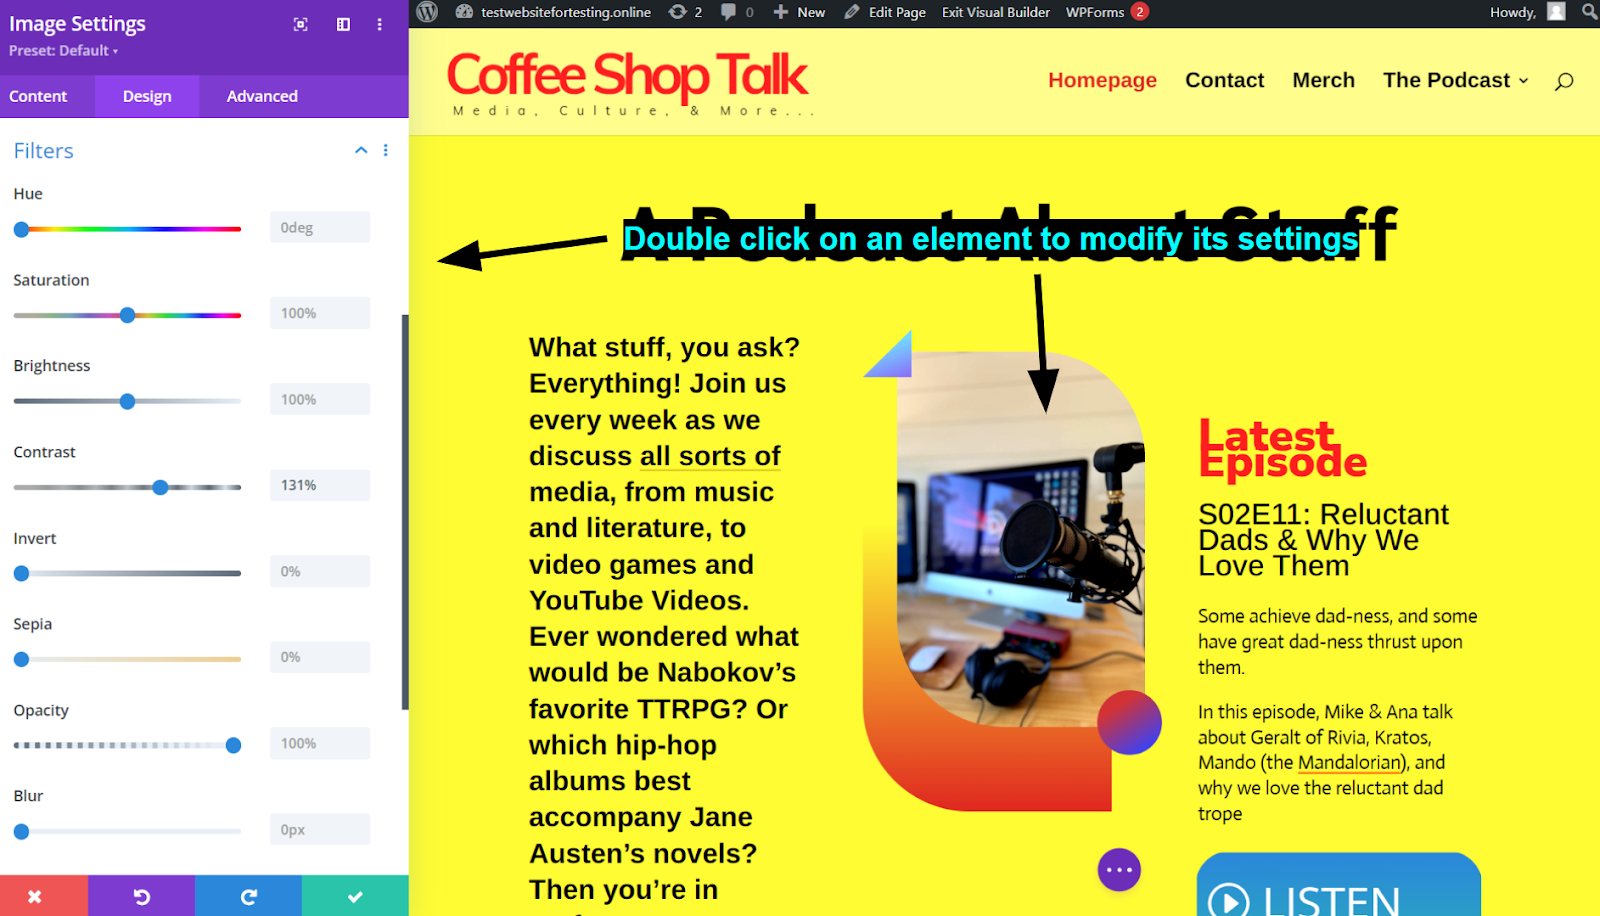
Once you’re happy with your settings, click on the plus sign in the upper left corner to add “blocks” to your site. Each block is a specific element that you can arrange within WordPress’ structure, such as headings, quotes, and images.
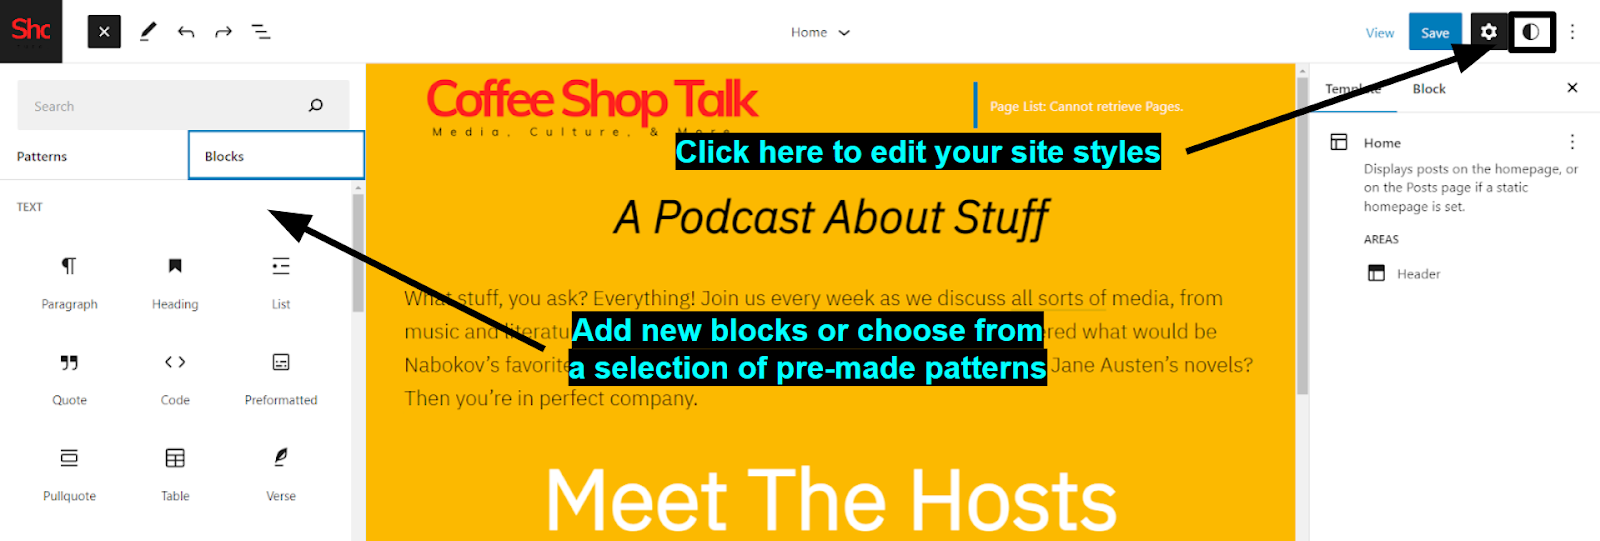
If you want to change a block’s settings, all you have to do is click on it and tinker with the pop-up menu on the right. Depending on your theme, you can also choose from a selection of pre-made “patterns.” Patterns are collections of blocks arranged for a specific purpose, such as adding an image with captions, a sign-up button, or contact forms.
Remember that you can add design blocks like columns and rows to break up the visual monotony of a page.
Method 2: Using a Page Builder
To be completely honest, I’ve never liked the built-in WordPress editor. Don’t get me wrong, you can create some stunning sites using it. But it takes a lot of patience and the process can often be frustrating.
Page builders can turn the whole process into a much more streamlined and enjoyable experience. I’m going to use the Divi page builder for this example. The specifics might vary, but the general process should be similar to any other page builder.
Once installed, your page builder should have its own icon on the dashboard. Click there to change the overall site settings, such as backgrounds, types, and colors.
When you’re ready to start editing, go to Pages, select your homepage, and click the edit with [Builder] option. If you haven’t already, choose one of your builder’s pre-made layouts and start editing.
Most builders will give you the option to add new content blocks by dragging them from a menu or by clicking a plus sign in your desired position. If you want to modify the properties of an element, click on it and head to the pop-up menu on the left. There, you can alter the element’s settings as much as you want.
Keep tinkering until you’re fully satisfied with how your homepage looks. You can add placeholder links or buttons if you want your homepage to connect to other pages you haven’t published yet.
Step 8: Finish Customizing Your Website and Site Settings
Getting your homepage just right will probably involve more tinkering and patience than you anticipated. The good news is that now that you’ve taken the time to go through the previous step, customizing the rest of your pages should be relatively easy.
Keep adding and editing pages based on your initial structure, but if there’s any content that feels redundant or unnecessary by now, feel free to err on the conservative side. More pages mean more variety, but they can also dilute your audience’s attention and leave visitors feeling aimless.
Make sure that you select the option to “publish” a page when you’re done editing. Then, head back to your dashboard, select Appearance, and click on Menus. Unsurprisingly, this tab is where you’ll be able to create and edit your site’s menus.
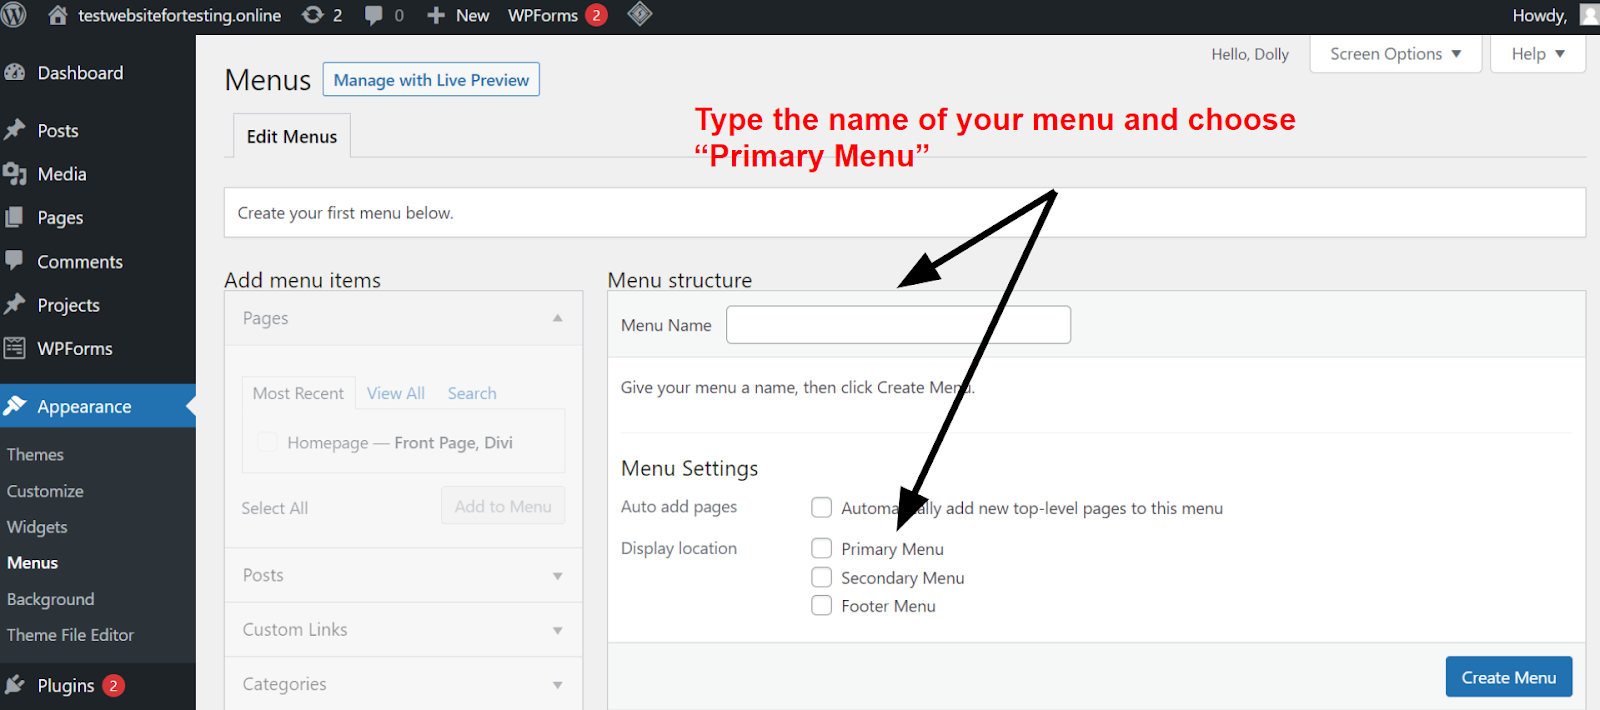
Start by typing the name of your menu, selecting Primary Menu, and then clicking on Create Menu. Once you’ve created your main menu, all you have to do is select which pages you wish to add to it and select Add to Menu.
Now that you’ve got navigation sorted out, you’re all but ready to publish your website for the world to see. But first, head over to the Settings tab on your dashboard. Most likely, you won’t be doing much here, but it’s important that you’re completely happy with every aspect of your site – from your homepage to the date format – before you move on to the last step.
Step 9: Preview Your Website and Optimize Performance
Open an incognito tab in any browser and type in your domain name to take a look at your site. After all that planning and building, all you have to do is re-check your work. Make sure that you like the way your website looks, that there are no broken links, and that you’re not forgetting any important pages.
If you do find something you don’t like, just head back to your dashboard and make the relevant changes. Try not to do this immediately after first finishing your site. Some rest and a little time can do wonders for your perspective.
Once you’re done re-checking, head over to GTmetrix to test out the performance of your site. A properly optimized site will rank higher in search engine listings and attract more visitors.
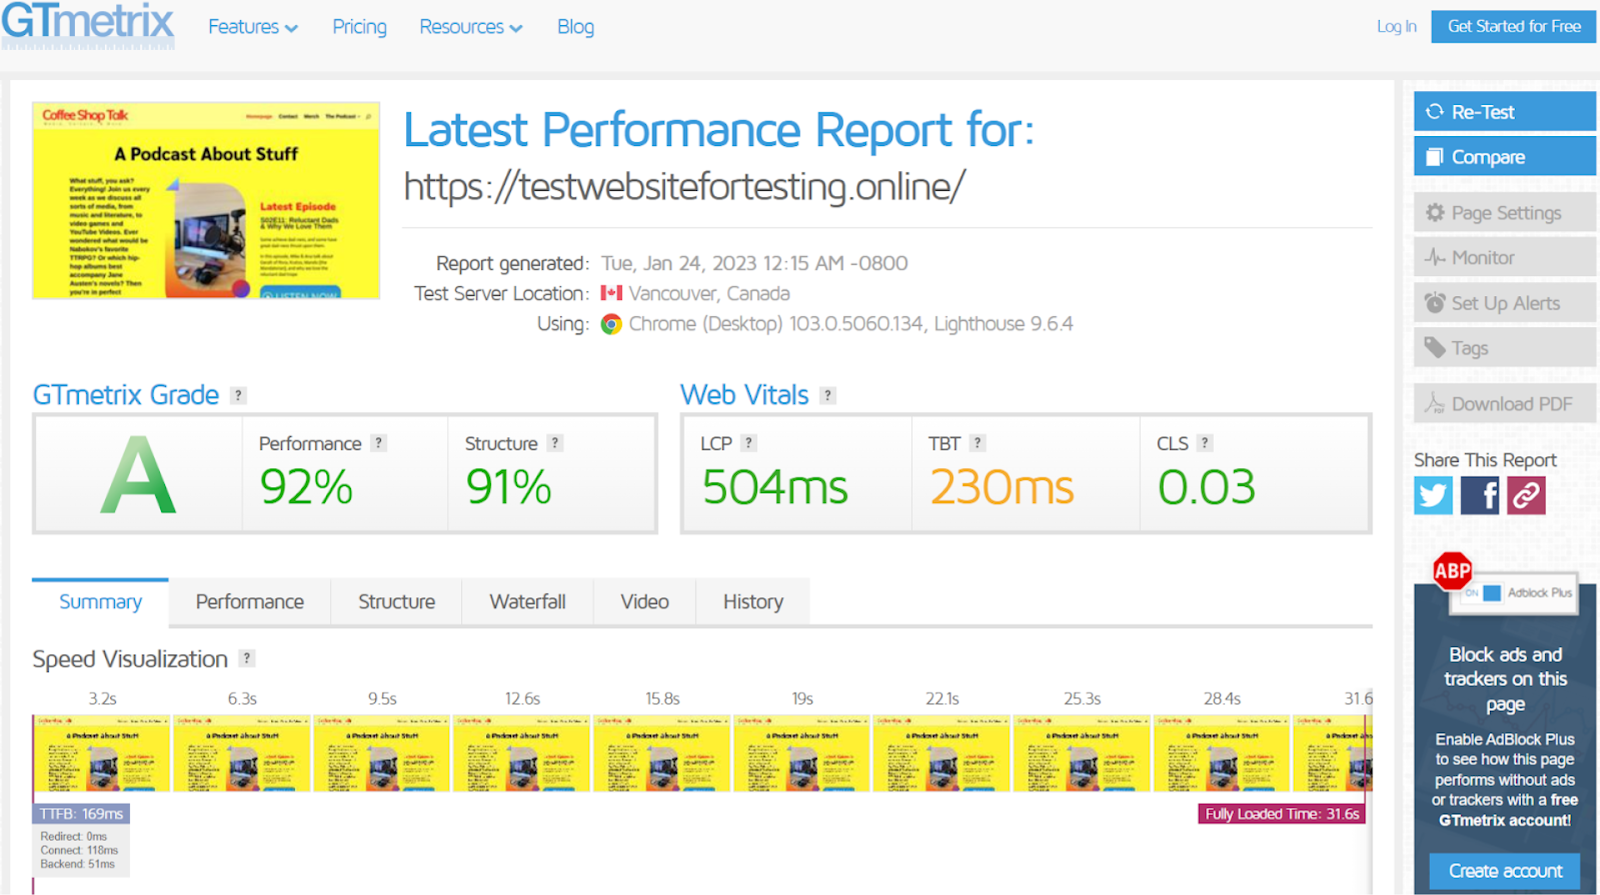
I recommend shooting for at least a B+ rating. Don’t worry too much if you get a lower score, as there’s plenty you can do to fix that. You can always compress images, reduce non-essential content that might be clogging up the loading times, and install one of the many optimization plugins available for WordPress.
It might take some trial and error. But the good news is that once you get your site to a high enough score, you’ll be ready to share it with the world!
One More Thing: Keep Your Site Fresh!
Creating your own WordPress website might seem like an intimidating task at first, but there’s no need to be afraid. Take the process one step at a time, and you’ll soon find yourself with the website of your dreams.
As a last piece of advice: don’t neglect your website. Make sure that you’re constantly updating your website to keep it relevant and keep growing your audience. Post regular updates on blog posts, try to follow the best SEO practices, and reward visitors for coming back.
The work of maintaining a website is never finished. But just like you did while creating your website, if you take it step by step, you’ll see that it’s far from impossible.