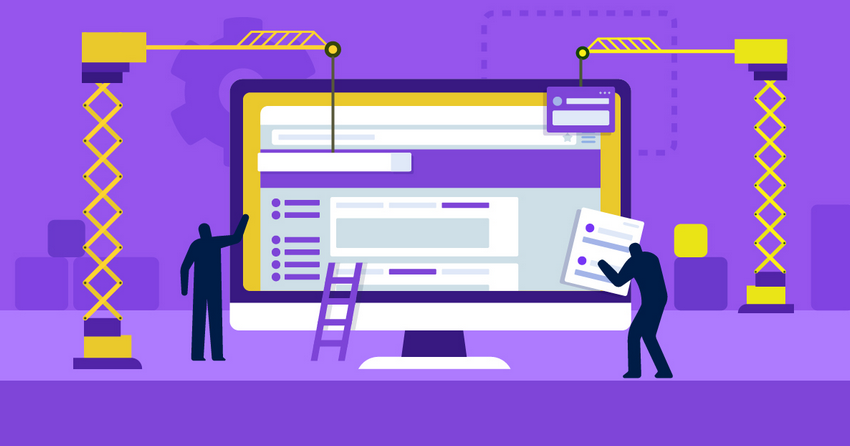
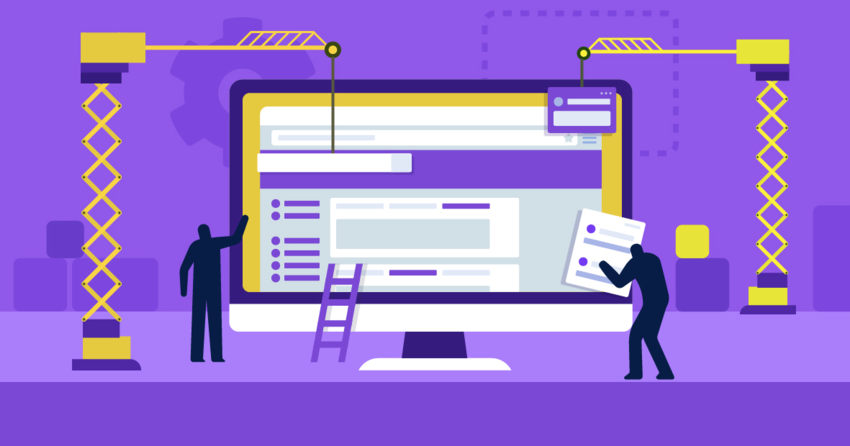
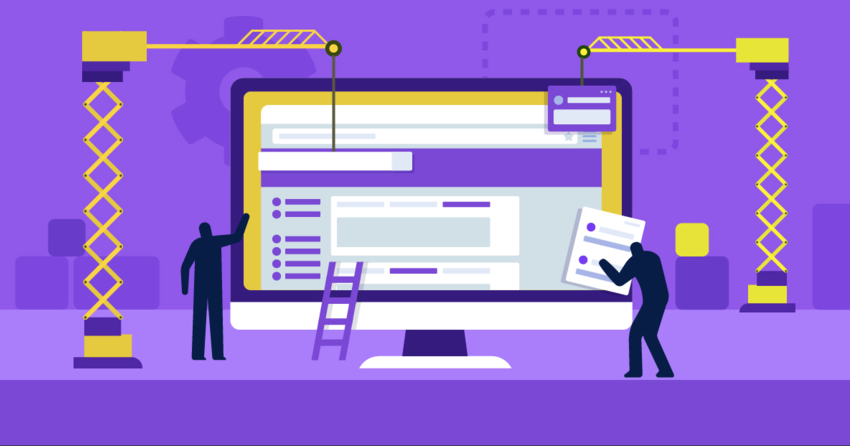
Setting up your first Shopify online store can feel a bit like diving in the deep end. There’s just so much to consider, it can be hard to know where to start.
The first time I set up an online store, I got bogged down in the details. I tried to perfect my logo design, agonized over fonts and color palettes, and wrote and rewrote my product descriptions. I spent weeks – and by the end I didn’t have anything to show for it.
Only later did I realize that I fell into the classic newbie trap of trying to make everything perfect rather than actually get the website up and running. The aim is to sell things, right?
Take it from me: you can save yourself a lot of time and stress by just steaming on ahead to create a basic, perfectly functional store. This can be accomplished in as little as 30 minutes – this step-by-step guide will show you how – and you’ll learn a lot about using Shopify along the way.
Once you’ve done that, you can go back and perfect the details before you launch your website. Think of it like drawing the outline before you start working on the shading. So strap in and let’s get building!
Get 10 % Off E-Commerce Management Services
Take an additional 10 % off Fiverr
1. Sign Up
First things first: let’s get signed up. It couldn’t be easier. From the Shopify homepage, simply enter your email, and hit the green Start free trial button.
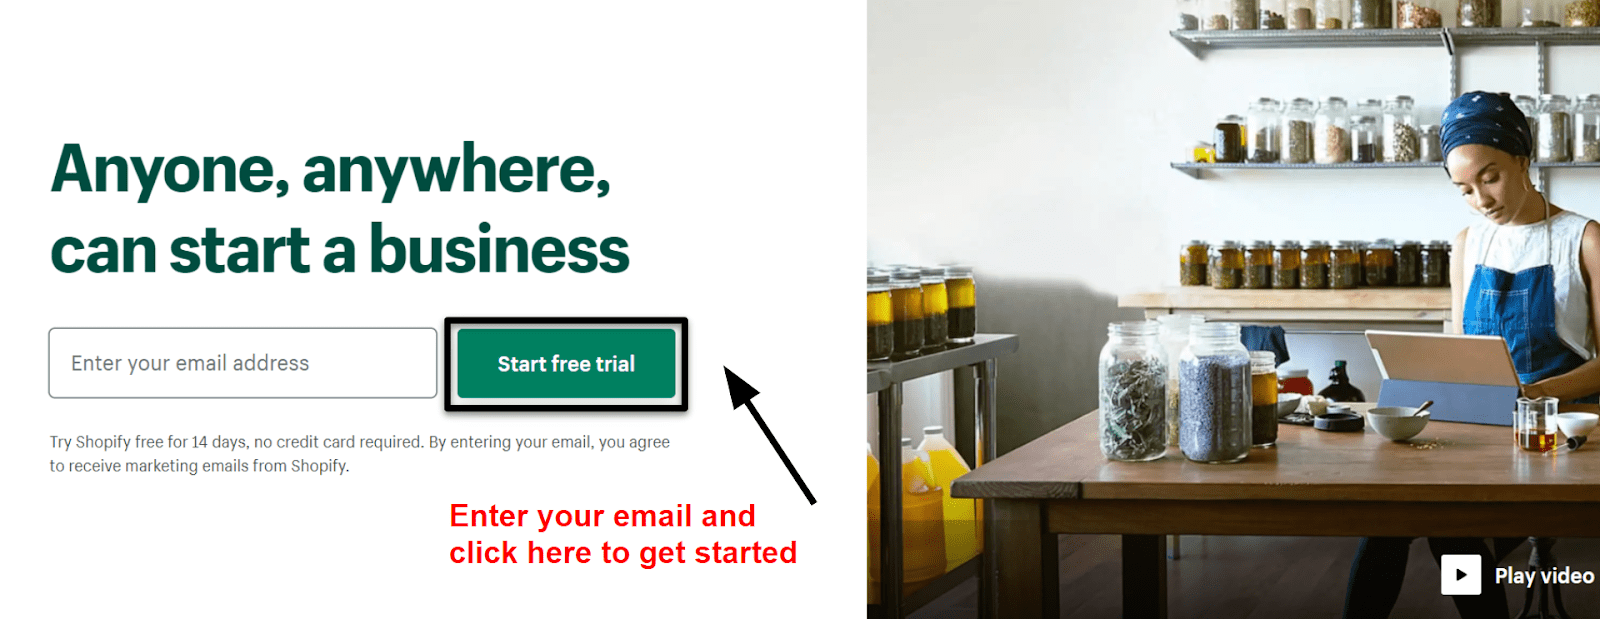
Although Shopify doesn’t offer a free plan (which are actually pretty rare in the world of e-commerce builders), it does have a 14-day free trial. This at least gives you a chance to play around with the platform and decide if it works for you. And you don’t need to enter any card details until you go live.
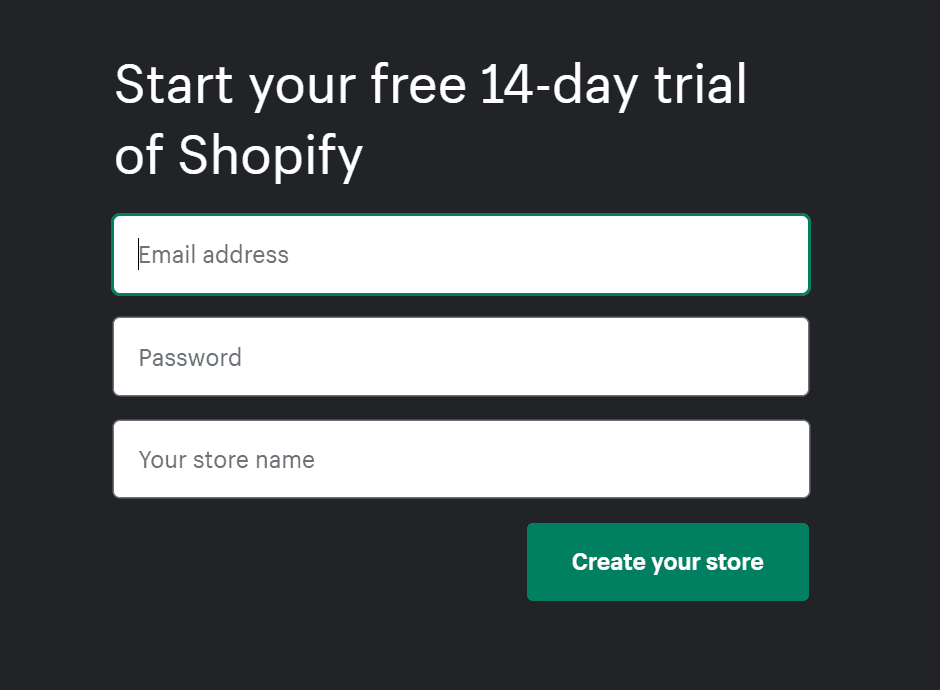
All you’ll need to do is enter your email, create a password, and give your store a name. This name will become the default URL for your website (e.g. myshop.myshopify.com). You won’t be able to change this URL, but you can (and indeed probably should) buy a custom domain later on, so don’t worry too much about picking the perfect name.
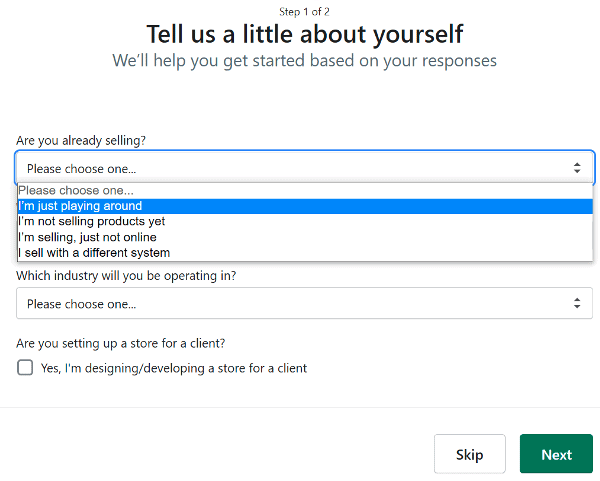
Next, Shopify will ask you to give a little bit more information about yourself, including your name, address, country, and contact number, as well as some questions about your products.
It’s important to be as accurate and specific as possible, as this will help Shopify configure your storefront for the exact kind of products you’re selling. If you’re just trying it out, you can select I’m just playing around from the dropdown menu.
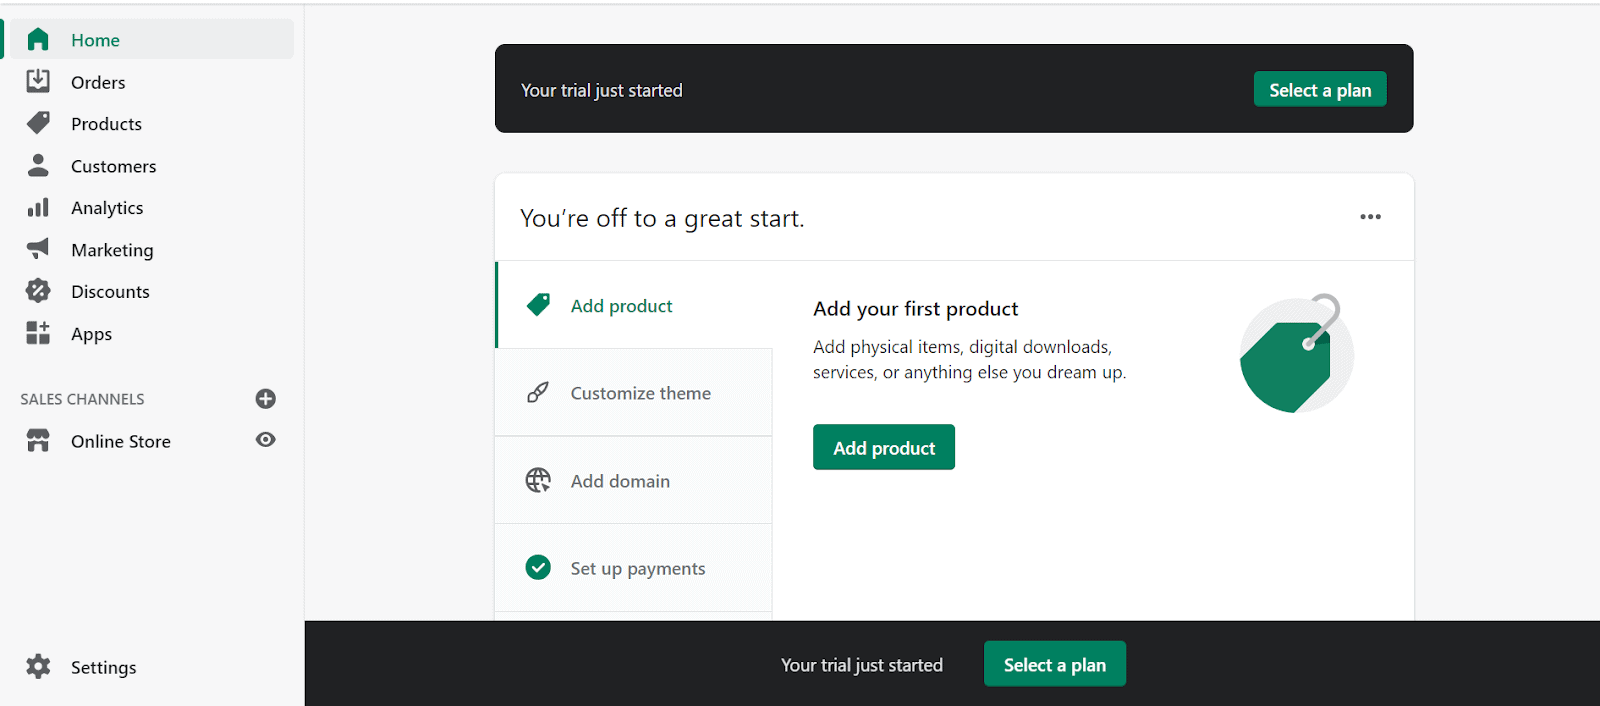
Once you’ve entered this info, your signup process is complete! You’ll go straight to your Shopify dashboard, which is kind of like the mothership for creating and managing your online store. This is where you’ll add products, manage orders, set shipping rates, install apps, etc. (more on all of that in a second). Have a look around and get familiar with all the different elements. You’ll be spending a lot of time here.
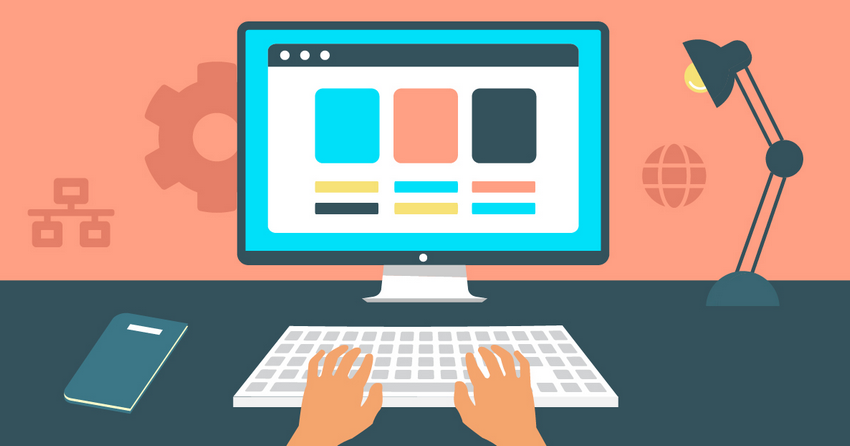
2. Choose a Theme and Customize Your Shopify Store
This is the fun part! Time to get your creative juices flowing as you polish your Shopify store design. From the dashboard, click Customize theme to get started. You can then either customize the default theme suggested by Shopify or choose a new one.
Like many other website builders, Shopify comes with its own library where you can find more than 70 templates(or, as it calls them, “themes”) that form the foundation of your store’s design. There are two types of themes on offer: free and premium. Scroll down to Theme library and click Visit theme store to browse them all.
It’s worth mentioning at this point that only the free themes are designed and supported by Shopify itself, while premium themes are made by third-party developers. This means if you encounter any issues with a paid theme, you’ll need to turn to its creator for support – Shopify won’t help you.

Free themes are, well, free, while paid themes cost in the region of $180 and offer more in the way of features and customization options.
Depending on the kind of online store you’ll be running, a paid theme might be worth the extra investment. For instance, only two of the free themes are designed for large product catalogues, while just five of them support high-definition images – and none of them let you add a custom size chart (e.g. for clothing or footwear) to your product pages.
You can filter themes by price or by category – although I wouldn’t necessarily recommend sticking only to the themes in your category. In fact, I find it’s usually best to select your theme based on its design and features, since you’re going to change the theme’s images and text to match your store anyway.
Remember, you can make tweaks to the layout, colors, and images as you go along. Each theme also comes in different styles that can vary quite a bit. So make sure you take a look at all your options before you count a theme out!
It’s also a good idea to preview a theme before installing it, to check out how it looks in real time. Just click on the View demo button. You can also read a theme’s reviews from other users, which can alert you to problems you might run into with a theme.

Once you’ve found the right theme, it’s time to start customizing. Just a few simple changes can massively change the appearance of your site, so you rest assured: no matter how popular a theme you pick, your shop can still look unique.
Also, if at some point you realize you made a mistake and you really want a different theme, you can always go back and pick a new one without losing any of your products or pages.
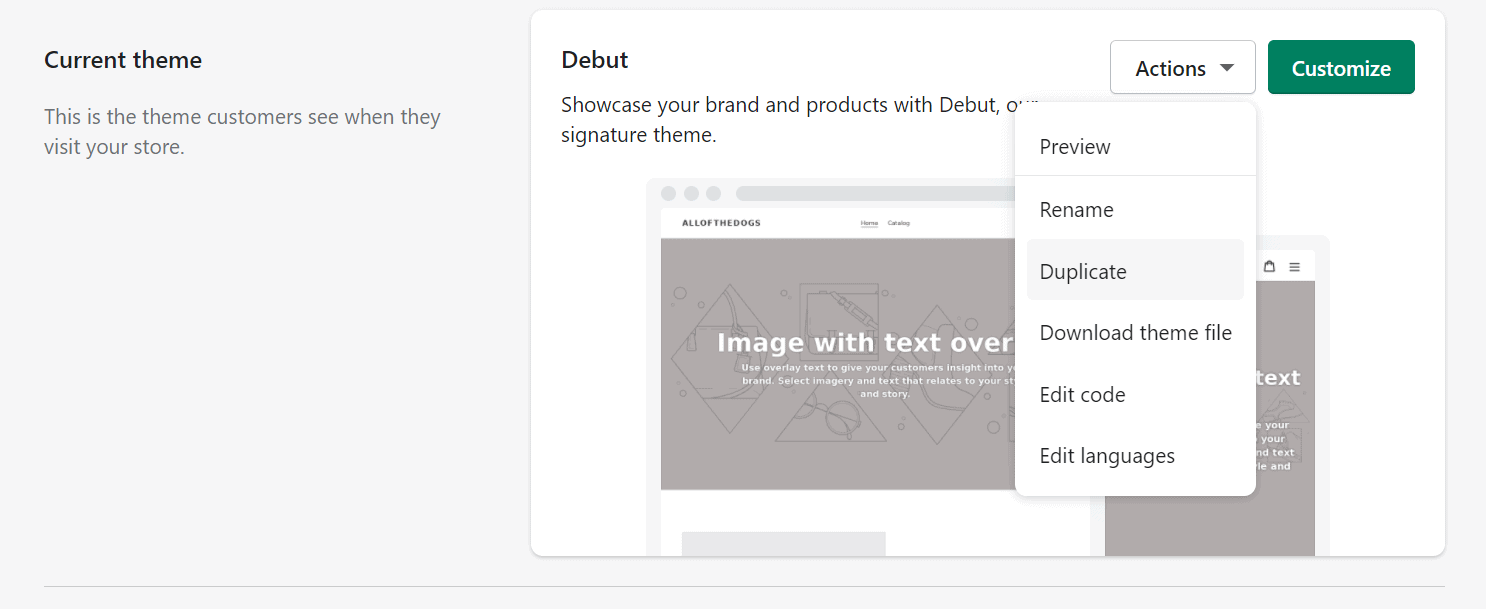
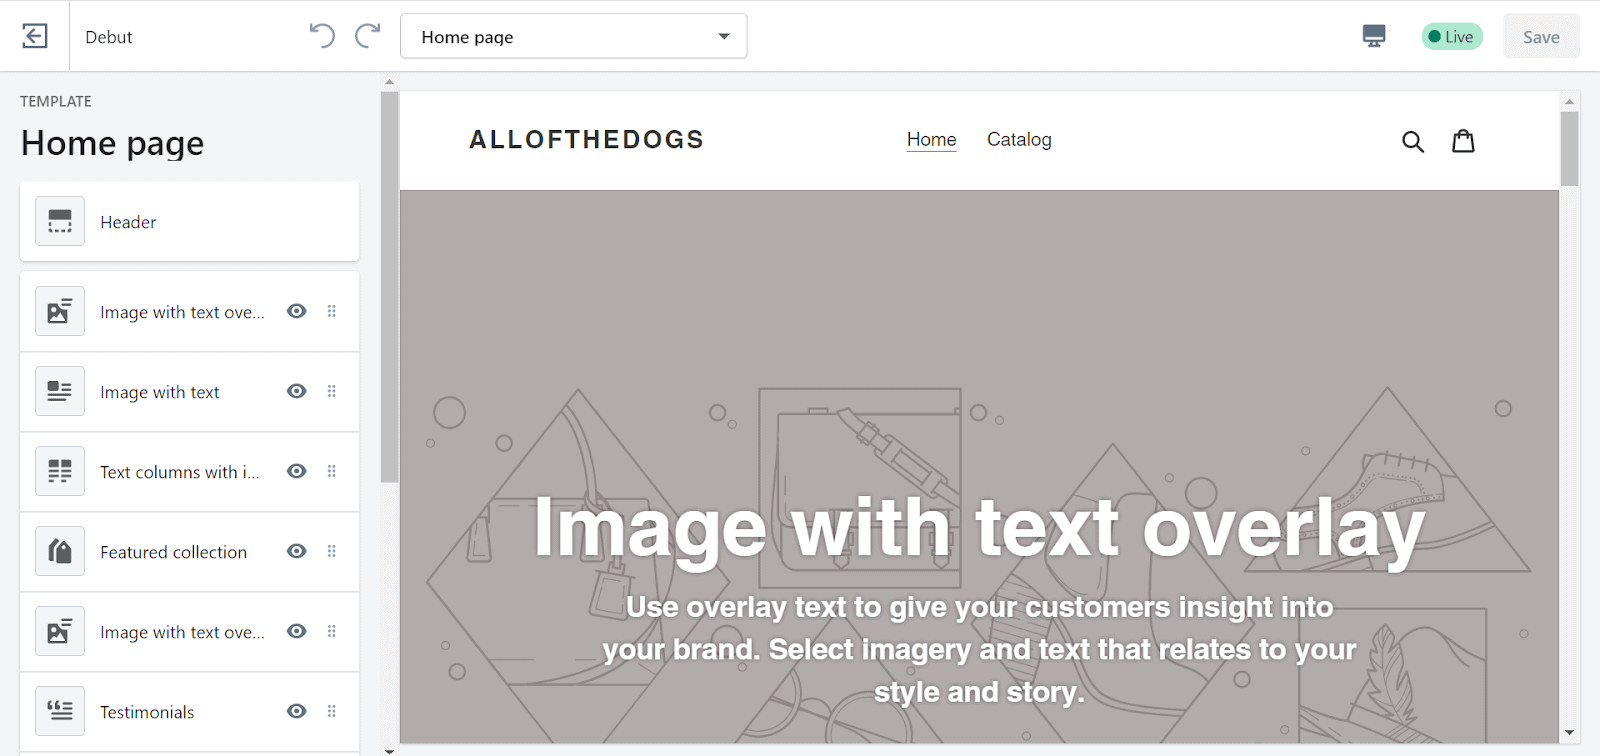
To start customizing your theme, click the Customize button. This opens the editor, allowing you to make all kinds of changes to the layout and design. Now it’s time to let loose with that online store design you’ve been dreaming of.
If aesthetics aren’t your strong suit, don’t be afraid to keep it simple. After all, your template was designed by a professional, so the fewer changes you make, probably the better. It’s way easier to go overboard and try to change or add too much. Plus, minimalism is so in right now.
If you really have a strong design idea for your site, though, you can make changes to your theme directly in the HTML and CSS if you’ve got the technical skills. If you’re code-averse, you could hire a “Shopify Expert” via the Experts Marketplace to fully customize your site.
Some of things you might want to add or change are:
- Store logo
- Color scheme
- Fonts
- Homepage slider or featured image
- Images
- Testimonials
- Gallery
- Products display on homepage
- “Related products” section
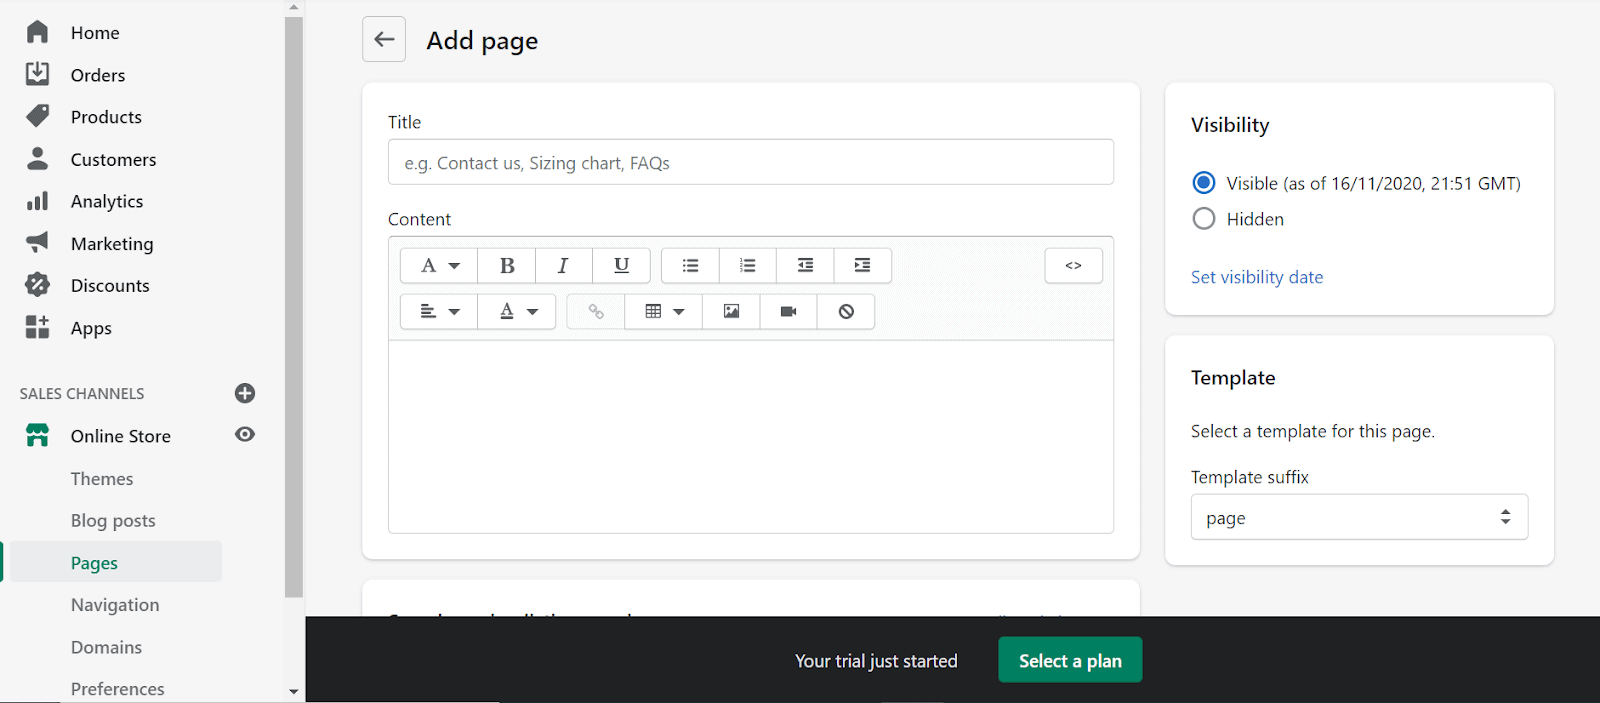
You might also want to add some additional pages. You can do this by navigating to Pages in your dashboard and then clicking on the Add page button. From there, you can enter your page name and content into the editor. Of course, everyone’s online store is different, but most websites will include the following pages:
- Contact us: Give visitors clear ways to reach you if they have questions, or point them to answers such as an FAQ page.
- Shipping information: Outline your shipping policy and rates, plus give details of where you ship to and standard delivery times.
- About us: Connect with potential customers by sharing your story and explaining why you sell your product. This helps to earn trust, especially if you’re a newer online store.
- Policy pages: Help protect yourself against legal disputes by including your returns policy and privacy policy on your site.
3. Add Products to Your Shopify Store
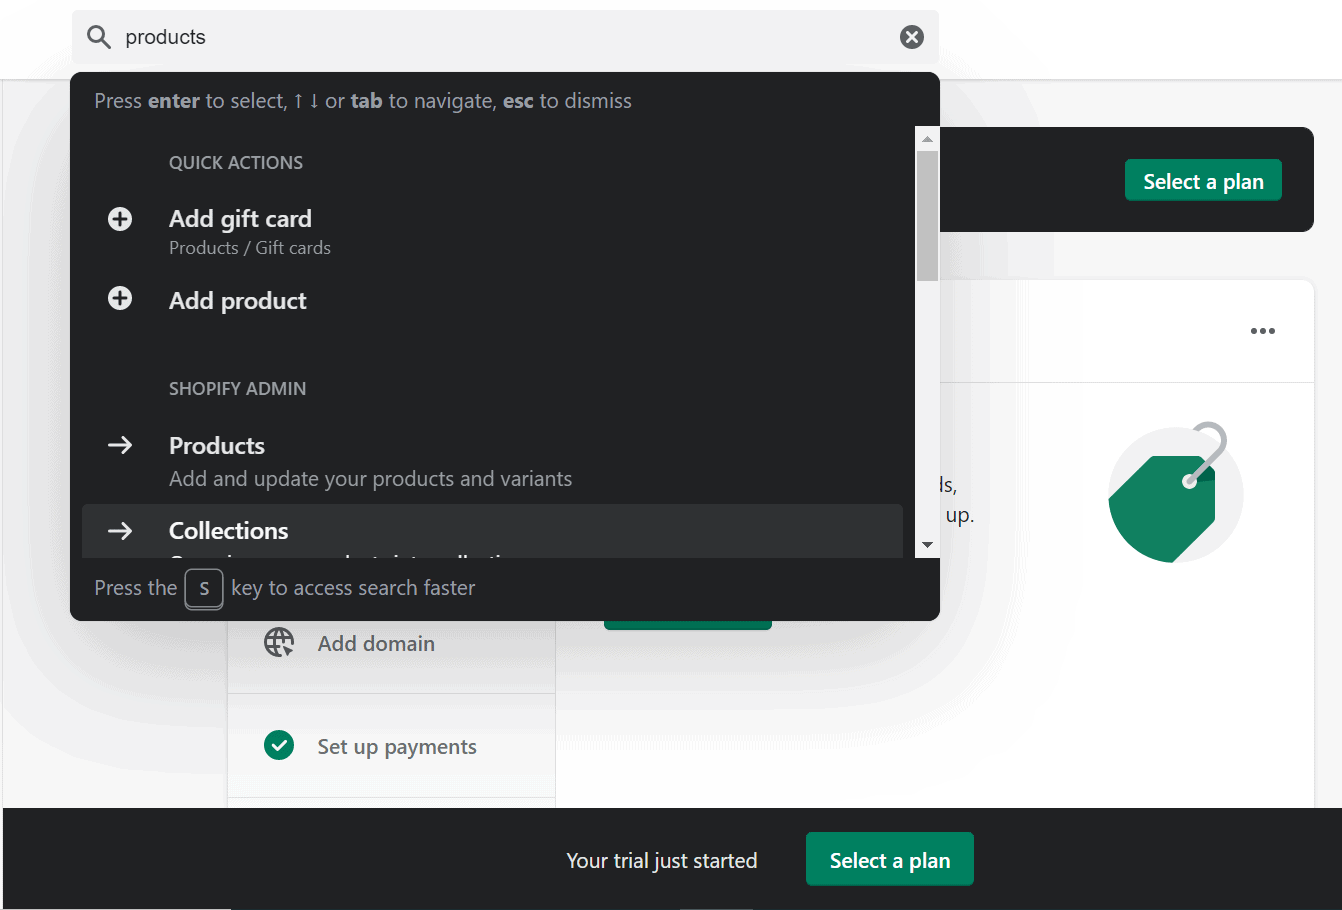
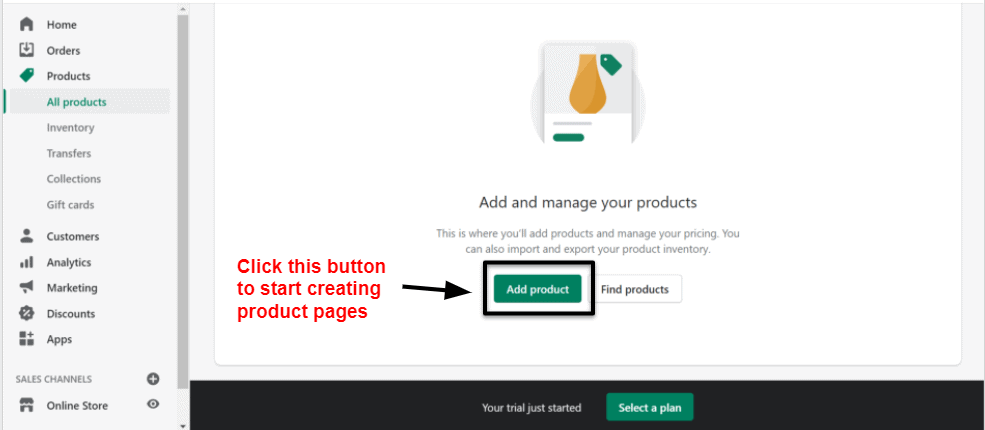
Now that your design is taken care of, it’s time to get into the nuts and bolts of your store – your products. From your dashboard, navigate to the Products tab. You’ll see a big green button that says Add product.
This brings up the new product page, where you can enter your product information. It’s worth taking your time here, because a good product description is essential if you want to convince customers to buy your goods. Think about your product’s key features and benefits and how you can highlight them in a few succinct sentences.

You also need a product image. And here, quality is key. Product images can make or break a sale. Nobody is going to part with their money based on a dark, low-quality, or blurry product image. Keep things neat and tidy by photographing your products against a plain background, and make sure all images have the same dimensions.
You also need to add the following product information:
- Product price
- Product cost (optional, to work out your profit margins)
- Inventory details (e.g. stock-keeping units – SKUs – and barcodes)
- Shipping information (e.g. weight, dimensions, customs information)
- Product variants (e.g. size, color, customization)
- Tags
Once you’ve finished adding information, hit Save product and your product is automatically added to your storefront.
Unless you’re creating a single-product store, it’s a good idea to create some product collections. Collections are groups of products that go well together or share features. For example:
- Products that target a specific audience (e.g. men’s clothing)
- Products that belong to a certain theme (e.g. bestsellers, sale items)
- Products that belong to a specific category (e.g. lamps, accessories, candles)
Collections are displayed as different options in your navigation menu, or as separate sections on your home page. This is an especially good idea if your store has lots of different products across multiple categories. It can help to separate out your site, so that visitors don’t have to scroll through endless pages to find what they’re looking for.
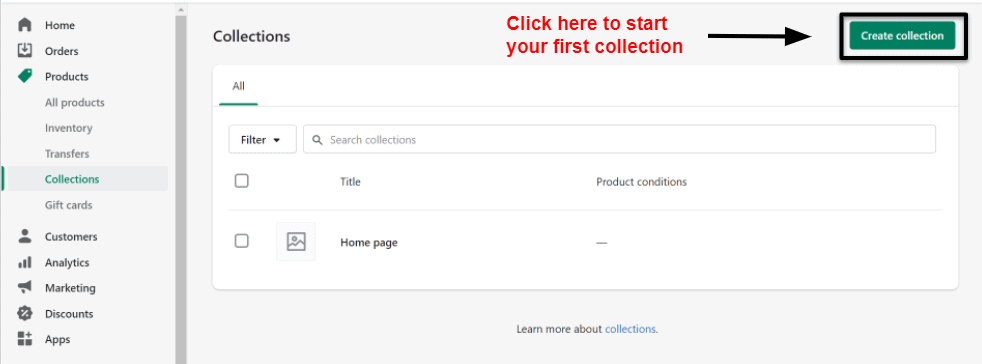
To create a collection, navigate to Products > Collection, then click on Create collection. You can then choose to add products either manually or automatically. With manual selection, you’ll need to add products to different categories yourself, one by one. With automatic selection, you create a set of conditions for each collection and Shopify will automatically add any product in your catalogue that meets those conditions. Products can appear in multiple collections simultaneously.

Optional Extra: Building a Shopify Dropshipping Store
Just as a side note: it’s perfectly possible to build an e-commerce store on Shopify without even having anything physical to sell, thanks to the miracle that is dropshipping.
What’s dropshipping, you ask? Well, it’s an incredibly popular method of retail fulfillment where you sell products online that are stocked and shipped by a third party.
It makes running your store incredibly simple, since you don’t have to worry about ordering, storing or shipping products at all. Plus, you’ll never run out of cash because you invested in too much stock upfront.
Dropshipping is therefore a very attractive option if you want to get going quickly in e-commerce – and, luckily, Shopify is one of the few builders on the market that offers it. To create a Shopify dropshipping store, simply install a dropshipping app like Spocket or DSers from the Shopify App Store and integrate it into your store. You can then directly import products to your site and start selling them immediately.
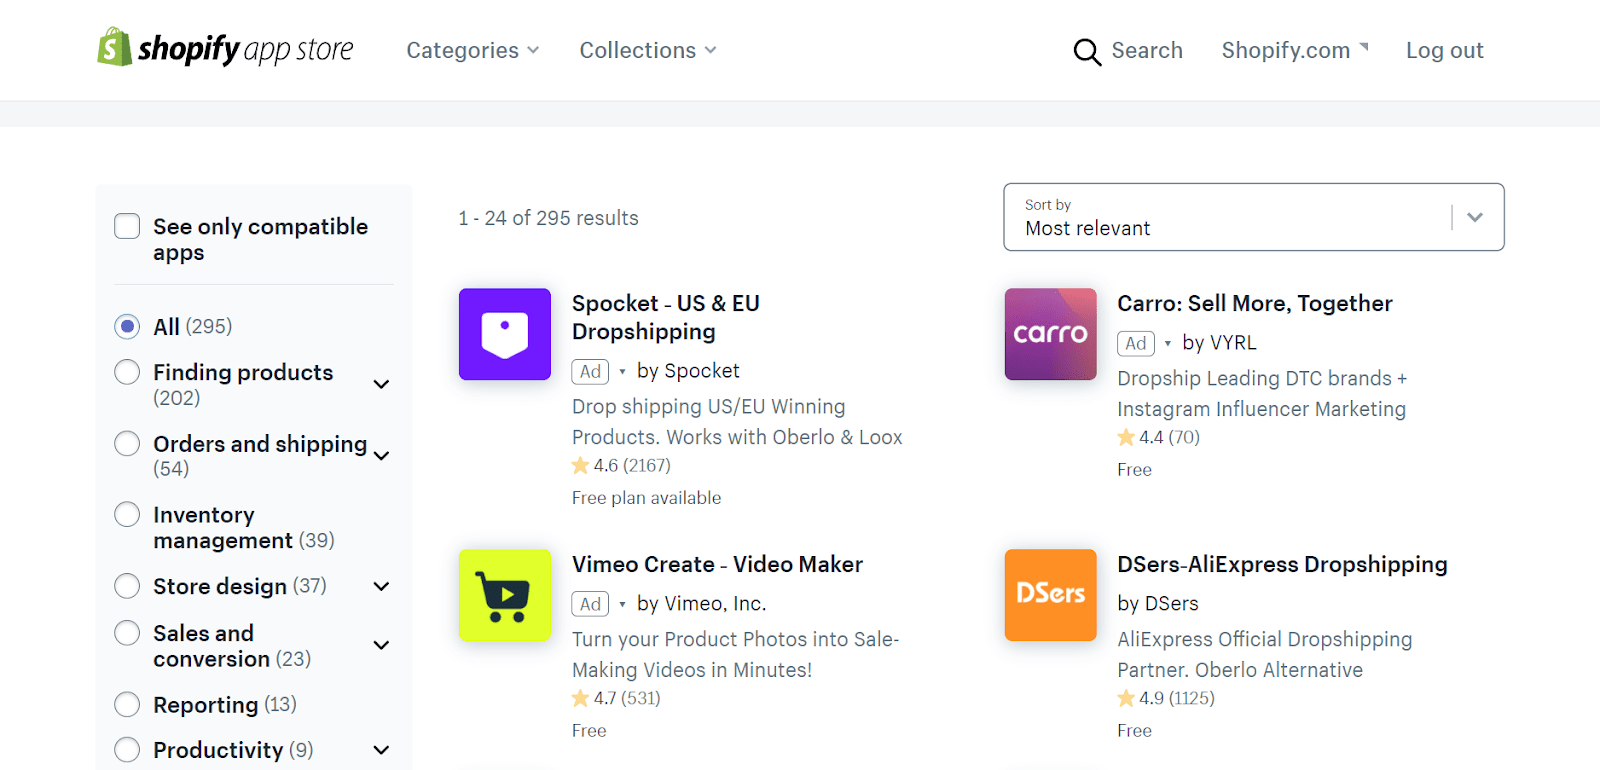
One of the most popular dropshipping apps is Oberlo, which allows you to import products from AliExpress. When a customer buys one of these products, you can fulfill the order with Oberlo directly via your Shopify dashboard, and the product is sent directly from the AliExpress supplier to the customer. Simple as that!
4. Set Up Your Payment Gateway
If you’re building an online store, you need to be able to take payments! Luckily, Shopify makes this super easy as well. To set up payments, navigate to Settings > Payments and choose your preferred method.
If you’re just getting started, Shopify Payments is probably the simplest method. It allows you to accept credit cards without having to redirect customers to third-party sites. But Shopify gives you a ton of other options, too, including PayPal, Apple Pay, Amazon Pay, Google Pay, and Shop Pay.
Alternatively, you can choose one of these best credit card processing services in 2026, and easily integrate it with your Shopify store.
If you’re not sure which payment processor to use, consider the following factors:
- Transaction fees: Some gateways will charge a small percentage or a flat fee for using their service.
- Card types: Most payment processors accept Visa and MasterCard, but do you want your customers to be able to pay with American Express or PayPal as well?
- Off-site checkout: Does the gateway process payments on your website, or via their own servers?

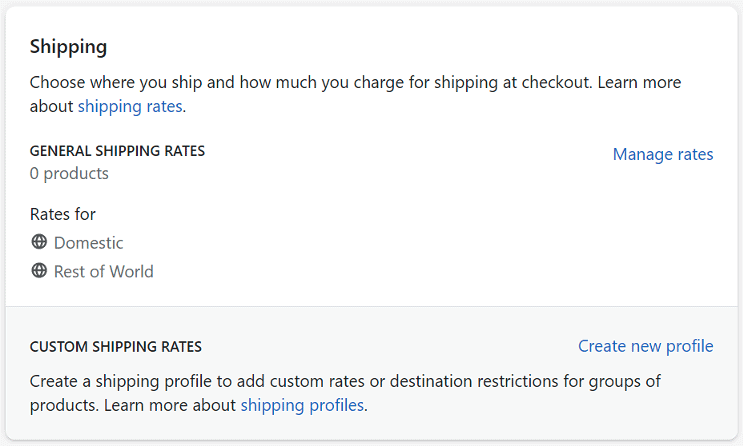
5. Set Up Shipping Options
The final step in the online selling process is to get your product (if you’re selling physical products) to your customer’s door. Luckily, Shopify comes with a ton of built-in shipping options that you can mix and match to suit your needs.
For instance, you could use flat-rate shipping charges for orders placed inside the US and offer free shipping above certain order values. You could also increase shipping rates if an order exceeds a certain weight.
In Shopify, you can find a handy shipping calculator that shows the shipping costs from providers like UPS and DHL. This allows your customers to choose their preferred service and price. You can also take advantage of this tool to offer a pickup option, print labels, and estimate shipping times.
And thanks to its relationships with some of the largest shipping providers in the world, Shopify offers discounted shipping rates – which you can then pass onto your customers to encourage more sales.
You can set up all these shipping options and more via your Shopify dashboard. Navigate to Settings > Shipping and delivery. Here you can set up:
- Shipping zones
- Conditional shipping rates (e.g. free above a certain order value)
- Real-time calculated shipping rates
6. Take Your Store to the Next Level
Now you’ve taken care of the basics, it’s time to move up a level. Of course, you’re never really finished building your website; there are always more options for updating, changing, improving – and expanding, as your online store grows.
But to expand, you need to make sales. And to make sales, you need to grow your audience and create a seamless shopping experience for visitors. So, here are a few more things to look into before you go live:
- Custom domain: Nobody’s going to enter their card details on a website called www.mywebsite.myshopify.com (well, they might, but it’s unlikely!) Purchasing a unique domain name makes your store look slick and professional. It’s also super easy, as Shopify handles the whole process for you. From your dashboard, just navigate to Online Store > Domains and click Buy new domain. And if you’ve already purchased a domain name, you can connect it to your Shopify store.
- SEO: Most online shoppers are looking for products on Google. So get your store found in search results by optimizing your titles and meta descriptions across your Shopify site. Shopify has a useful SEO checklist to get you started in this area. Or, if this all sounds like gobbledygook to you, you could turn to Fiverr to get an SEO specialist on board. It’ll pay for itself, trust me.
- Analytics: Website analytics give you all sorts of useful information, like which pages are getting the most traffic, which items are bringing the most sales, and where your customers are based. This is important if you want to track your user experience and identify weaknesses. Shopify Reports gives you some great data; or, if you prefer, connecting Google Analytics couldn’t be easier.
- Apps: The Shopify App Store has hundreds of apps that let you extend your site’s functionality in almost any way you can think of, including social media integrations, new design features, marketing, inventory management, accounting, and much, much more.
7. Publish your e-commerce site
And that’s it! Hit the Publish button and your store is ready to meet the world. Creating an online store with Shopify couldn’t be easier, as I’ve outlined in this seven-step guide.
Now that you understand the basics well, you can refine your design and incorporate any additional functionality required. At this point, you should relax and observe the sales starting to roll in.