Website Planet


| 🏆Performance Grade | A |
|---|---|
| ⏱️Uptime Guarantee | No |
| 🔒Free SSL | Yes |
| 🔧Hosting Types | VPS |
| 💡Basic Plan Features |
|
| 💲Starting Price | $5.00 |
Does Bigger Mean Better?
Amazon Web Services (AWS) is known as an Infrastructure as a Service (IaaS) or cloud computing services company. As the name suggests, it’s a subsidiary of Amazon, and, as you’d imagine, it’s currently the market leader.
With sales in excess of $200 billion (yep, you read that right, billion, not million), AWS is larger even than the likes of Microsoft Azure, Google Cloud Platform, and IBM. With big-name clients like Netflix, Unilever, Kellogg’s, and Samsung, if you opt for AWS, you’ll be in good company.
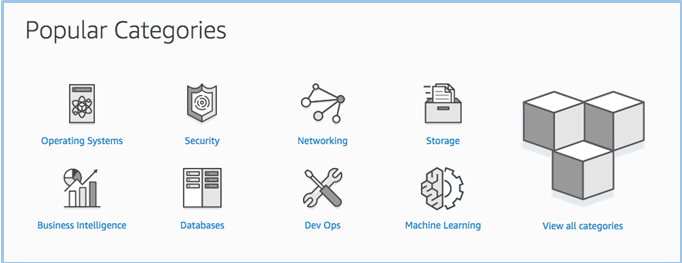
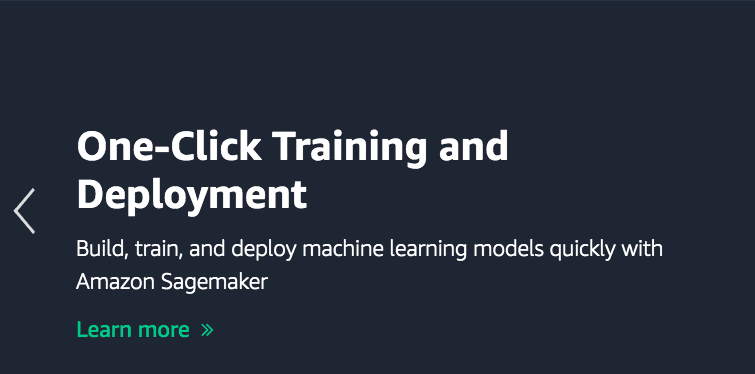
Its services are far more vast than standard shared hosting and domain name registration. AWS sells products like machine learning applications, Internet of Things (IoT), virtual reality (VR) tools, gaming technologies, and cloud hosting. It’s that final service I’ll be covering in this review.
With customers around the world, it makes sense that the comprehensive website is available in 15 languages: English, Arabic, Indonesian, German, Spanish, French, Italian, Portuguese, Turkish, Russian, Thai, Japanese, Korean, and Chinese (Simplified and Traditional).
Fancy sharing the same host as Netflix? Before you get starry-eyed at the prospect, I’ll warn you now, it’s often the biggest hosts that neglect to look after their customers, leading to poor or (like Google Cloud Platform) expensive customer service.
So before you dive in, give me ten minutes of your time. This review is going deep into AWS, right here, right now. Large black coffee advised. By the end of this review, you’ll have answers to questions like:
- What’s the customer service like? Is there live chat?
- How fast does a website hosted on AWS load?
- Can you install a content delivery network (CDN) on AWS? Is it free?
- Can beginners set up a WordPress website on AWS?
- Is it overly expensive, or good value for money?
- And, most importantly, is AWS right for you?
Let’s find out.