Unfortunately, there is no automatic way to transfer your site from Wix to Squarespace. In a better world, we’d push a button, and it would just get done. But fear not, because this guide will make the process as simple as humanly possible.
While your new Squarespace website probably won’t look exactly the same as the one you had on Wix, it might look even better. Squarespace is one of my personal favorites because the designs are all so sleek and clean. In fact, you might want to swap your website from Wix over to Squarespace for this reason alone!
By following this guide you can have your new (old) site up and running in about an hour or two. Let’s get started.
What You’ll Need
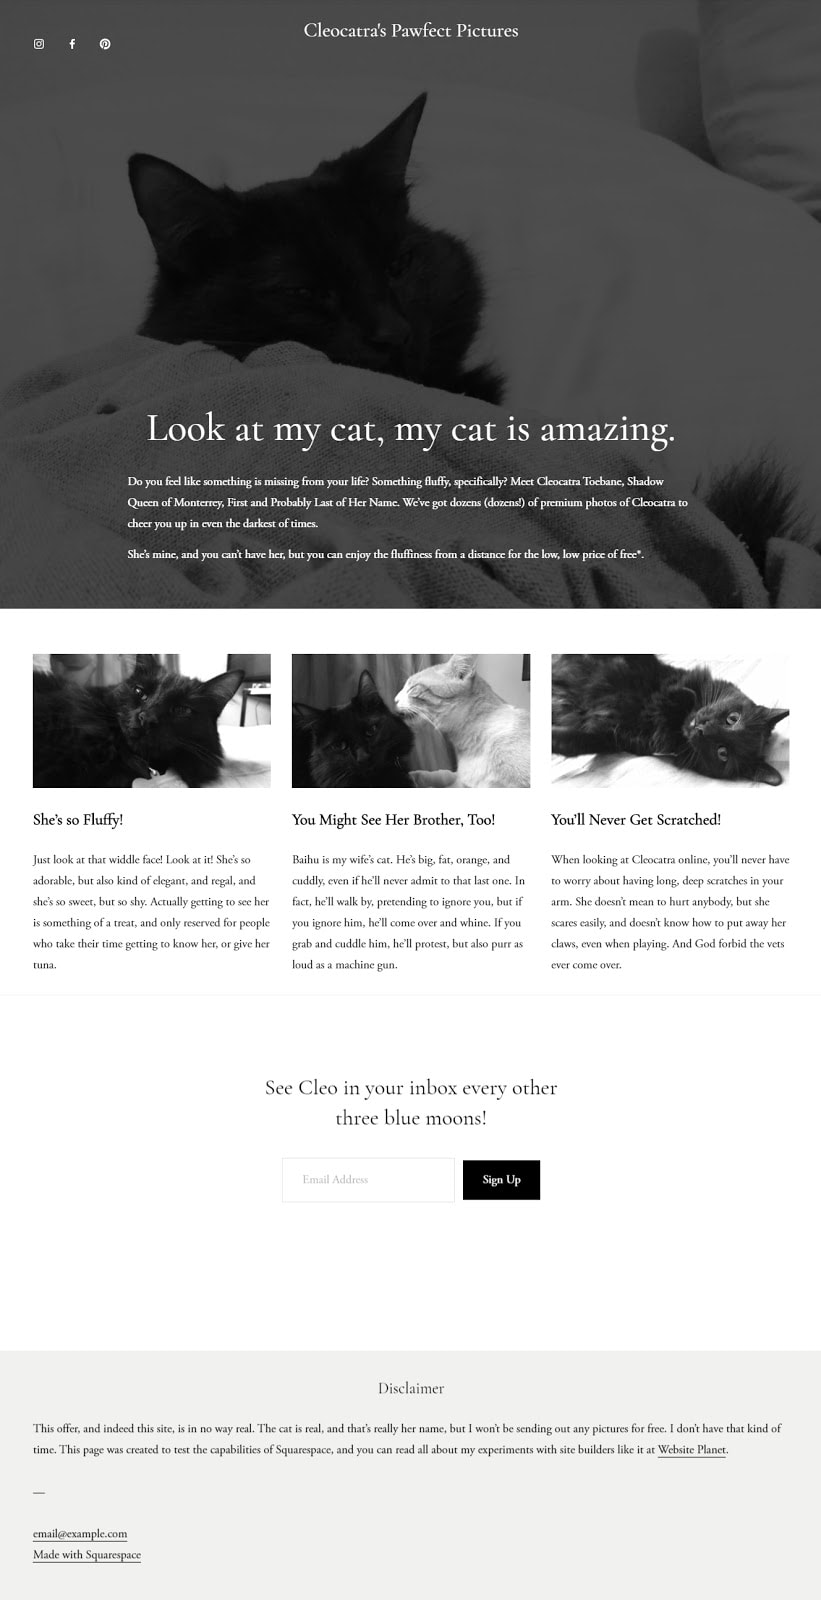
Well, I mean… you’ll need a site you’ve already built with Wix. I know, it’s a no-brainer, but I get paid to be thorough, and I try to deliver. For this tutorial, I’m using a demo site I built with Wix for another project: a one-page site with kitties. This keeps the tutorial simple and super cute.

You’ll want to go through your Wix site and make a note of any advanced content features it has. I’m talking about menus, pricing tables, contact forms, product pages, and other things like that. It’s especially important to include features added to your site through Wix App Market.
Squarespace is a powerful site builder and one of my personal favorites, but it doesn’t have everything that Wix has. Use your list of features to make sure that Squarespace can do everything you need by default and be sure to note if you need to figure out a workaround for any missing functionality.
You should also consider putting all of the source images for your website in one folder on your computer before you start migrating your site to Squarespace. Images don’t copy/paste easily from one site builder to another very cleanly, if at all. Being able to just drag and drop images from your file manager to Squarespace will make things a lot easier.
The Squarespace Signup Process
If you’ve already signed up for Squarespace, go ahead and skip this section. If you haven’t, you may find a few useful tips here. First, go to the Squarespace homepage and hit the Get Started button.

From there, you’ll need to choose a template to start with. There are quite a few, so use the category menu on the left to narrow down your options. Remember that you can make drastic alterations to your design with just a few clicks, so don’t get too hung up on this part of the process. Just pick a template that looks like it will work for you.

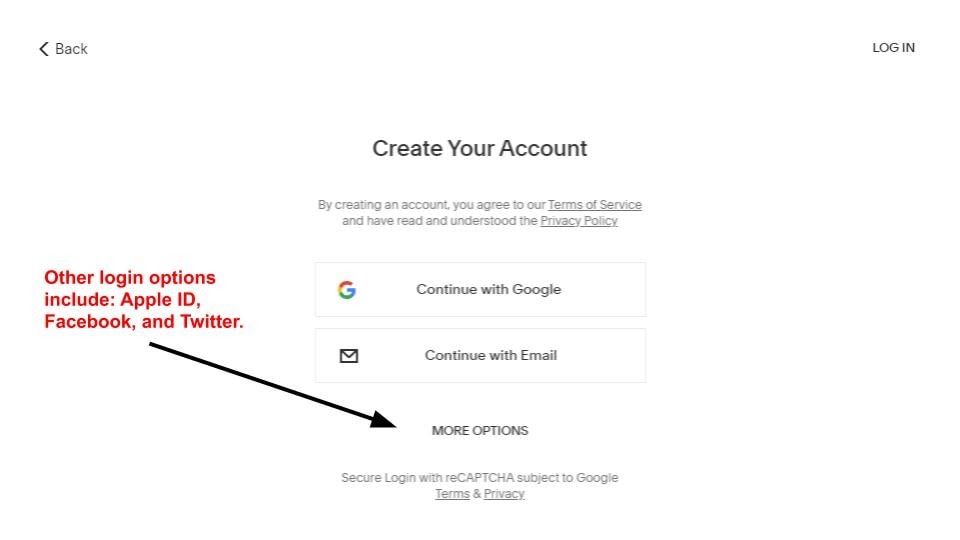
Once you’ve chosen a template, all that’s left is to sign up for an account. Don’t worry about paying for anything yet. You’ll start with the 14-day free trial and won’t pay until you want to take the site live.
Some Basic Site Setup
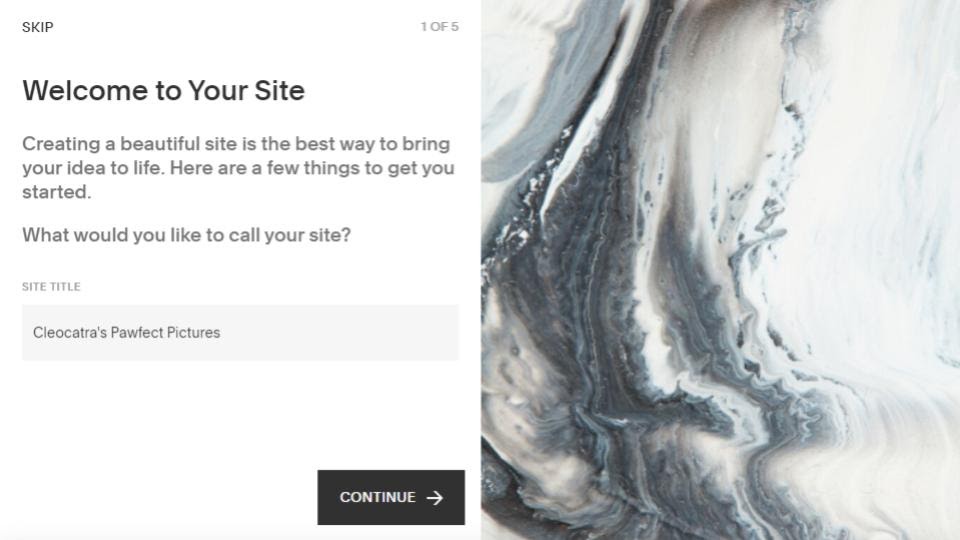
Once you’ve signed in to Squarespace for the first time, you’ll get a pop-up with some options and instructions to start building your site. Your first move is to enter the name of your site.
The next few screens aren’t shown here because you don’t have to do much besides press Continue. These screens make up a short tutorial about how to create, edit, and manage your pages, and even though we’re not showing it, I strongly recommend that you pay attention to this part, as it’ll make things easier later down the line.
Lastly, you’ll have the option to either customize your site’s colors and fonts via a guided tour or jump right into the site editor.
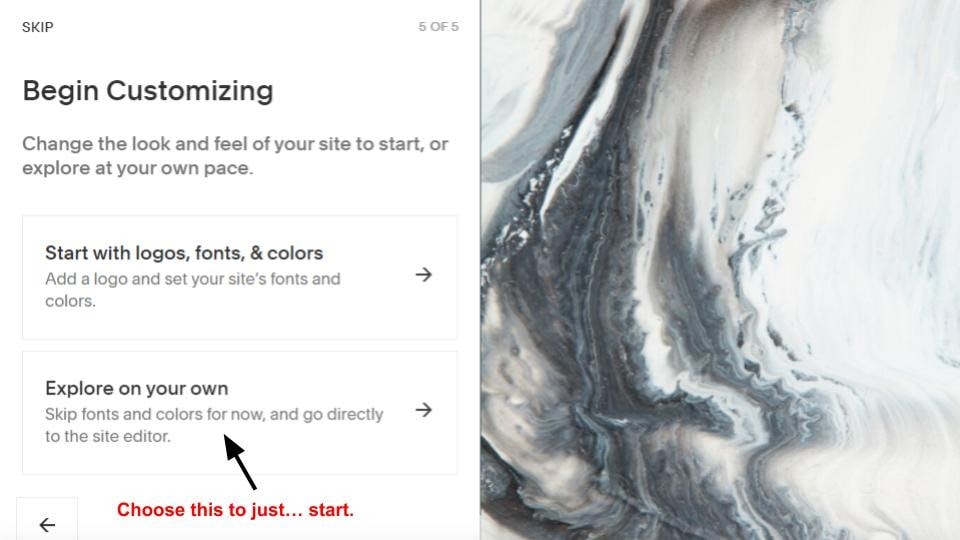
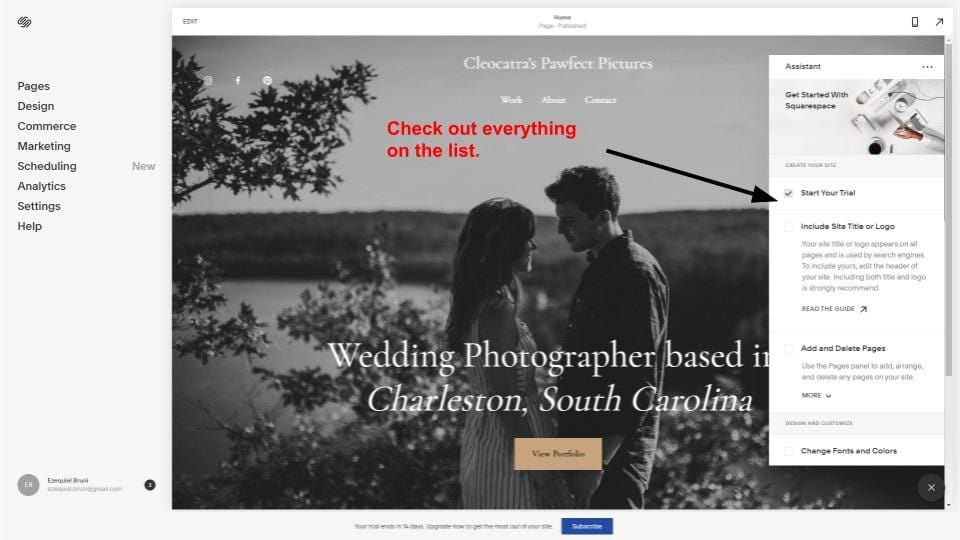
However, selecting the Explore on your own option doesn’t leave you adrift in a sea of software features. Instead, a demo site is generated with some sample content and pages to get you started. There’s also a handy little assistant that offers you a guided tour of Squarespace’s basic functionality at any time.
Remember that page-adding-and-editing tutorial from earlier? Now’s the time to use the knowledge you’ve gained. Just hit Pages on the left-side menu to organize your site exactly how you want. If your Wix site has a classic five-page business site structure, for example, you’ll want to set that up now.
I’m making a one-pager, so I deleted all pages except for the home page.
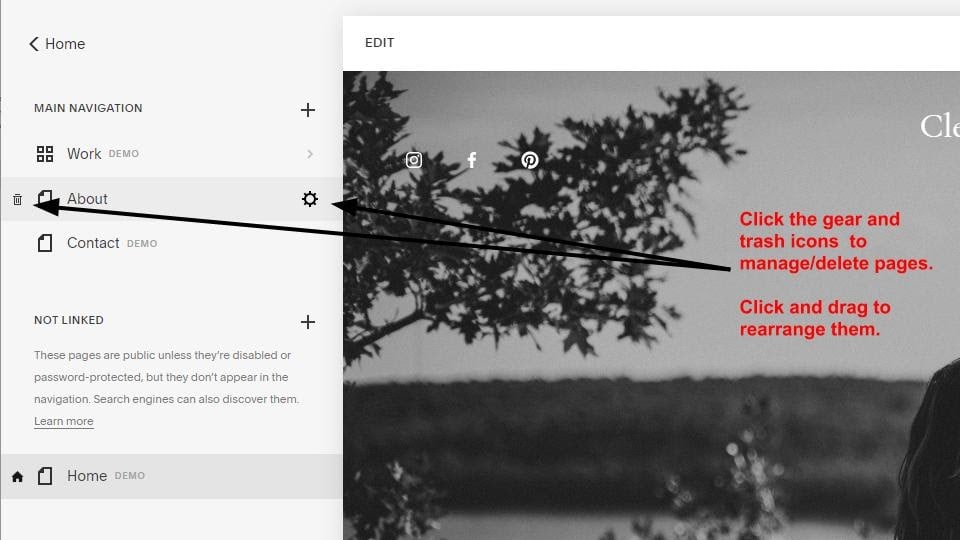
You might also want to familiarize yourself with the individual page settings available to you. It’s not necessary for now, though.

Moving Your Content to Squarespace
Okay, now that the setup stuff is complete, it’s time to start moving your content.
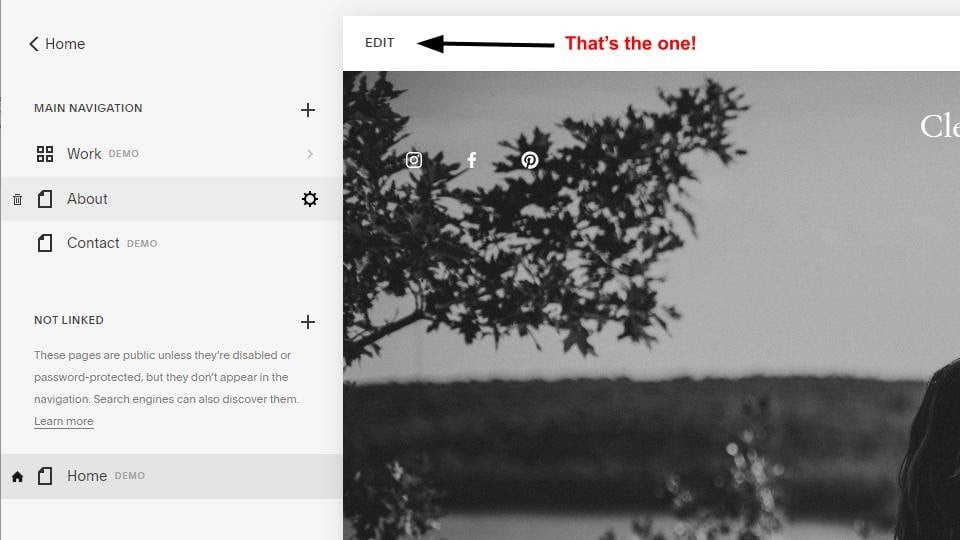
To start, you’ll want to hit the Edit button on the upper left side of your website preview. This will expand your preview to cover the full screen inside your browser window, referred to as the “viewport,” and let you actually change things on your page.
Now, before we go any further, you should know that site builders like Squarespace and Wix treat all content as a “block.” Every paragraph, every image, every map, and every form is inside a block. On Squarespace, blocks can be complex and have other blocks inside them (to create vertical columns in your layout, for example).
Blocks make it easy for you to move content around in chunks and lay your design out nicely, instead of treating it like a Word document. Here I should note that Wix lets you drag and drop blocks anywhere on the page. Squarespace is a bit more limited layout-wise but still quite flexible.
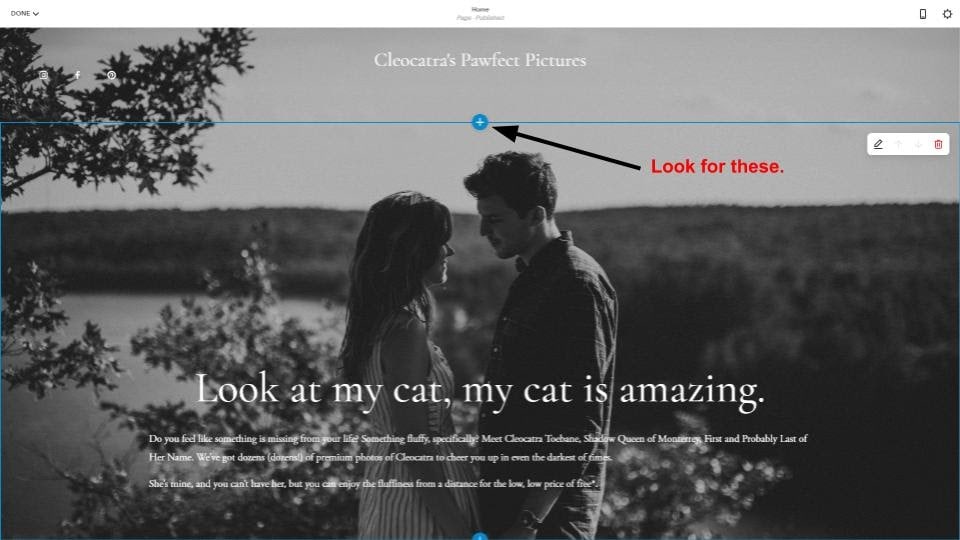
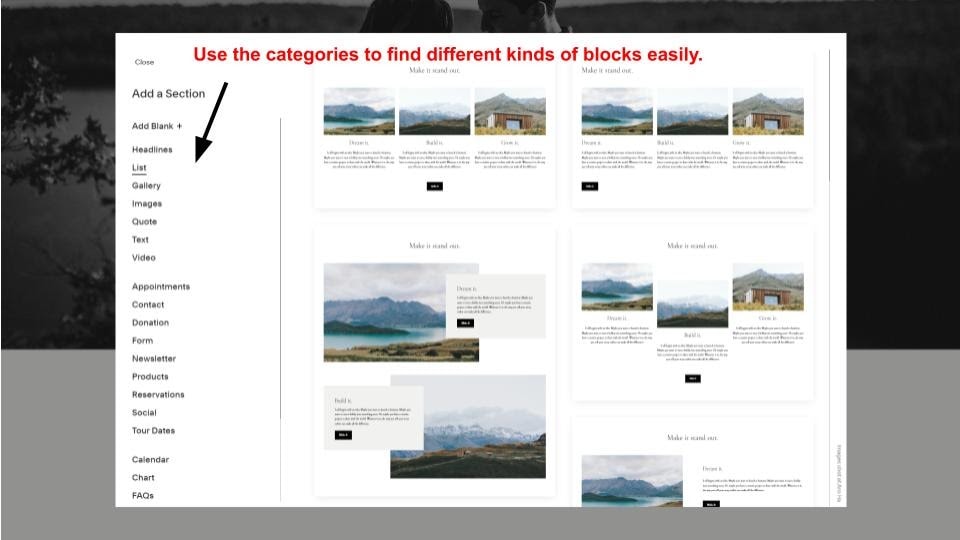
To copy your content, you’ll need blocks to paste that content into. You can add a block easily enough by hovering your mouse over your page and looking for the blue and white “plus” icons. The location of the icon you click on is where the new block will be added.
There are a lot of different kinds of blocks. You can use them to lay out text on a page, add a reservation system to your site, create a calendar, and plenty of other things. For this example, I wanted to place three columns side by side, as in my original Wix site. I chose the option in the upper right of this screenshot from the “List” category.
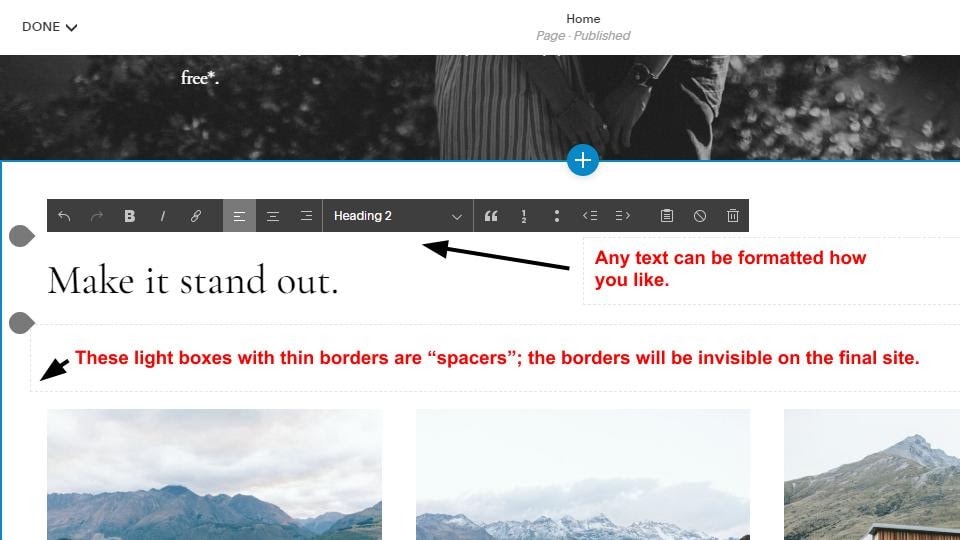
Once you have the blocks on your page arranged in the layout you want, click anywhere you see text to replace it with your own. I personally find that copying and pasting directly from the published Wix site is easier than copying it from within the Wix site editor.
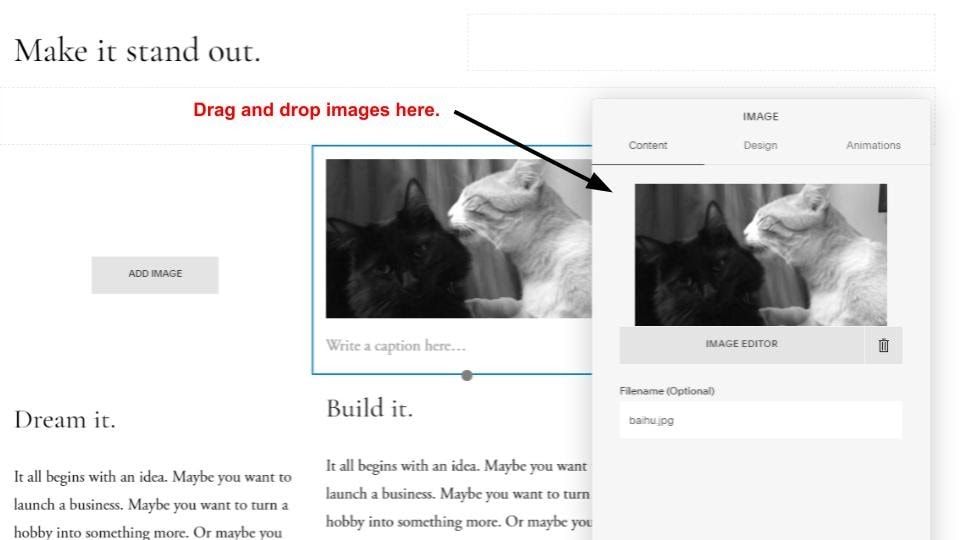
Images work the same way, pretty much. Put a block that already has an image in it on your page and then just replace the image. To do this, you’ll need to hover over the image and find the “Edit Settings” icon.
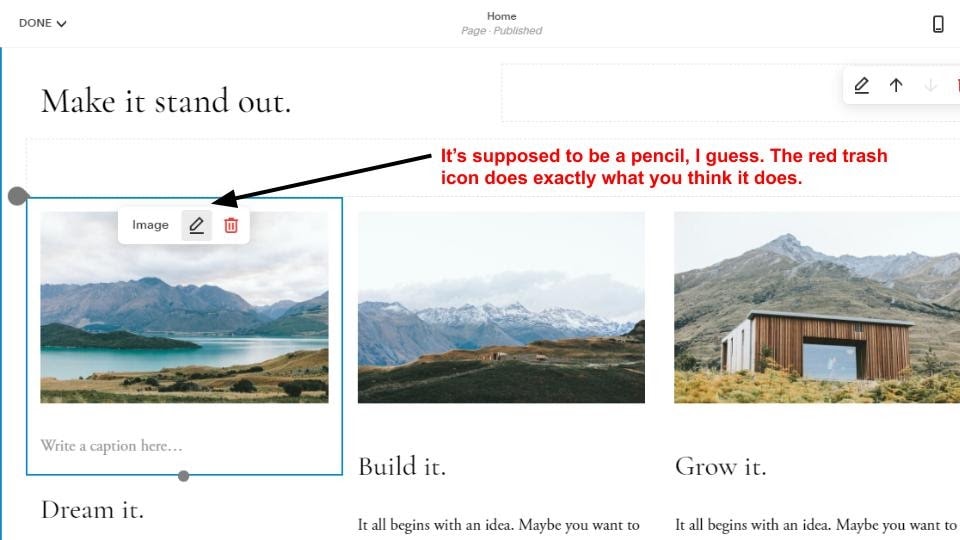
Click the little pencil for a popup window where you can change the image’s settings. Just drag and drop your own image onto that popup window to upload it to your site. When you’re ready, just click Apply at the bottom of that little window, and you’re set.
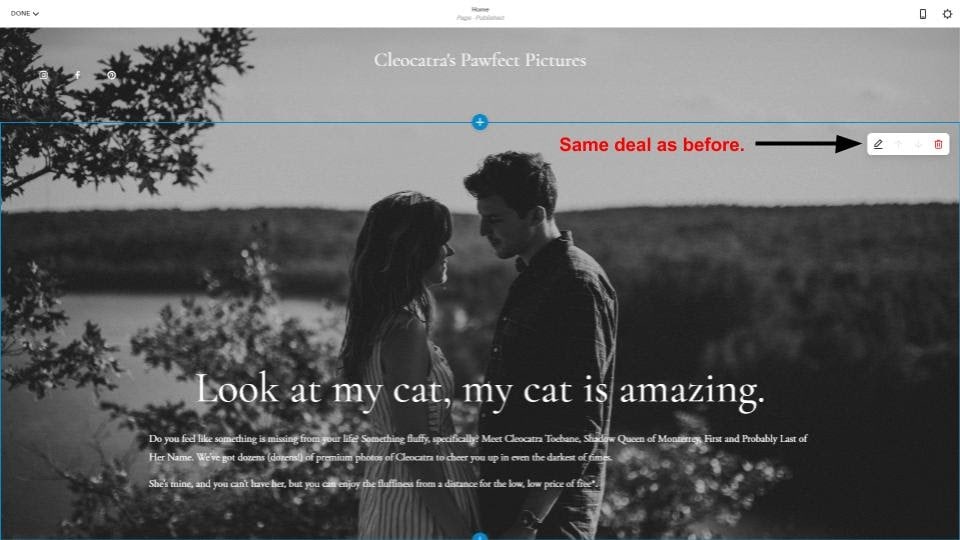
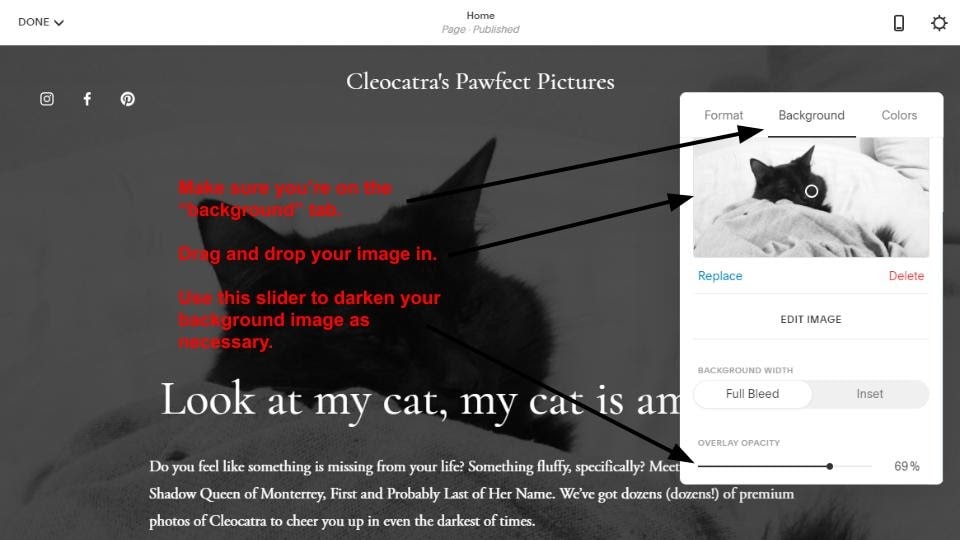
You may have observed that there is text overlaid on an image at the top of the page. Achieving this is simple; you can assign background images to blocks. To accomplish this, locate the “Edit Settings” icon for the entire block.
Then go to the Background tab in the settings window, and drag and drop your image into the window like before. You can darken the image as much as you need to so your text stands out right there in the same settings.
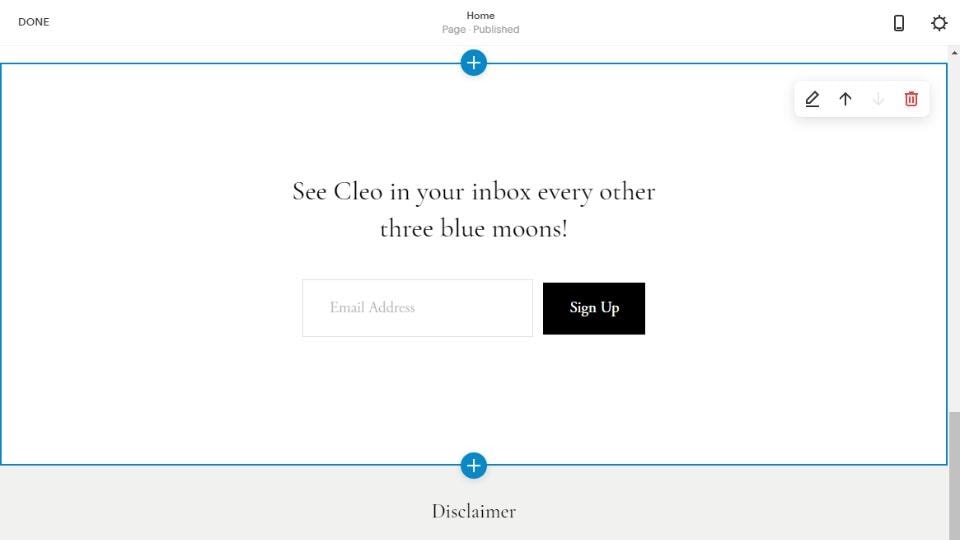
The newsletter signup form from the original site was simple to customize. I looked at the “Newsletter” category of blocks, found one I liked, and changed the text. It’s important to note that to make such changes, you have to adjust the text in the block settings for some reason, but at least you know where to find block settings now!
Let’s Sum Things Up
Adding content to Squarespace is a simple process. Setting up your whole site to do what you want it to do and look exactly the way you like might take a little longer.
Transferring your domain name to your new Squarespace account is a straightforward process. If you’ve recently completed another transfer or updated contact information, you might need to wait for up to 60 days. Begin by unlocking the domain on Wix, make a note of the authorization code, and then initiate the transfer on Squarespace. Remember, our customer support team is available to assist you in case you encounter any issues along the way.
Here’s my completed site design.
And that’s that. Every site builder has its own quirks and requires you to learn new things, but this guide should give you a nice head start. Good luck, have fun, and show us your finished Squarespace site when you’re ready to share. If you’re still not sure whether Squarespace is the right choice for you, you can always check out our expert list of the top website builders.