Website Planet


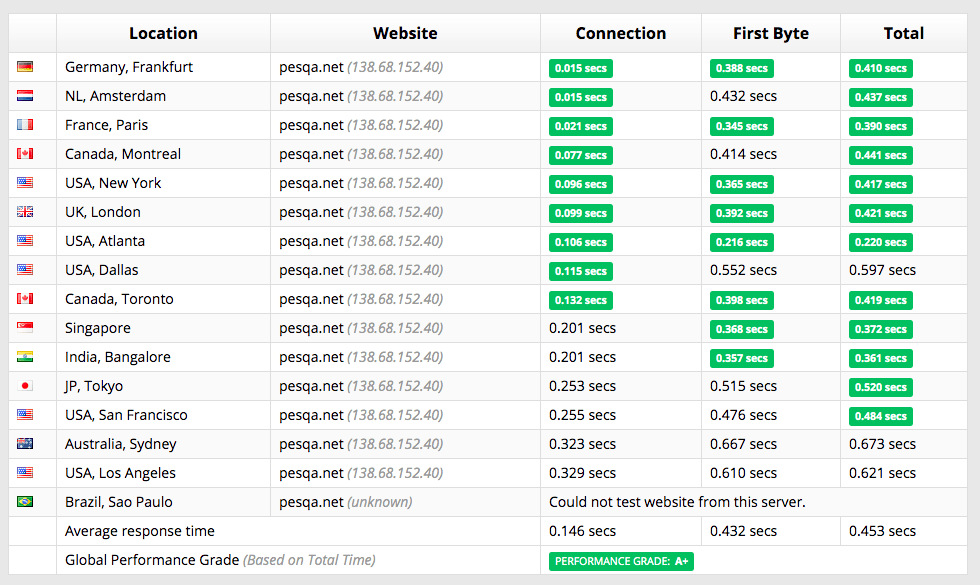
| 🏆Performance Grade | A |
|---|---|
| ⏱️Uptime Guarantee | No |
| 🔒Free SSL | Yes |
| 🔧Hosting Types | Cloud |
| 💡Basic Plan Features |
|
| 💲Starting Price | $4.00 |
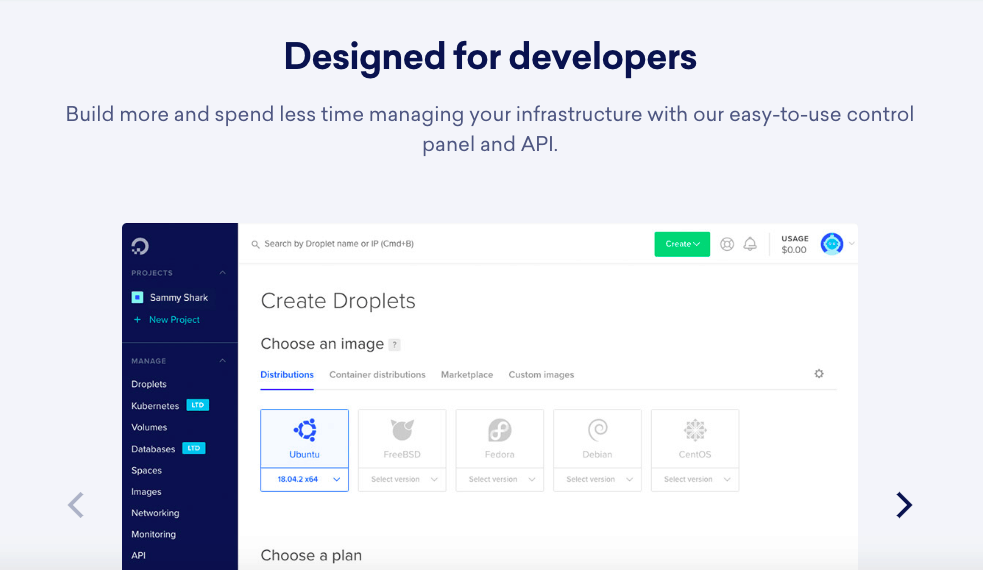
Web hosting by developers, for developers
If you’re not a developer but you still want to take advantage of DigitalOcean’s superior infrastructure, I recommend you check out Cloudways, which offers fully managed cloud hosting plans that work with DigitalOcean.
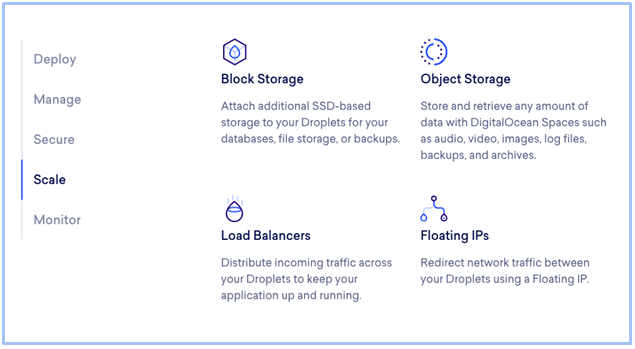
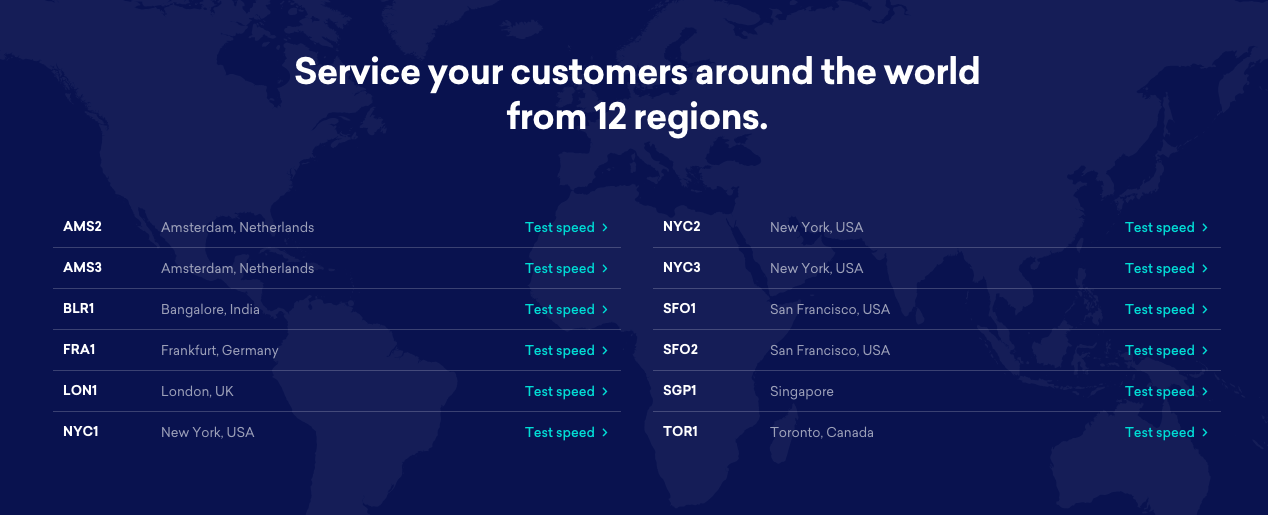
DigitalOcean offers what it calls a developer cloud: a network of virtual machines that are designed to allow you to scale up as your website grows. CEO Mark Templeton was behind the explosive growth of Citrix Systems, and the company now serves over a million developers in 195 countries across twelve different data centers.
Unlike other hosting companies, DigitalOcean specializes in cloud computing and doesn’t offer shared or VPS hosting. When you first land on the website, it can be hard to tell what it actually does. It clearly focuses on attracting web developers and its stripped back homepage aims to deter non-techy visitors.
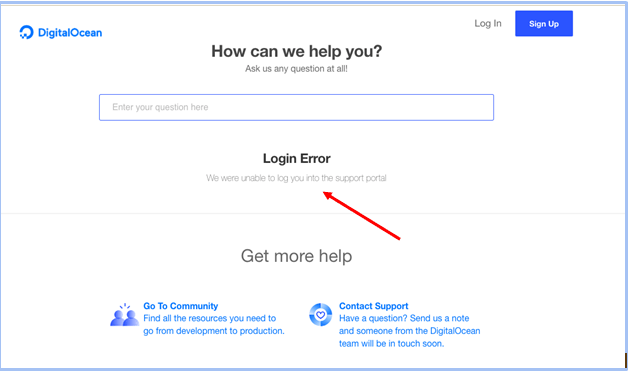
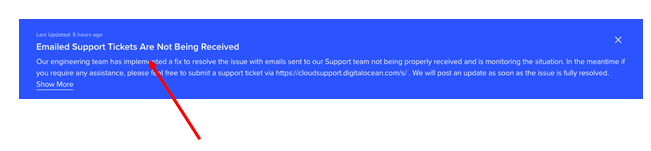
Spoiler alert: if you’re a beginner website owner who needs any kind of support or hand-holding – don’t bother reading on. The support team is practically non-existent, and, because this is something of a specialist provider, it’s not going to be the perfect host for everyone.
The question is, is it the perfect host for you?
In this article, I’m going to help you to figure that out, and I’m going to share a few of my own experiences along the way. Are you ready? Good. Let’s get started.