Thanks to website builders, even the biggest rookie can get a decent website up and running in just a few hours (trust me – I once was that rookie).
This is especially true of Wix, which has got to be one of the most intuitive and beginner-friendly builders out there. Instead of using a developer, you’ll save hundreds or thousands of dollars by doing things yourself. You’ll get an easy-to-use drag-and-drop editor with more than 900 ready-made, attractive website templates, plus tons of great additional tools.
Of course, you could just hop to it and start building your Wix website straight away – but you’ll save yourself a lot of time and headache by using this step-by-step guide to get you started. It’s very easy to build things on Wix – but less easy to unbuild them or go back and swap things around, so do yourself a favor and get things right from the start.
While I’m going to focus on building a website with Wix, the process is actually pretty similar for most website builders – so you can follow the same simple steps, no matter which website builder you decide to use.
Step #1: Create Your Wix Account
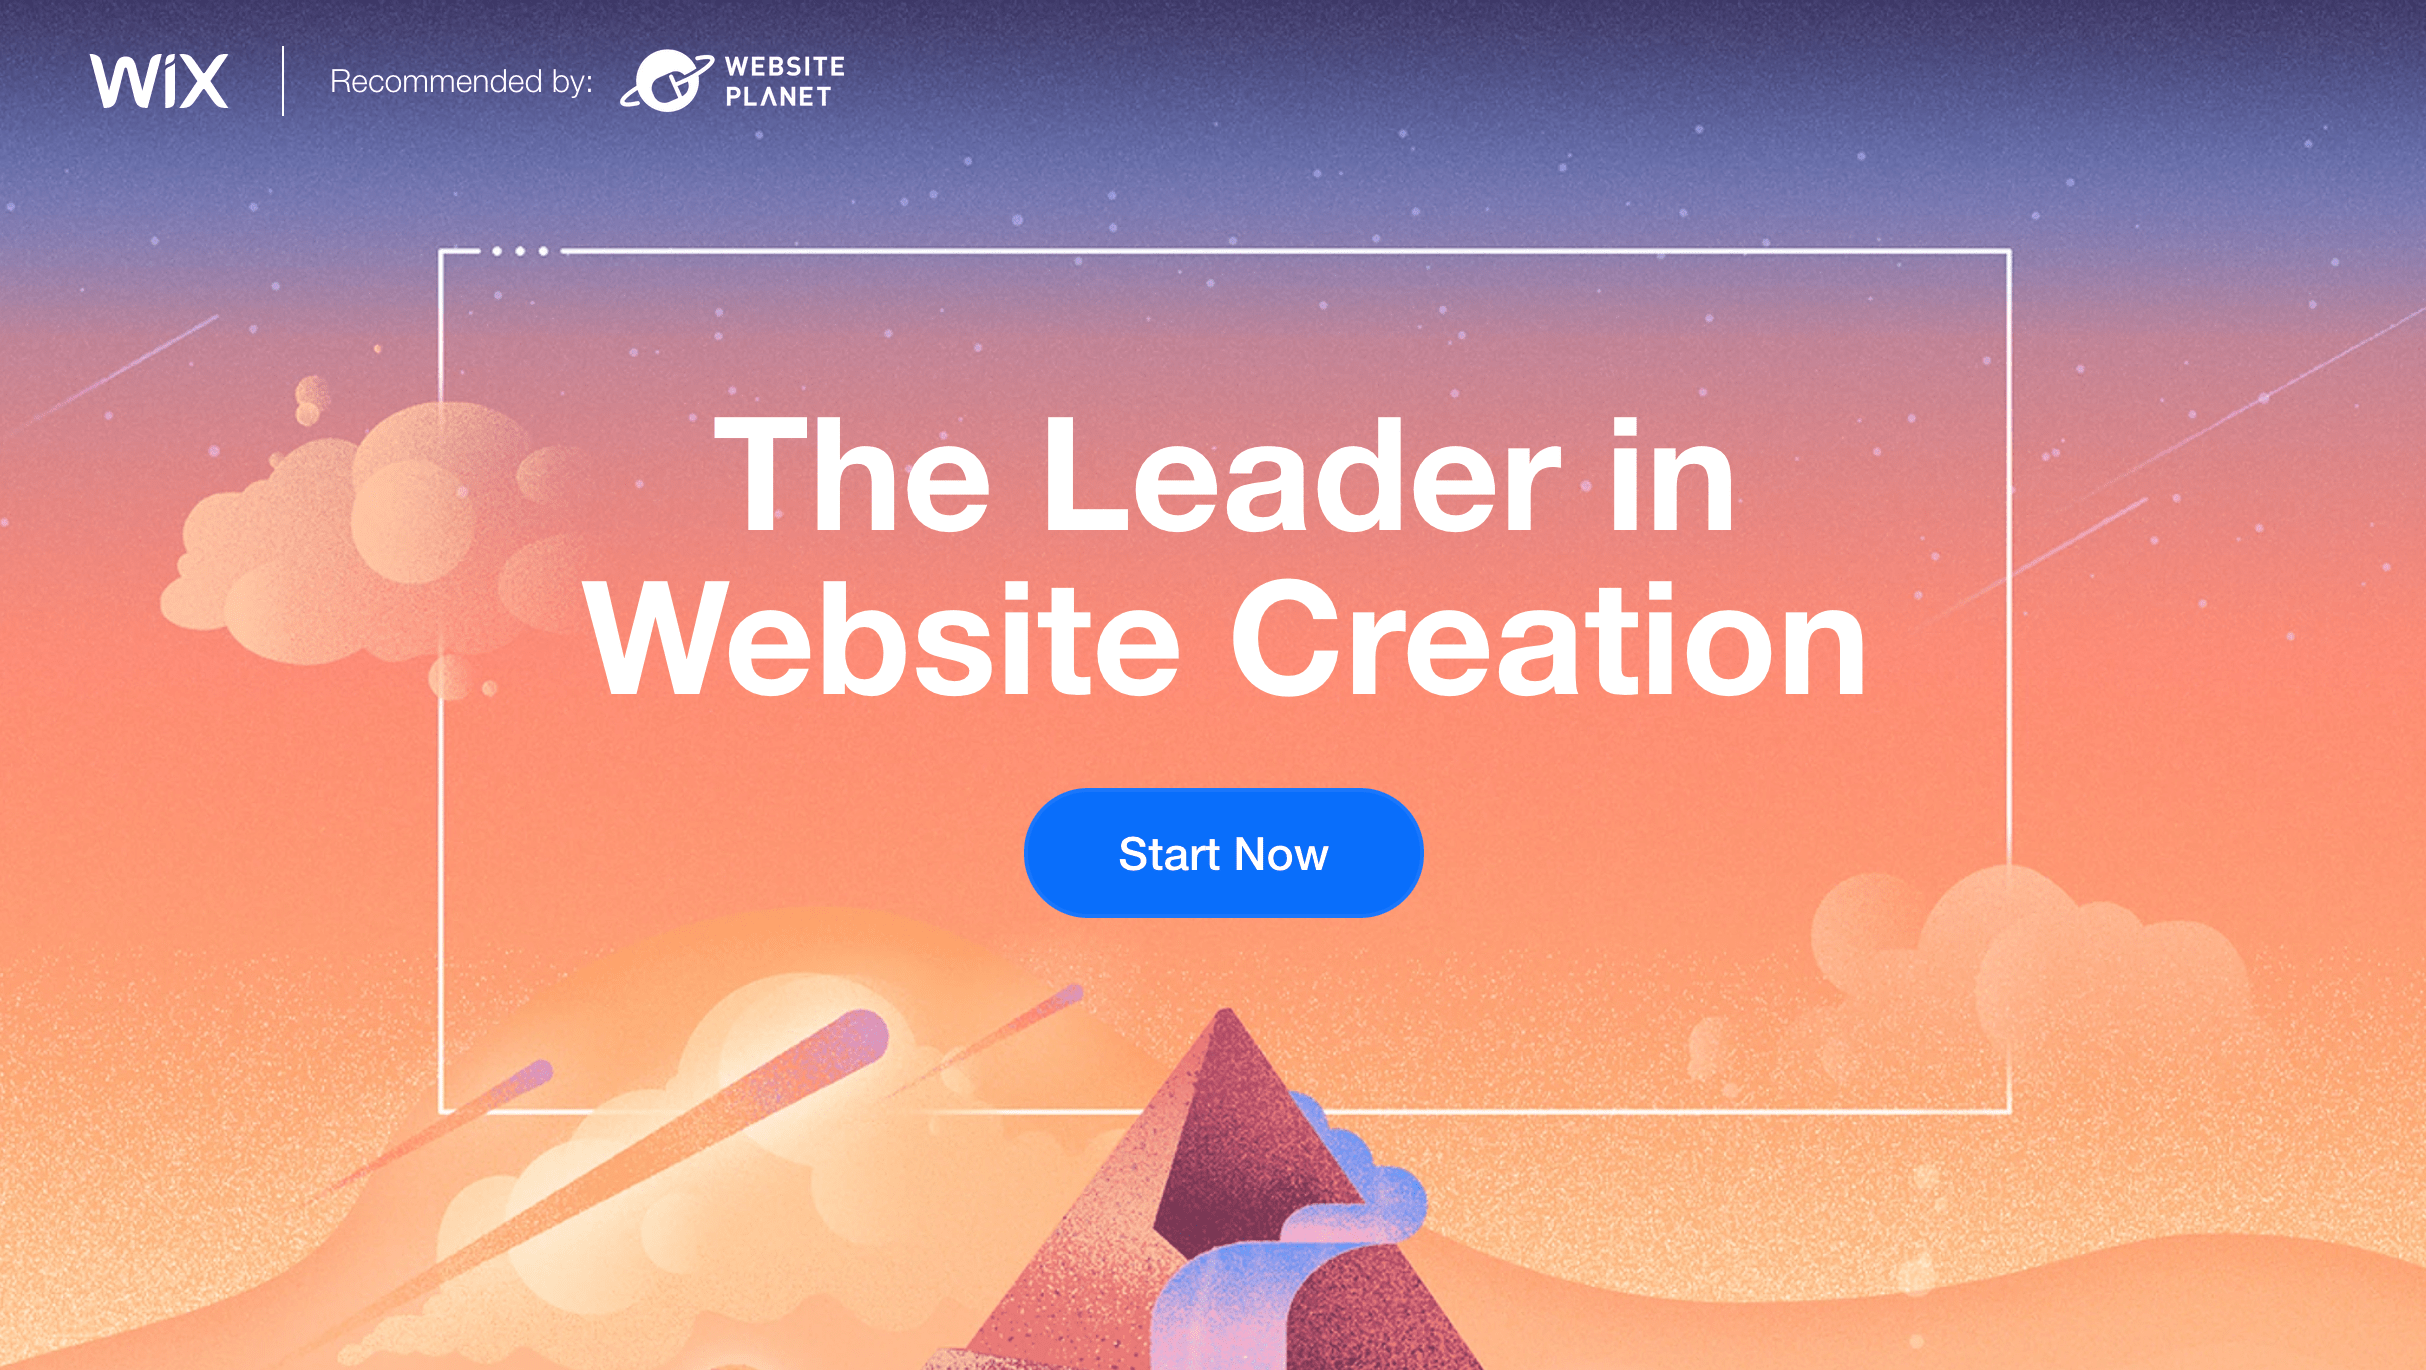
First things first, you’ll need to make a Wix account. You can get started by heading over to Wix and clicking on the “Start Now” button.
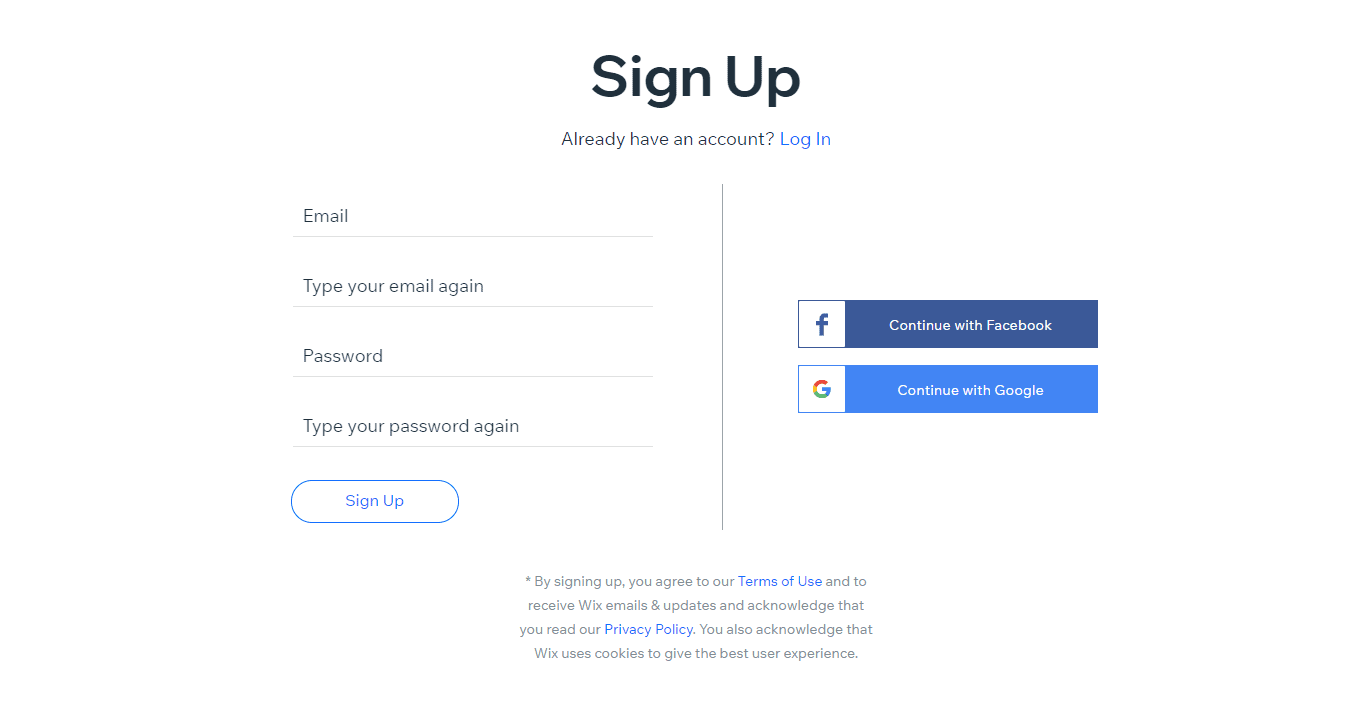
You’ll wind up on a sign up page that is mercifully fuss-free: simply enter your email address and choose a password. Since you’re only just beginning, it’s okay to just stick with the free Wix plan. But further down the road you might find that you need to upgrade to a paid plan, for instance if you want a custom domain or to sell items online.
Once you’ve entered your sign-up information, you will then be asked whether you’d like to design your own website using the Wix editor, or if you want the ADI (Artificial Design Intelligence) tool to create a basic website for you. If you choose to do it yourself, you’ll move straight onto choosing a template (step 2).
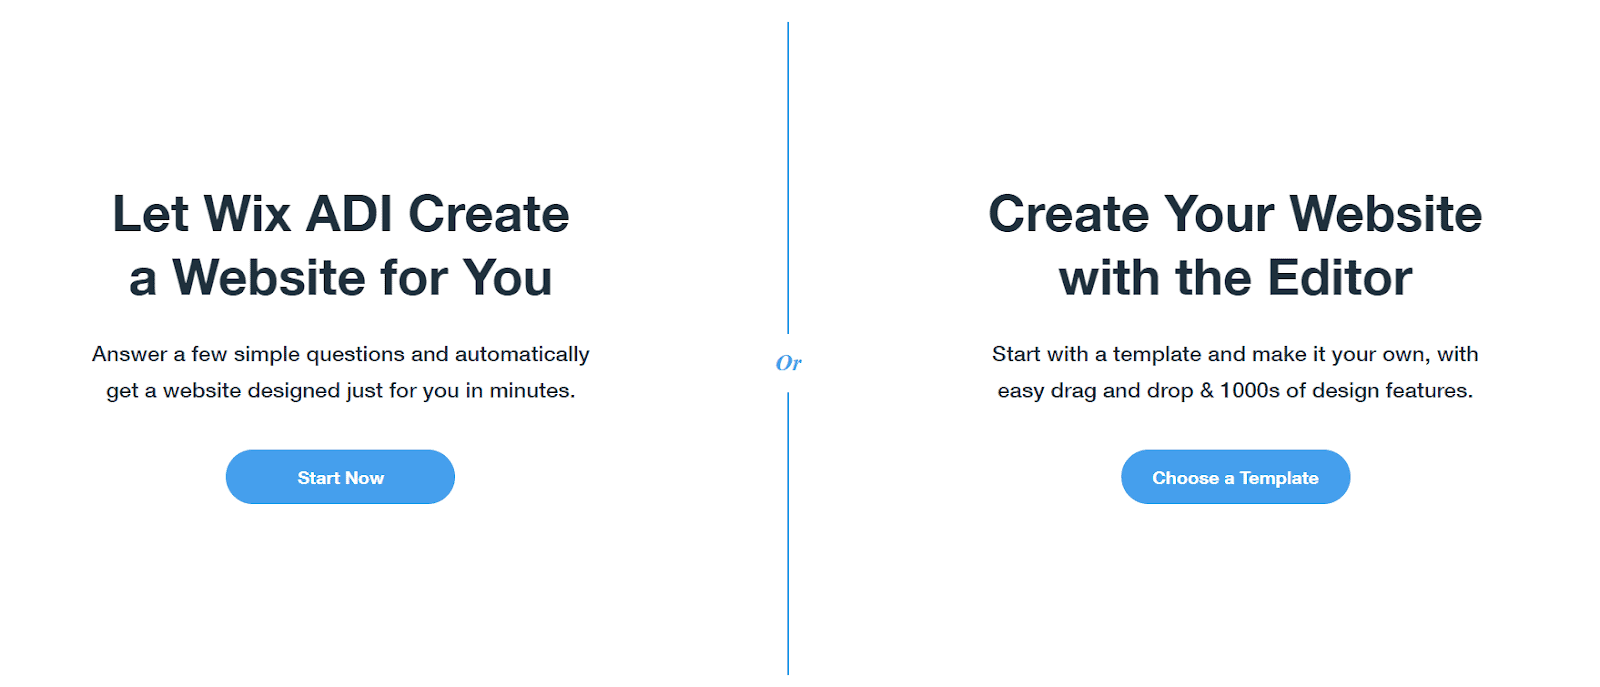
ADI, on the other hand, could be a quicker and easier option, especially if you’re, like, a beginner beginner. Seriously, it’s so easy. The tool asks you a few questions about the kind of website you’re building, the features you’ll need, and even your preferred color palette, and then creates a fully functioning website for you. You just need to add some finishing touches.
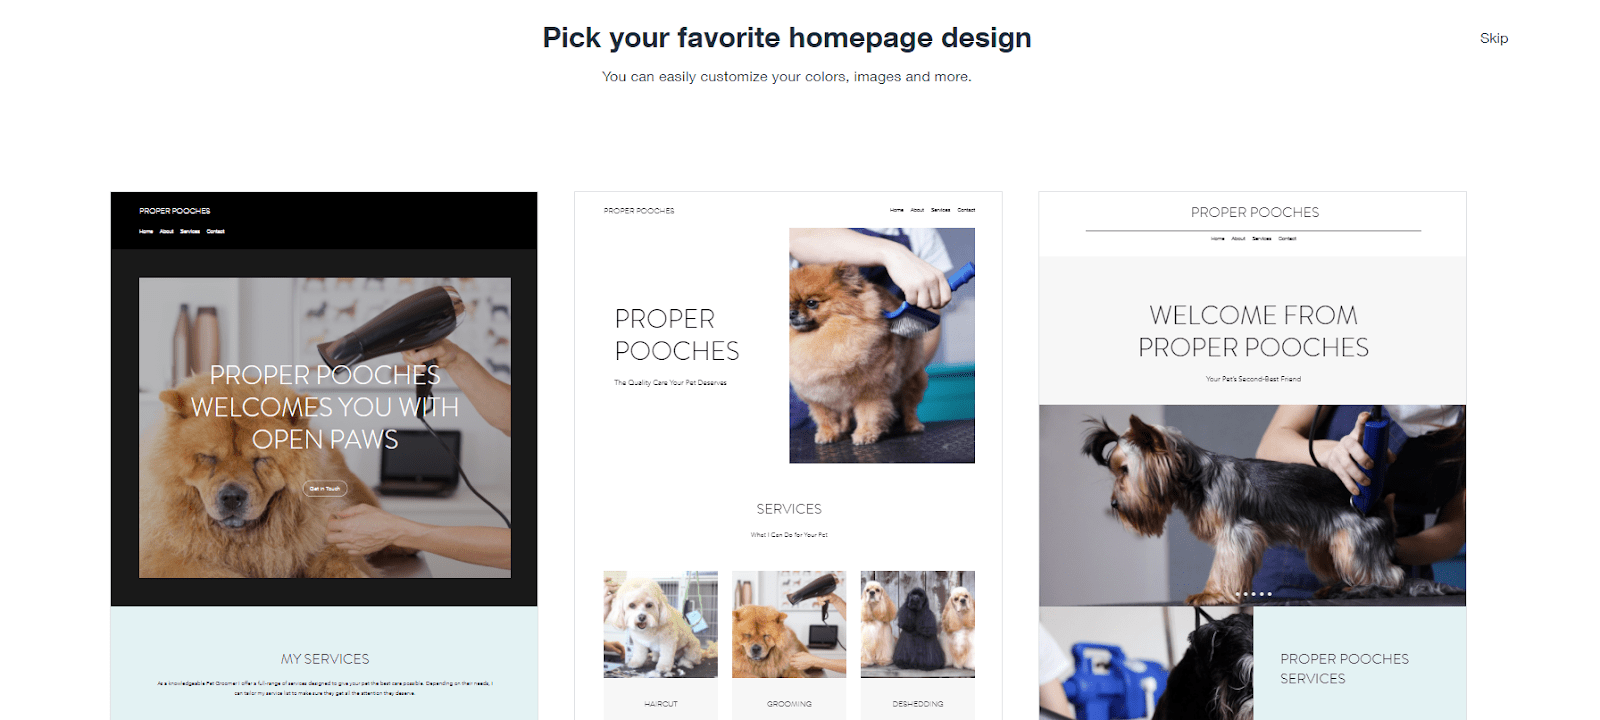
It’s a great way of getting over the overwhelming “blank page syndrome” – and you don’t sacrifice any creative control further on down the line, but some people will prefer to just do it all themselves. The choice is yours.
Step #2: Choose a Template
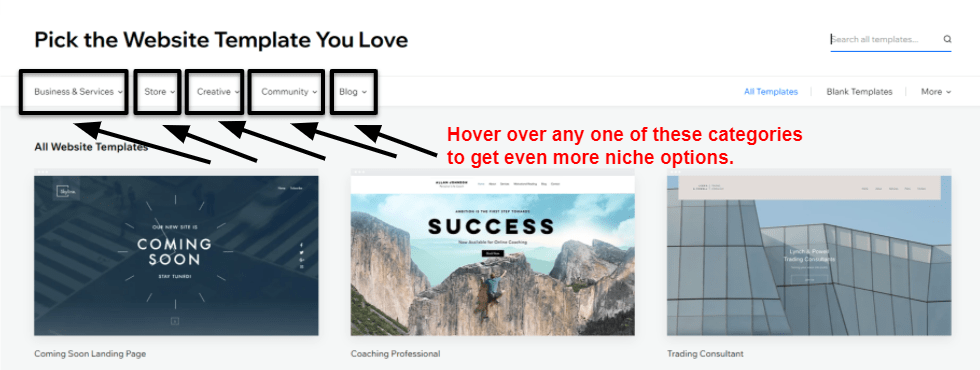
Whichever route you choose, ultimately both paths meet at the template selection (ADI users will have a tailored pre-selection of templates, while everyone else will have free choice.) Wix offers over 900 free, well-designed templates – more than any other website builder. While that means you’re almost certain to find one you like, it also makes narrowing down your options harder.
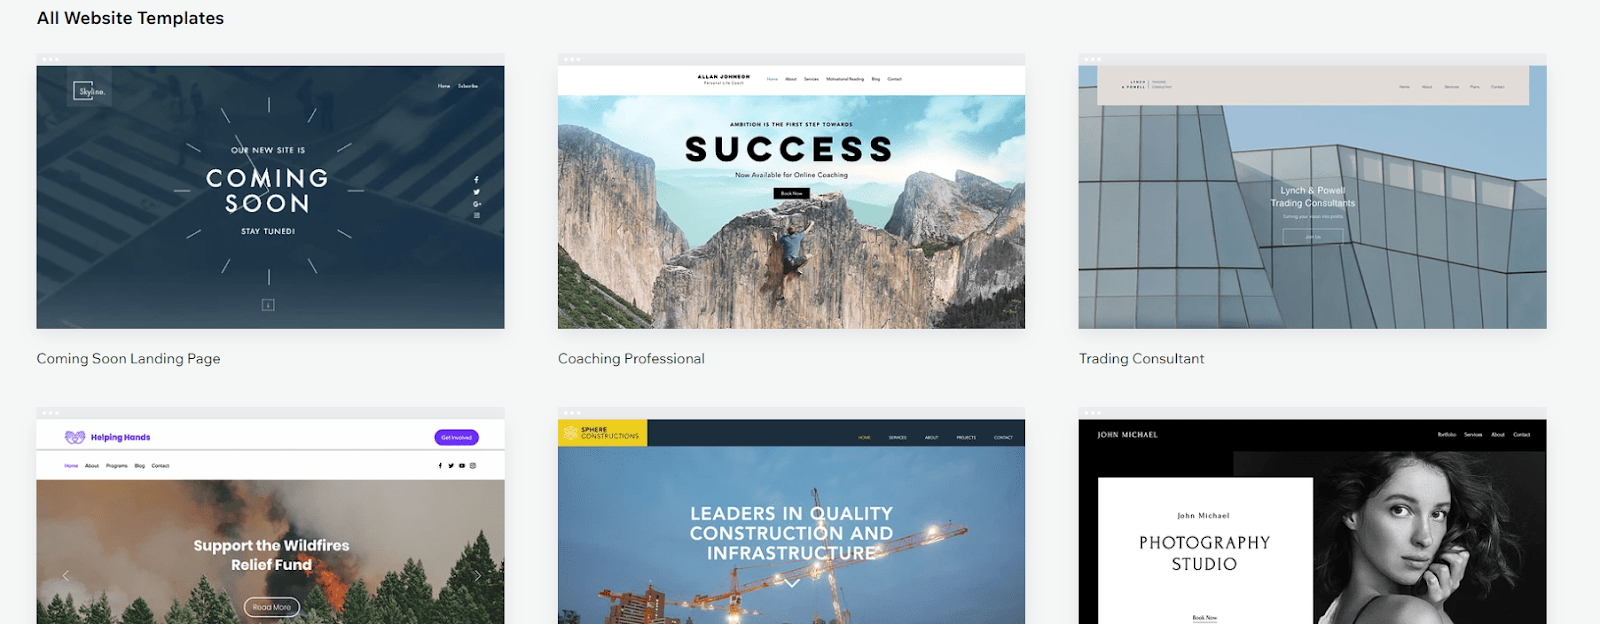
To help, Wix lets you sort templates by category. This means you can easily browse templates that are designed for the kind of website you’re building. You can also search by keyword. But it’s worth bearing in mind that the “pet shop” template isn’t necessarily the best template for your pet shop – and it’s probably already been used by hundreds of other pet shop websites out there.
The good news is that all of Wix’s designs are fully customizable (meaning you can change just about anything – from fonts and colors to the entire structure of your website), so just pick the design that you like the look of most, nevermind its intended purpose, and you’ll save yourself a lot of work. Text and pictures can be changed with a few clicks, but design and layout edits are a lot more time-consuming.
Step #3: Get Building
Now the fun can start! This is where you let your creativity run wild. Once you’ve chosen a template, you can start customizing your website using the easy-to-use drag-and-drop Wix Editor. Simply click on anything to alter its settings, resize or reposition it, change its color, rewrite text or replace images. All changes show up in real time, so you can instantly see how your site will appear to visitors.
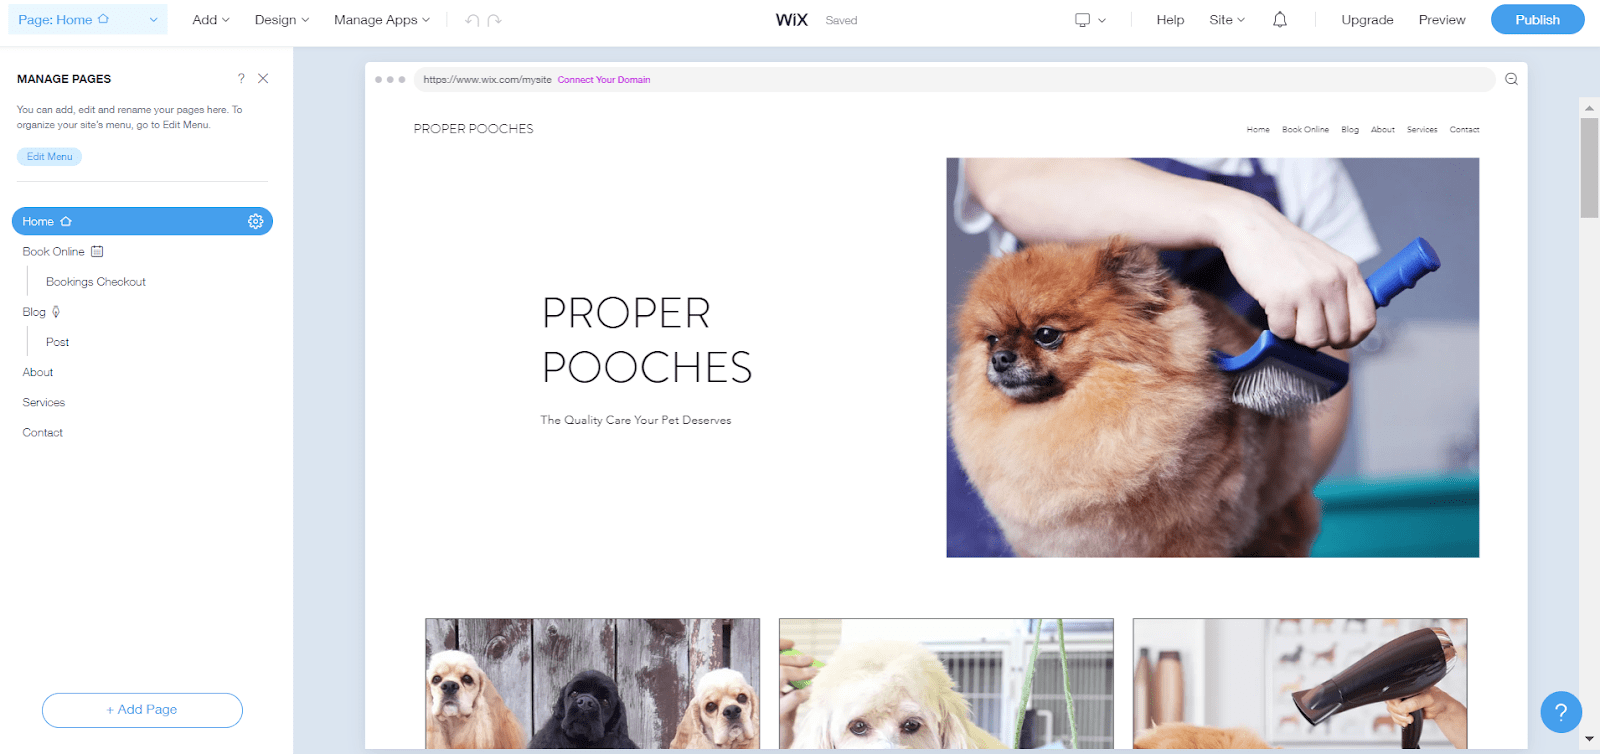
You can add new pages, rename, hide or delete pages, and change their order. You can also change your background color, or add an image. Once that’s fixed, you can start adding additional elements. In the Wix App Market, you will find more than 300 different add-ons that you can use to add extra functions to your website, including:
- Galleries and images
- Slideshows
- Videos and music
- Buttons
- Forms
- Blogs
- Online bookings
- Testimonials
- Mailing lists
- Contact forms
- Social media integrations
Simply drag and drop the element to your desired location on the page to add it. Once you are satisfied, click “Publish” in the top menu, and that’s all it takes to make your site live!
Other web builders to check out
- SITE123 – Very easy to use website builder that comes with more than 180 templates. The free plan comes with the bare minimum, while the three, flexible paid plans come with extra storage, custom domains, and plugins.
- Squarespace – Well-known for its well-designed, professional-looking templates, Squarespace offers a great selection of third-party integrations and e-commerce options – but no free plan. It’s also less beginner-friendly.
- SquareOnline (Ecom brand) – Easy-to-use and affordable, SquareOnline is a website builder specifically designed for small e-commerce businesses, offering great features for online stores – and a rare, free e-commerce plan.
- Webnode – Beginner-friendly website builder Webnode allows you to translate your website into multiple languages – a relatively unique feature! The free plan is pretty basic.

Take Your Wix Website to the Next Level
Now you’ve built a good simple website, it’s time to take things up a notch. In my experience, you can never really finish building a website, because there are always more options for updating, changing and improving.
You’re likely not only constructing a website for yourself, but you also have the goal of attracting visitors to your site. This entails expanding your audience and crafting an exceptional visitor experience. Consequently, here are several additional pathways that you may consider exploring.
- Design a logo – Give your website a more professional feel and grow your brand by designing your own logo with Wix’s free logo maker. (You can read our review here.)
- Optimize your website – Make sure potential visitors can find your website by ensuring that you rank highly on search engine result pages. The Wix SEO Wiz offers you a personalized SEO plan for your website, walking you through every step.
- Make sure you’re mobile friendly – Nowadays, an increasing number of people are browsing the internet on mobile devices. Ensure that your visitors can have a seamless browsing experience on all types of devices by optimizing your mobile website using Wix’s Mobile Editor.
Conclusion
That’s it! As you can see, creating and editing a site with Wix couldn’t be simpler. Just three easy steps and you’re well on your way to establishing a solid, good-looking online presence. Now that you’ve got a good grasp of the basics, you can start adding additional functionality as you need. The opportunities are endless.