
With the right tools, anyone can build a professional site – no coding or big budget required. I have extensive experience testing and reviewing website builders, as well as a bit of web design experience, and I can tell you that you don’t need to be an expert to build a good-looking, functional website.
There are two main ways to build a site. The first (and easiest) is to use a website builder like Wix or Squarespace. These platforms offer ready-made templates, drag-and-drop editing, and all the essentials – domain, hosting, security – in one place. If you’re a beginner, a busy small business owner, or want to get online quickly, website builders are usually the best choice.
The second option is WordPress.org, which offers more flexibility and customization but requires more time and technical knowledge. It’s better for those who want long-term scalability and don’t mind a steeper learning curve.
Nowadays, you can also create a website without coding in minutes with AI builders. These sites may look a bit generic, but you can always customize the design later.
In this guide, I’ll show you how to build a website using a website builder and WordPress.org, and touch upon AI options. Keep reading to learn the best approach for your needs and how to create a website step by step.
Quick Roadmap: How To Build a Website in 7 Steps
- Define Your Website’s Purpose
- Choose the Right Platform (Website Builder vs WordPress.org)
- Customize Your Website
- Add Content and Pages
- Pick a Domain Name
- Preview and Publish
- Promote Your Website and Track Performance
1. Define Your Website’s Purpose
If you’re anything like me, you probably get excited about the fun details, like picking the perfect logo, colors, and layouts, only to feel overwhelmed before you’ve even begun. That’s why it’s so important to take a step back and ask yourself: Why do you want a website? What do you want it to achieve?
You’ll need to do a few things before you actually start building your website:
A. Choose Your Website Type
Websites usually fall into a few main categories:
- Blog. A space to publish ideas, insights, or updates and build an audience around your expertise or hobby.
- Portfolio. A showcase of your work for potential clients or employers.
- Business Website. A digital headquarters for presenting your business, winning trust, and attracting new leads/customers.
- Online Store. A platform to sell your physical or digital products or services online.
Your site doesn’t have to stick to one category. A portfolio might also feature a blog, or a business site could include an online store. What matters is knowing your primary purpose. Setting clear goals at the beginning will guide every decision you make, from picking the right platform to deciding what content to prioritize.
B. Identify Your Audience
Once you know your site’s purpose, it’s time to think about who will actually visit your site. Take a moment to jot down a quick description of your audience – their demographics, interests, and what they need from you – and keep this in mind as you shape your site.
C. Decide How You’ll Measure Success
Your website shouldn’t just exist – it should work toward your goals daily. Maybe you want to grow an email list, attract a specific number of monthly visitors, or generate consistent online sales. By defining what success looks like and setting clear metrics, you’ll know whether your site is thriving or if it’s time to make improvements.
You don’t need an elaborate strategy right away – just a solid foundation.
2. Choose the Right Platform (Website Builder vs WordPress.org)
After laying out the basics, the first big decision before learning how to build a website is choosing the right platform. The two most common routes are:
- Using a Website Builder. Fast, beginner-friendly, and requires no technical skills.
- Using WordPress.org. More complex, but more flexible and scalable in the long run.
Both approaches can help you create a professional website, but the best platform to make a website in 2026 depends on your goals, experience level, and the time you can invest.
Option 1: Use a Website Builder
Website builders are designed for simplicity. You can start with a ready-made template, customize it through a drag-and-drop editor, and be online within hours. Most come with hosting, security, and mobile optimization built in, so you don’t have to manage technical details yourself.
Our Website Builder Recommendations
Not sure which builder to choose? Here’s a breakdown of the best website builders for different needs:
- If you want full design freedom and easy editing capabilities, Wix is the best all-around choice. Its flexible drag-and-drop editor, 2500+ ready-made templates, and 800+ apps let you build any type of site without technical skills. It pairs simplicity and power, making it easy to start and scale as you grow. You can even test its free plan before committing.
- For creatives and professionals who value sleek, polished design, Squarespace is the top pick. Its responsive, grid-based templates make it easy to create a sophisticated portfolio, CV, or business website without worrying about layout precision.
- If speed and simplicity are your priorities, Hostinger Website Builder is a great choice. It’s affordable, supports useful integrations like Facebook Pixel and WhatsApp, and offers more customization than most beginner-friendly builders.
- For online stores anticipating growth, Shopify is the best dedicated e-commerce platform. Its advanced inventory management, analytics, and marketplace integrations make it ideal for scaling an online store.
- If you’re after a budget-friendly option for a business site, IONOS Website Builder is a strong choice. It’s affordable, includes a free business email, and offers simple add-ons for online stores – perfect for small businesses getting started.
- For absolute beginners who want to launch a simple personal site or blog, SITE123 is the easiest tool to use. Its guided editor and ready-to-go templates make setup fast and stress-free.
| Best for | Ease of use | Flexibility | Starting price | ||
|---|---|---|---|---|---|
| Wix | All types of websites | Easy to use | Most flexible, with gridless editing and many templates | $0 | |
| Squarespace | Design-focused websites | Easy to use and beginner-friendly | Flexible, with professionally designed templates | $16.00 | |
| Hostinger Website Builder | Any type of website that won’t require major scaling | Very beginner-friendly | Moderate flexibility, less scalable than Wix or Squarespace | $2.99 | |
| Shopify | E-commerce websites | Easy to use | Highly scalable for e-commerce, limited design flexibility | $29.00 | |
| IONOS Website Builder | Basic business sites and small online shops | Very easy to use | Limited templates and customization options | $1.00 | |
| SITE123 | Basic personal sites and portfolios | Easiest to use among website builders | Minimal flexibility, no free element placement | $0 |
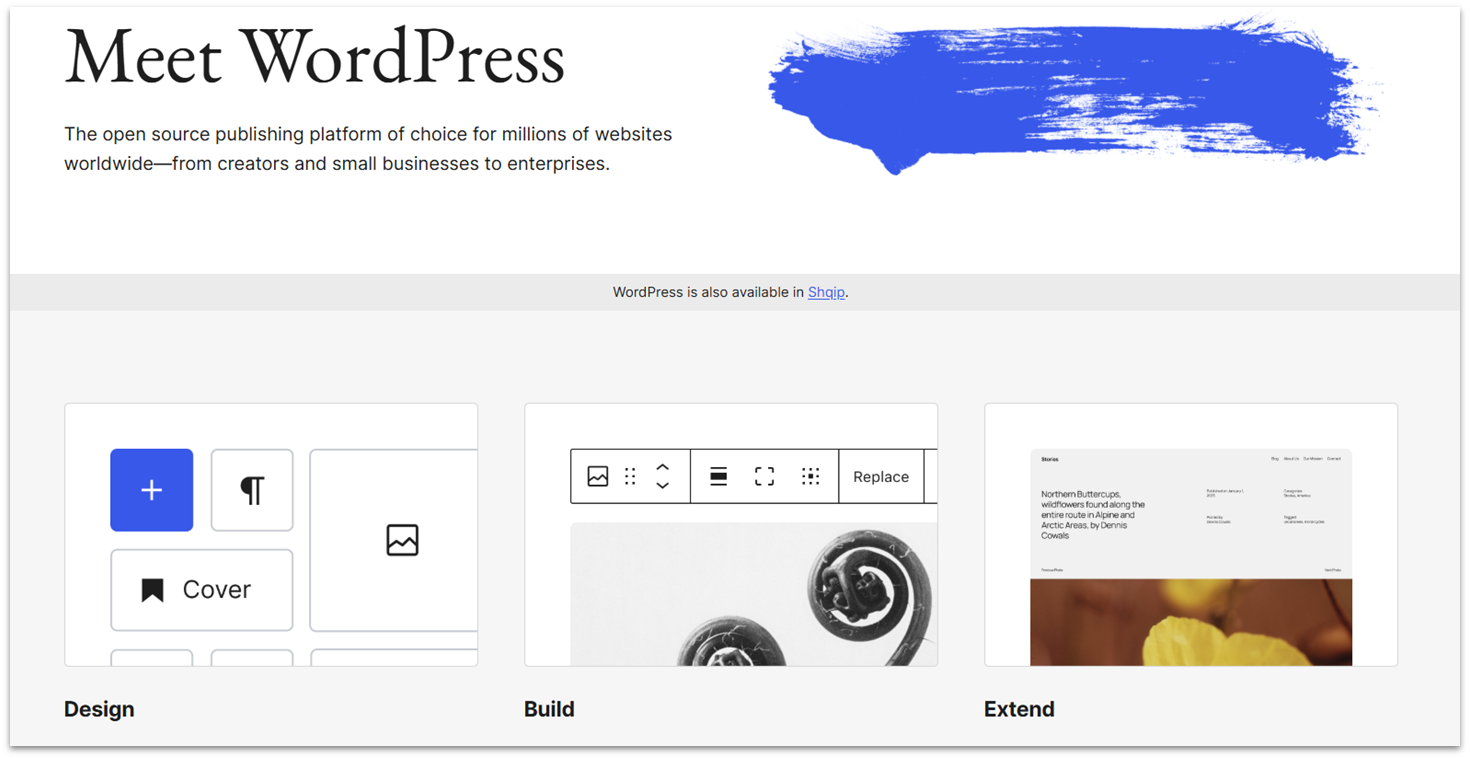
If you want maximum control and scalability, WordPress.org is a better option. Unlike website builders, with WordPress.org you’re responsible for your own hosting, domain, and ongoing maintenance. This gives you freedom, but also means a more setup and ongoing management.
WordPress.org has a steeper learning curve than website builders, and customizing your site may take a bit more trial and error. You’ll work with themes and plugins instead of drag-and-drop editors, ready-made templates, and pre-built extensions.
WordPress.org is a better choice if you:
- Need a complex business website with custom features
- Plan to blog extensively or publish lots of content
- Expect your website to grow significantly over time
For beginners, a website builder is usually the easier route, but if you value long-term flexibility and don’t mind a bit of learning, WordPress.org can be well worth it.
By now, you should have a good sense of whether a website builder or WordPress.org is the right fit. Next, we’ll guide you step by step through building your website.
Website builders like Wix and Squarespace have AI tools that can generate a site for you based on a short description of your business or project. The results are more generic, but they give you a solid starting point. You can always customize the design later to match your brand and style.

3. Customize Your Website
No matter which platform you pick, the real fun starts when you get to make the site your own. If you’re like me, the creative excitement can quickly spiral into overwhelm – and once indecisiveness joins the party, those “quick tweaks” turn into a never-ending project. My go-to mantra for customizing websites: progress over perfection.
With that mindset in place, let’s cover a few basics to guide your design choices.
A. Visual Identity & Design
Think of this as dressing your website for success. The right logo, colors, and typography set the tone for your brand and make your site instantly recognizable.
Select Logo, Colors & Typography
Here’s how to dress your site for success:
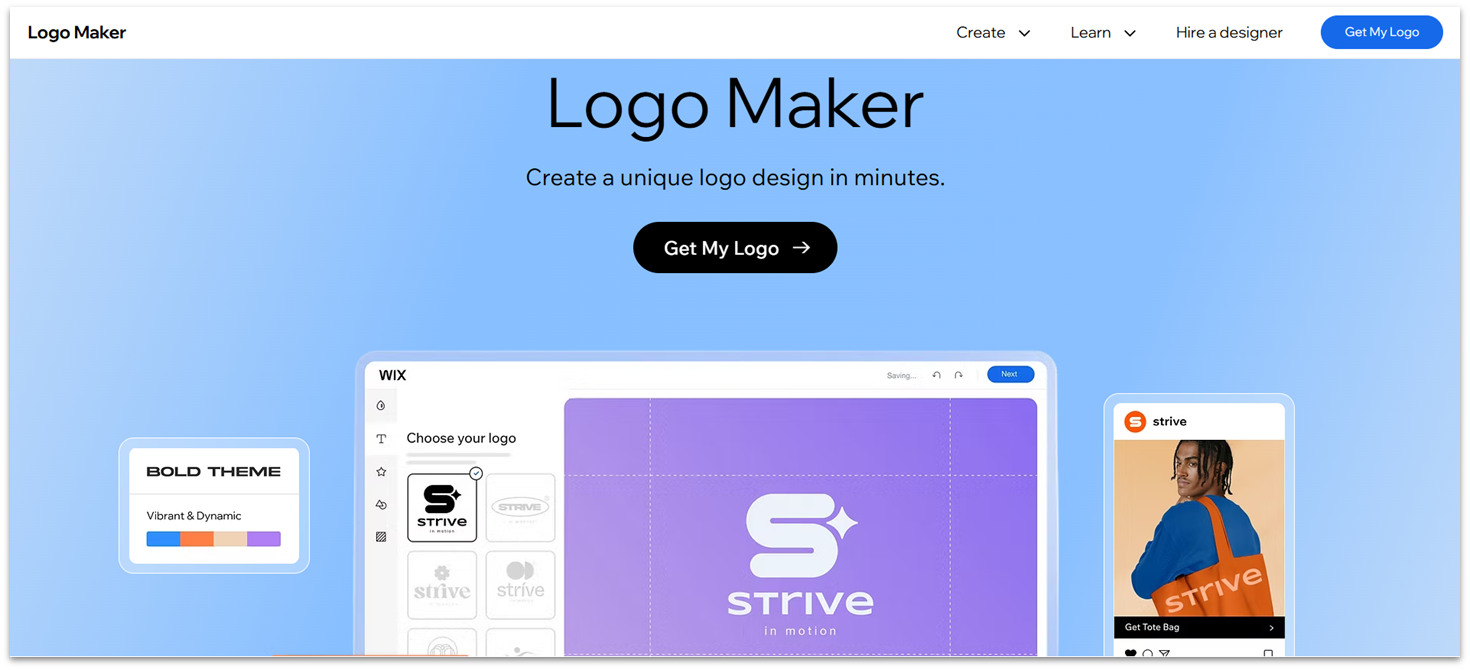
- Logo. Keep it clean, legible, and scalable so it works on everything from your site header to social media profiles. The goal is memorability, not complexity. You can use free logo makers or built-in tools from platforms like Wix and Squarespace for mockups or simple designs.
- Colors. Web designers recommend following the 60-30-10 rule. It means using up to three colors, with your primary about 60% of the time (like backgrounds), your secondary for 30% (sections or highlights), and your accent color for 10% (buttons, or calls-to-action (CTAs)).
- Typography. Choose one main font for headings and one for body text that complement each other. Aim for readability over style. For body text, simple sans-serif fonts like Arial, Helvetica Neue, and Open Sans are popular, due to their clean, easy-to-read look on screens. Serif options, like Times New Roman or Georgia, create contrast and add a hint of elegance, making them a good fit for headings.
Need help with your logo, colors, and fonts? Our step-by-step prep guides cover everything from designing a logo and selecting the right colors to picking fonts in Wix and Squarespace. Whether you’ve decided to use one of these or another website builder, these guides will prepare you for a successful website build in under 2 hours.
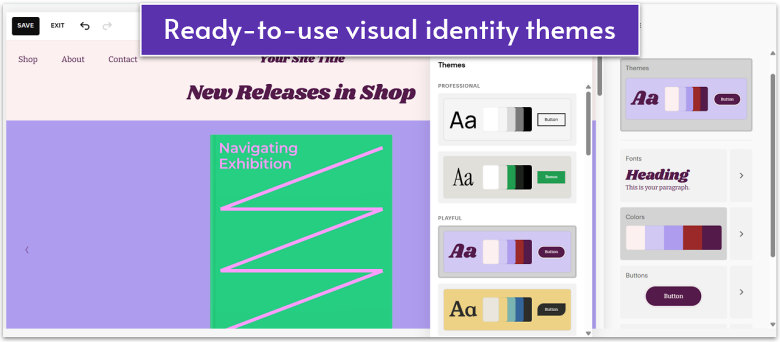
Choose & Customize Templates/Themes
Whether you choose a traditional website builder or WordPress.org, your platform of choice will provide ready-made designs – typically called templates in builders, and themes in WordPress. In general, there are three routes to take when choosing a template:
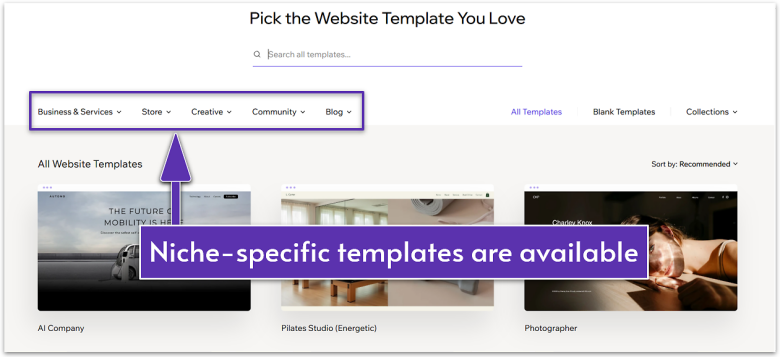
- Pick a niche-specific template. This is the simplest and fastest way to get started. Most platforms will have niche-specific templates, such as those for salons, restaurants, or personal coaches. These templates come pre-structured with the pages and layouts you’ll likely need, so you can swap in your own colors, fonts, and content without major reworking.
Skip the heavy lifting and start with a niche-specific template. Wix has the largest library of ready-made designs – over 2500+ options across categories like fashion, fitness, portfolios, and online stores.
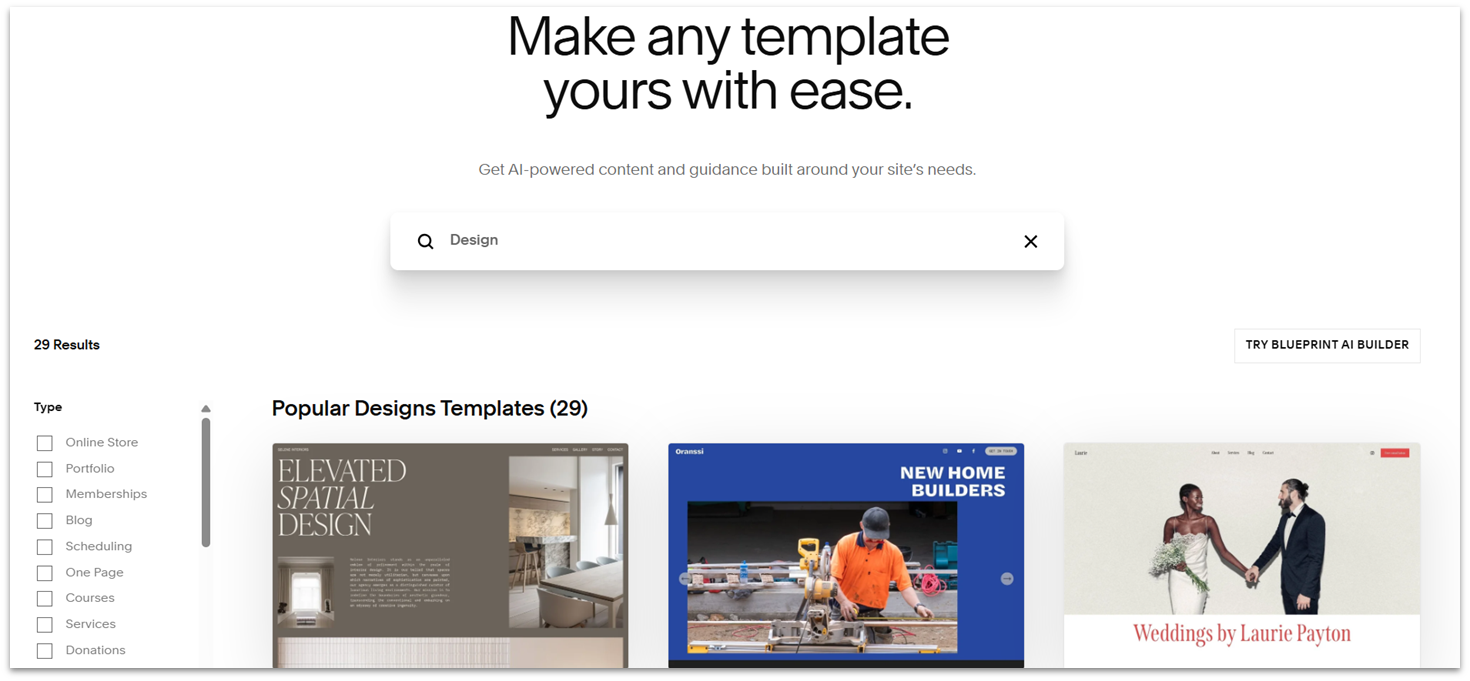
- Pick any template and customize it. If you find a design you love, even if it’s not labeled for your niche, you can still make it yours. This option will likely require more tweaking, since you’ll need to adjust layouts, swap out features, or remove sections that don’t fit your needs.
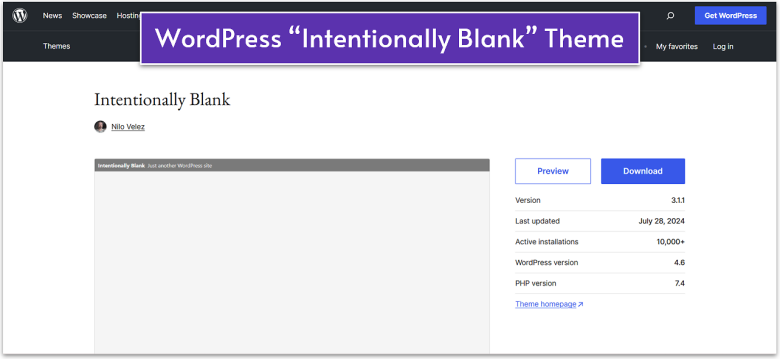
- Start with a blank template. If you want full creative freedom, some website builders, and WordPress.org, let you start with a blank template and build every section from scratch. While this takes more effort, it also means total creative freedom and unique design.
Starting with a blank template is easier than you think! Our fully guided tutorial for Wix walks you through every step, from adding pages to customizing colors and fonts. Plus, we provide time estimates for each module, so you’ll know exactly how long each step takes.
No matter which path you choose, the key is to make the template feel unique and personal – there are already enough bland websites collecting digital dust.
Create a Layout
You don’t need to fuss over every little detail right away – you can refine the design later. Start by building the big pieces first, like your header, navigation, main content area, and footer – these elements appear on every page. Here’s how to create a website layout for any type of website:
- Header. Your header appears at the top of each page and usually contains your logo, navigation menu, and sometimes a CTA button (like “Book Now”). The logo in the header needs to link back to the homepage. Keep it clean and consistent with the rest of your website design.
- Main Content Area. This is where your page’s core message lives. On your homepage, it starts with the hero section – a clean, eye-catching banner with a strong headline, brief supporting text, and a clear CTA. Pair it with an on-brand image, video, or color, then follow with sections that explain your offerings and key benefits.
- Navigation. Stick to 5–6 main menu items with short labels (e.g., “About” is better than “Who We Are as a Company”). If you have lots of pages, organize them with dropdowns or secondary menus. A golden rule: visitors should be able to find anything important in three clicks or less.
- Footer. The footer is where people scroll when they don’t find what they need up top. Include essentials like your contact details, social media links, copyright notice, and your privacy policy and terms. You can repeat key navigation links here, but don’t overdo it.
💡 Pro Tip: Customize with your brand’s style in mind for a cohesive look. Think of it this way – loud colors and a spinning lucky wheel might be perfect for a fashion store promo, but drop it on a consultant’s site and you’ll have clients wondering if they should trust you with career advice.
B. Technical Customizations
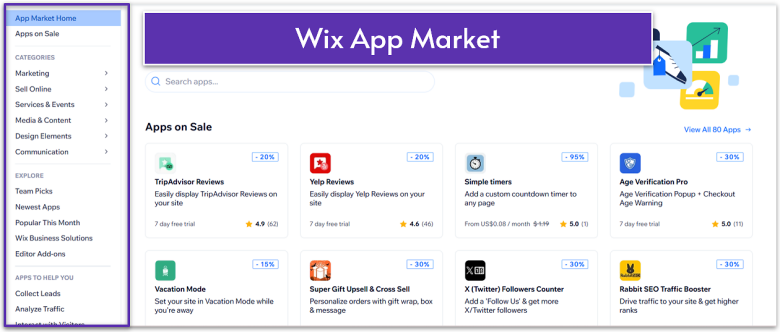
Website builders let you make technical customizations without coding. You add functionality in just a few clicks through apps, extensions, widgets, integrations, or plugins. Wix, for example, offers over 800 options for features such as SEO, booking systems, live chat, online stores, and more.
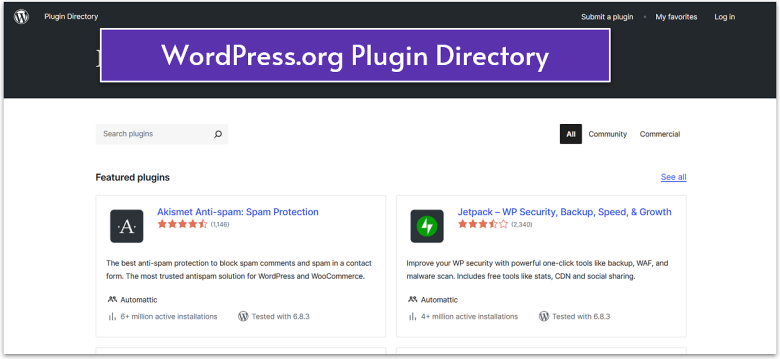
WordPress.org also offers plugins for multiple functionalities. However, advanced customizations, troubleshooting complex issues, and optimizing performance in WordPress.org require coding knowledge in HTML, CSS, and PHP.
But you don’t have to go too far at launch. It’s enough to handle these basic technical optimizations for now:
Install Essential Apps/Plugins
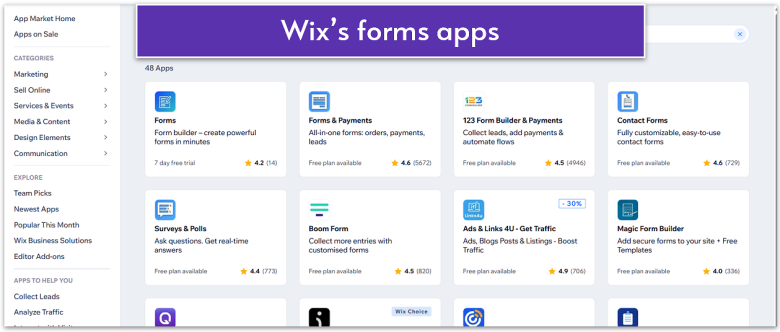
- Forms. A contact form is essential for any type of site. Keep it short – fields for name, email, and message are often enough. Other useful forms include a newsletter signup to collect leads, and depending on your site type, you might need an order, booking, or inquiry form.
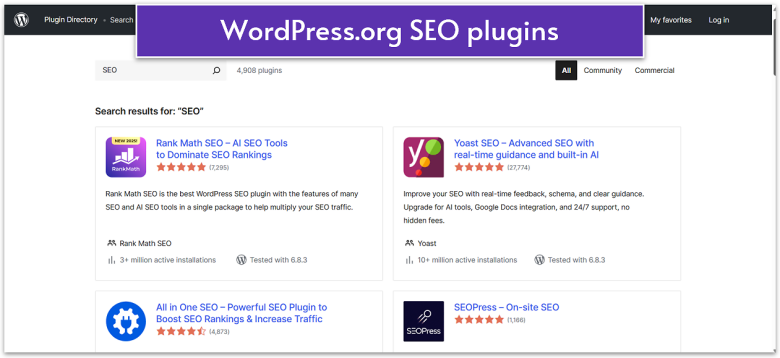
- SEO basics. Optimize your site for SEO by filling in your page titles, descriptions, and image alt text using relevant keywords. Most platforms come with an abundance of built-in and third-party SEO tools. For example, Wix has a dedicated SEO dashboard, while WordPress.org offers popular plugins like Yoast SEO and All in One SEO.
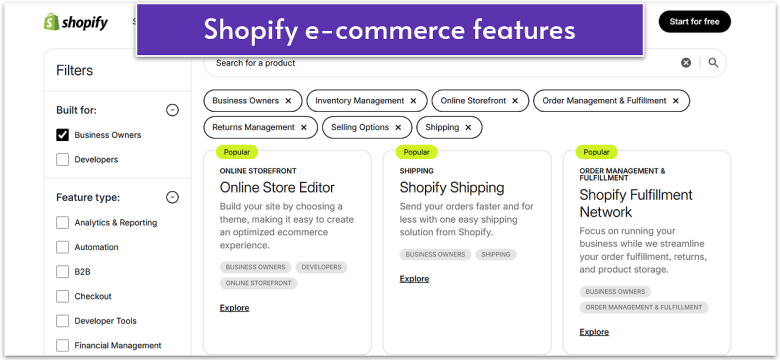
- E-commerce features. These include elements like shopping carts, secure checkout, and order tracking. Most website builders have dedicated e-commerce templates where these features come pre-installed, or you can add them with just a click from their app stores. On WordPress.org, e-commerce is typically done with the WooCommerce plugin.
Optimize for Mobile
All major site builders and WordPress.org offer responsive or mobile-friendly templates, but small manual tweaks are often necessary. Website builders offer mobile preview modes to fine-tune your layout. On WordPress.org, this also means occasionally adjusting fonts, images, plugin layouts, and other manual adjustments to ensure everything scales correctly.
In general, optimizing for mobile with a website builder is faster and simpler, while WordPress.org requires more manual effort.
Basic Optimizations
Visuals can slow down your site, so it’s best to use compressed formats like JPEG or WebP for photos, and PNG only when transparency is needed. Use tools like TinyPNG, Squoosh, or ImageOptim to compress your images. You might also need to resize images before uploading to fit a specific display.
Avoid using too many widgets, animations, or heavy files as they can slow down your site. Aim for a page load speed of under 3 seconds for the best user experience.
4. Add Pages & Content
You don’t need dozens of pages to get started. A lean, focused site often works best for beginners. Instead of trying to cover everything at once, start with the essentials and keep your content clear, concise, and visitor-focused.
A. Page Checklist
I’ll cover pages that every website should have or it’s recommended to have. From there, you can mix in extras depending on your niche.
Must-Have Pages
- Home. A snapshot of who you are, what you offer, and where visitors should go next.
- About. A dedicated space to share your story, mission, or credentials.
- Services/Products. A page that features clear descriptions and highlights the key benefits of your products/services, along with action-oriented CTAs.
- Contact. A page that makes it easy for potential customers to reach you.
- Privacy Policy. A legally required page if you collect any personal data (e.g., names, email addresses) that explains how you collect and use that data.
Recommended Pages
- Blog. Valuable content that helps with driving organic traffic through SEO and establishing trust, authority, and loyalty.
- FAQ. Instant answers to common questions to build trust with customers while reducing the demand on your support team.
- Testimonials/Reviews. Real feedback from happy clients to build trust and credibility with new visitors.
- Portfolio/Case Studies. Real examples of your work to showcase in your expertise.
- Terms & Conditions. Not legally mandatory, but highly recommended to set clear rules for using your site and protect your business from disputes.
- Newsletter Signup. Helps you connect with visitors directly, grow your audience, and share updates or offers, turning casual visitors into loyal customers.
B. Crafting a Compelling Website Copy: Quick Writing Tips for Beginners
Your words matter just as much as your design. Here’s how to make a website copy impactful:
- Keep it short. Don’t write a paragraph if you can say it in a sentence, and use mostly short sentences in plain language. Break long blocks of text into short paragraphs, ideally up to 3–4 lines.
- Front-load important info. Put the key takeaway or benefit at the start of each section because, as I said earlier, most visitors won’t read to the bottom.
- Use headers (H1, H2, H3). Headers break your content into scannable sections, making it easier for both visitors and search engines to understand your page structure.
- Bold key information. Again, visitors skim more than they read, so bold key phrases or important points to ensure your main message is being delivered. But don’t overdo it – one phrase per paragraph is enough.
- Optimize your content for SEO. Include relevant keywords naturally in headers and body text. You should also optimize your page titles, meta descriptions, and image file names and alt text.
- Add CTAs. Always guide your visitors to the next step, whether that’s “Book a Call,” “Shop Now,” or “Subscribe for Updates.”
5. Pick a Domain Name
Your domain name is your site’s address on the internet (e.g., yourbusiness.com). If you’re using a builder like Wix or Squarespace, you can register your domain directly through their platform – often with the first year included in your plan.
With WordPress.org, you’ll need to buy your domain separately from a registrar like Namecheap or GoDaddy and then connect it to your hosting. Either way, the process is mostly click-and-go, cheap, and doesn’t require tech skills.
A. Best Practices for Choosing a Domain
Here are some quick, practical tips to pick a domain that’s memorable, discoverable, and scalable:
- Keep it short and simple. Aim for a name people can remember and spell from hearing it once. Stick to two to three words max and avoid numbers, hyphens, and odd characters.
- Make it SEO-and-people-friendly. If it makes sense, include a clear keyword or location (e.g., parisyoga.com). But don’t force keywords at the expense of your branding.
- Pick the right extension. Stick to .com wherever possible. It’s the most recognized and trusted, but there are exceptions. For example, non-profits often choose .org, while tech startups might go for .io. If you want to emphasize your local operations, you can use country domain extensions (e.g., .us).
- Think long-term and protect your brand. The name should align with your long-term vision, so don’t box yourself in with something too niche. You should also check for trademarks and see if matching social media handles are available.
- Add privacy. Turn on WHOIS/privacy protection to keep your contact details private.
B. Where To Register Your Domain
Most website builders (like Wix, Squarespace, or Shopify) let you buy and connect a domain directly through their platform. This can be the fastest option if you want everything managed in one place.
Alternatively, you can register your domain with IONOS, which offers a free domain for one year with all of its plans. See our IONOS review for more information.
If you’re building with WordPress.org, you can buy a domain from third-party registrars or web hosting providers that sell domains (most do).
C. How to Register a Domain for Your Website
- Check availability. Platforms that sell domains offer domain checkers that let you quickly see if your name is taken and suggest alternatives if it isn’t available.
- Register your domain. Once you’ve found the right name, register it. Domains typically cost $10–20 per year. The process is simple – just add it to your cart and check out, much like any other online purchase.
- Connect it to your website.
- If you buy your domain through the same website builder you’re using, it’s usually connected automatically. If you purchase it separately, you’ll need to “point” your domain to your builder. Platforms provide clear, step-by-step instructions on how to do this.
- For WordPress.org, you must always buy your domain from a third-party provider. If you purchase it through a domain registrar, you must connect it to your hosting service. If you get it through your hosting provider, they are usually automatically connected.
6. Preview and Publish
A sloppy site with broken links, typos, or poor mobile display can instantly hurt your credibility. Take the time to test everything and ensure your site appears professional and trustworthy from day one.
A. Test Before You Publish
Here’s what you need to check before you hit that shiny “Publish” button:
- Check mobile responsiveness. Open your site from a few different mobile devices to ensure it displays well on small screens.
- Click every link and button. Navigate like a visitor would through menus, contact forms, and CTA buttons. Everything should work flawlessly.
- Check your images. Make sure nothing looks blurry, stretched, or awkwardly cropped.
- Proofread. Typos and sloppy grammar can make even the best-looking website feel unprofessional, so take the time to carefully review your content before publishing.
- Check security. Make sure your site runs on HTTPS and has a valid SSL certificate. Most builders include this automatically, while with WordPress.org, you’ll set it up through your hosting provider. Most hosts offer free SSL certificates that enable HTTPS and keep your site secure.
💡 Pro Tip: Even if your host provides a free SSL certificate, you’ll likely need to activate it through your hosting dashboard.
- Test e-commerce functionality. If you’re selling products, place a test order. Make sure checkout, payment, and confirmation emails all work as expected.
B. Publish Your Site
When you’re happy with the preview, it’s time to go live. For website builders, going live is usually as simple as pressing a “Publish” button.
With WordPress.org, your site is technically “live” once WordPress is installed on your hosting. A separate “Publish” button only applies to individual posts and pages.
7. Promote Your Website & Track Performance
Hitting publish is a huge step! But your website’s journey doesn’t stop there. With a few simple steps, you can start bringing more visitors to your site and learn what’s working (and what’s not) as you grow.
A. Promotion & SEO
Think of this step as giving your website a megaphone. By adding SEO basics, sharing on social media, and using a few smart promotion tactics, you’ll make sure the right people can find you.
- On-page SEO basics. Each page should have a title and a meta description. You also want to use relevant keywords naturally in headers and body text, and include descriptive alt text for all images.
- Share on social media. To save time, stay consistent, and access valuable insights, consider using a social media management tool.
- List in directories. Add your business to directories like Google Business Profile, Yelp, or niche-specific listings to boost local visibility.
- Guest posting and collaborations. Writing a blog post for another site or collaborating with an influencer can introduce your website to new audiences.
- Try paid advertising (Optional). Consider running paid campaigns on Google or social media platforms, like Facebook and Instagram, to boost visibility. Start with a small budget to test what works.
B. Analytics & Tracking
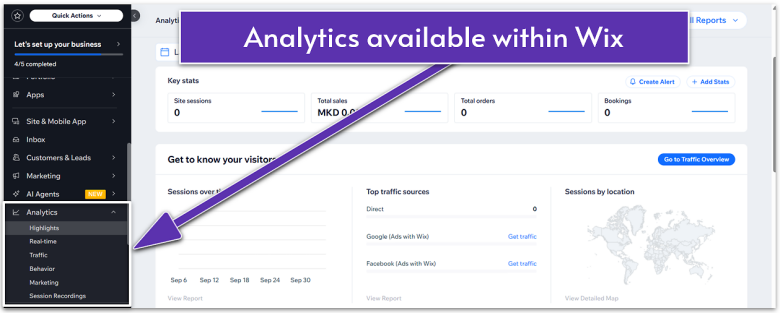
By checking a few key metrics regularly, you can see what’s working, spot small issues early, and make simple improvements that help your site grow. Think of it as gently steering your website rather than overhauling it – tracking is just part of keeping your site useful, relevant, and effective.
- Set up Google Analytics. It shows where your traffic comes from, which pages people visit, and how long they stay. Once connected, Google Analytics data can take up to 48 hours to appear in your reports.
- At most builders, setting it up is just a matter of installing an app.
- For WordPress.org, using a plugin like MonsterInsights or Site Kit is the easiest way, but you can also manually paste the tracking code into your site’s header.
- Watch Key Metrics:
- Traffic Sources. See where your visitors come from (social, search, direct, referrals).
- Page Views and Unique Visitors. Track how many people visit your site and which pages get the most attention.
- Bounce Rate. The percentage of visitors who leave after viewing only one page (a high rate may mean weak content or confusing design).
- Average Session Duration. Discover how long people stay on your site – longer = more engaging.
- Conversions/Goal Completions. Track sign-ups, purchases, form submissions, or any action you want users to take.
- Top Landing Pages. Identify which pages bring the most visitors.
- Mobile vs. Desktop Traffic. Compare traffic sources. A sudden plunge in mobile traffic may indicate your site is not displaying well on small screens.
- Try optional tools for deeper insights:
- Heatmaps. A heatmap visually shows where people click, scroll, or ignore content, so you can quickly spot if your CTA button is being missed or if important text is too far down the page.
- Session Recording Tools. Session tools (like Hotjar or Microsoft Clarity) show you anonymized replays of real user visits, helping you understand where visitors get stuck or drop off. These insights can guide small but powerful tweaks – like moving a button higher up or simplifying a form – that improve usability and conversions without guesswork.
FAQ
Can I build my own website for free?
How much will it cost to build a website?
Can I build a website with no experience?
What is better, Wix or WordPress?
Do I need a dedicated e-commerce builder?
Will my site look good on mobile devices?
Conclusion
Building a website on your own is easier than ever. Whether you decide on a website builder or WordPress.org, all the tools you need are at your fingertips, often costing nothing or next to nothing.
Website builders make everything simpler with drag-and-drop editing, ready-to-use professional templates, built-in features, and easy-to-install integrations. On the other hand, WordPress.org offers the flexibility to grow in any direction.
Pick your platform, start building, and see your ideas come alive – remember, a live site, even if simple, beats a perfect site that’s never published. You can always refine as you go!
Ready to build your professional website? With our step-by-step website tutorial for Wix and Squarespace for portfolios, service businesses (like consultancies), and local businesses (like restaurants or salons), you can create a polished, custom site – no technical skills or agency budget required.