
Your Wix site is more than just design. It’s also your online presence. Adding your resume makes it easy for potential employers or clients to see your skills and experience right away. Whether you want a quick download link, a clean embedded PDF, or a fully styled resume page, Wix gives you the tools to make it happen. We’ll cover three simple methods so you can pick the one that works best.
Method 1. Upload and Link a Resume File
The fastest method is uploading your resume file (PDF or Word) and connecting it to a button. Visitors can download it instantly with one click.
Step 1. Add a Button
Make your downloadable resume easy to notice by linking it to a button that stands out from the background. You can make it more visually distinct by using clear calls-to-action like “Download My Resume.”
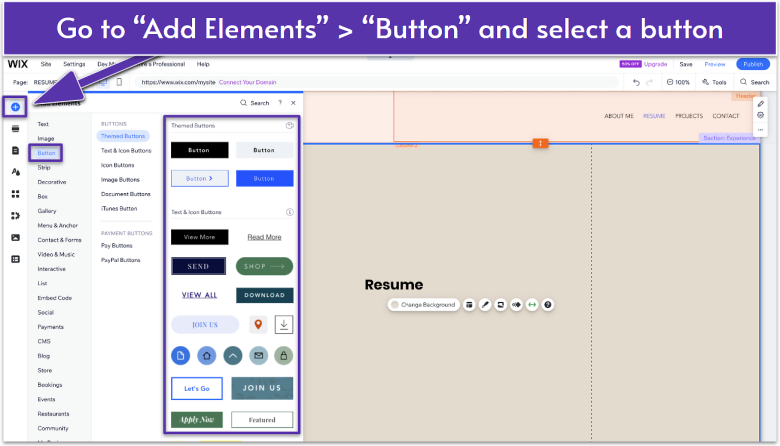
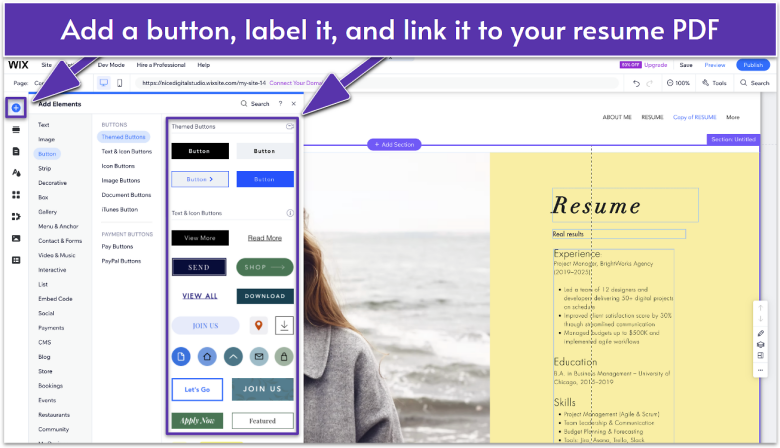
- Click Add Elements in the left toolbar.
- Select Button from the menu.
- Choose a button style from the list. You can try the classic Text & Icon Buttons, where you can easily find download buttons.
- Drag the button onto your page where you want it to appear.
Step 2. Link the Button to Your Resume
Now connect your button to the resume file so visitors can download it directly.
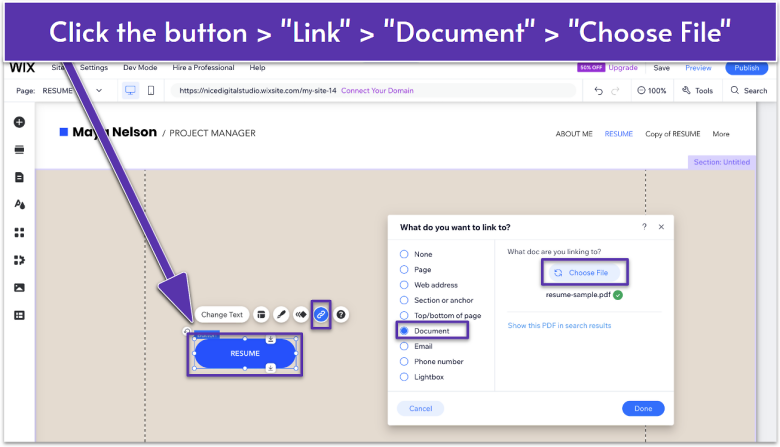
- Click the button you added to your page to open the toolbar.
- Click the Link icon.
- In the What do you want to link to? panel, select Document.
- Click Choose File to open the upload window.
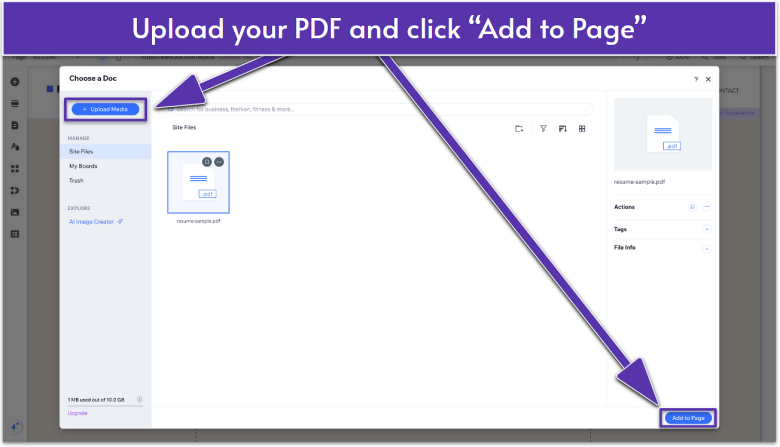

- Click Upload Media.
- Click Upload from Computer.
- Select your resume file. (PDF is best for consistent formatting.)
- Once uploaded, click Add to Page.
Method 2. Embed Your Resume on the Page
Embedding your resume on your page is best if you want visitors to view it directly on your site without downloading it. It’s best to use a PDF version of your resume for consistent formatting.
Step 1. Install a PDF Viewer
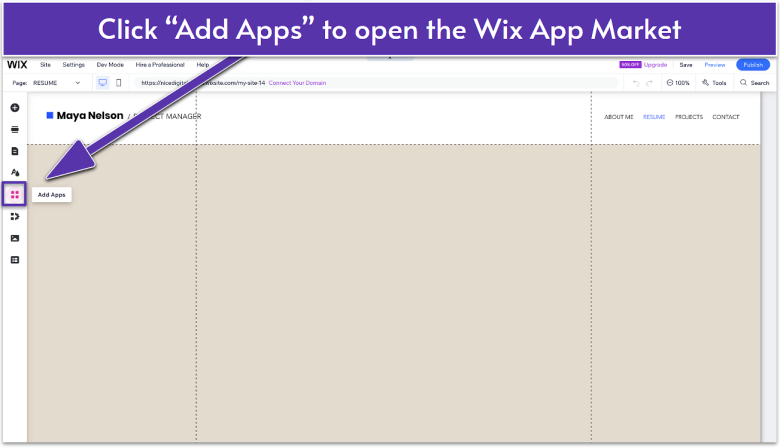
- Click Add Apps in the left sidebar to open the Wix App Market.
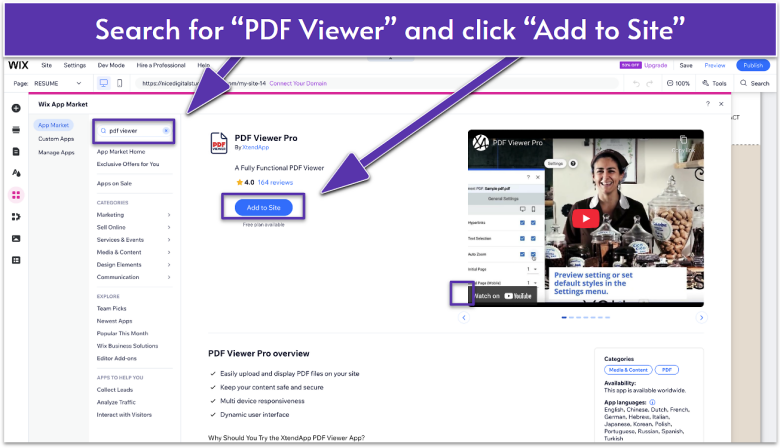
- Type “PDF viewer” in the search bar and hit Enter.
- Select one of the available apps.
- Click Add to Site to place the PDF viewer on your page.
Step 2. Upload and Display Your Resume
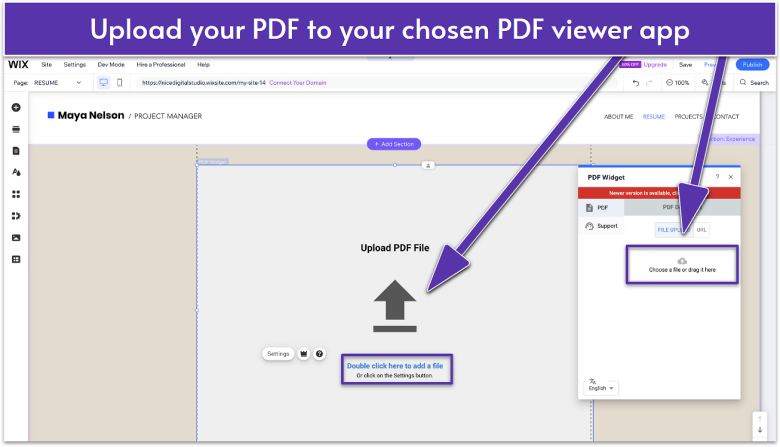
- Upload your resume file to the PDF viewer app. The exact upload steps may vary depending on which app you’re using.
- Adjust the size and position of the viewer on the page if needed.
Method 3. Create a Resume Section
Adding a resume section to a page works best if you want your resume to look like part of your site design instead of just a file or an embedded viewer.
Step 1. Add an About Strip
Use a ready-made strip layout to display your resume details.
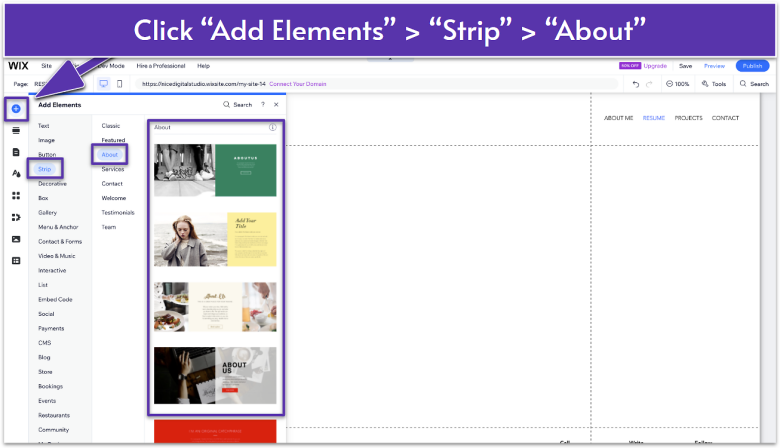
- In the Wix Editor, click Add Elements .
- Go to Strip.
- Select About.
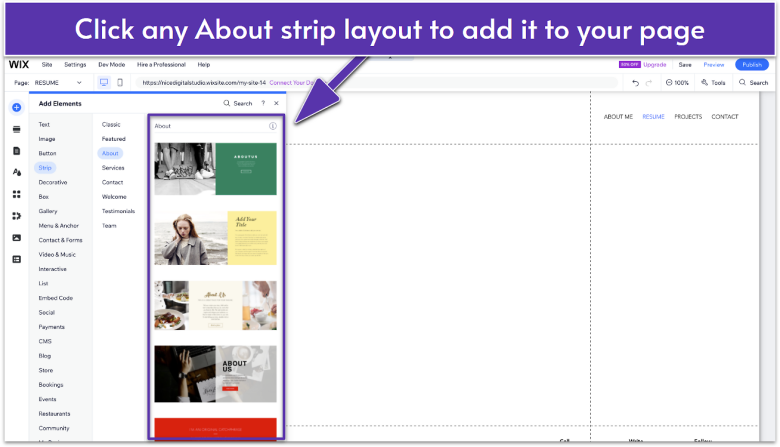
- Select an About strip layout to add it to your page.
Step 2. Upload Your Profile Photo
Replace the default photo in the About strip with your own professional profile photo.
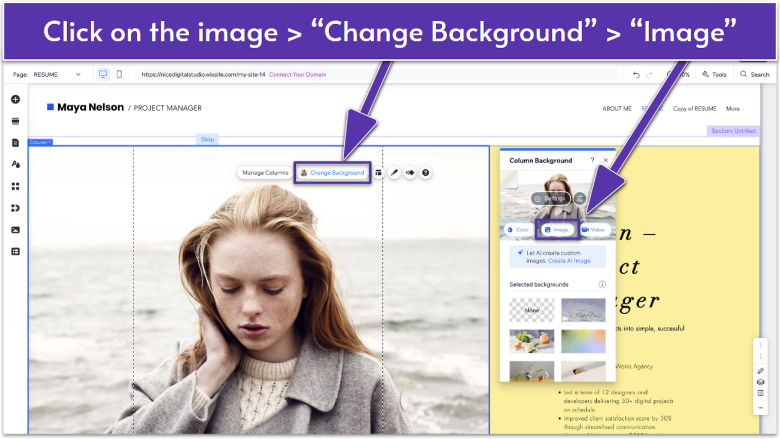
- Click the column with the preset image to open the column toolbar.
- Select Change Background.
- Select Image to open the upload window.
- Click Upload Media.
- Click Upload from Computer and select your profile photo to upload. You can also drag and drop the file into the upload area.
- Click Change Background.
Step 3. Add Your Resume Content
Update the title, subtitle, and description text boxes with your resume details.
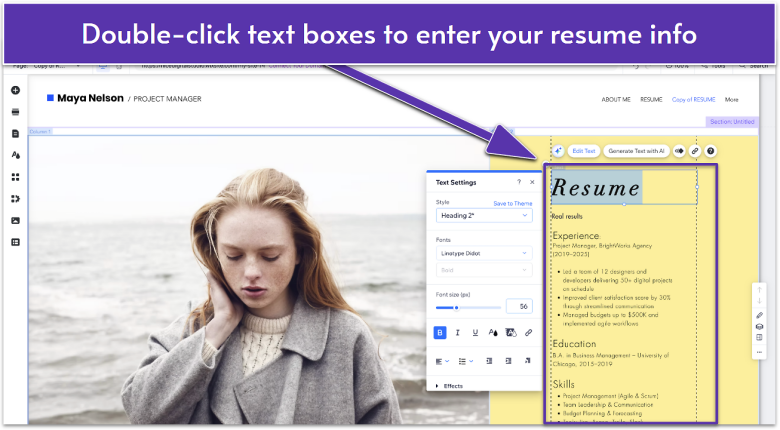
- Double-click the title text box (or click it and select Edit Text) to enter your name and professional title.
- Double-click the subtitle text box to add a one-liner summary of what you offer.
- Double-click the description text box to include your experience, education, and skills.
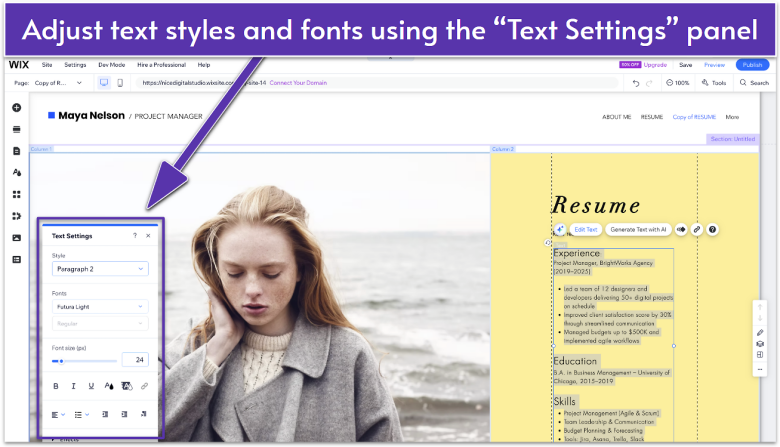
Feel free to adjust text styles and fonts using the Text Settings panel to match your personal brand.
Step 4. Add a Download Button
Add a button and link it to your resume PDF so visitors can download the full version.
Some About strips already include a button, but if you choose a layout that doesn’t (as in our example), you can easily add one. Go back to Method 1. Upload and Link a Resume File for step-by-step instructions.
Step 5. Check Mobile View
On mobile devices, text boxes and images may appear misaligned or too small. Always preview your resume section in the mobile editor to make sure it looks clean and easy to read before saving and publishing.
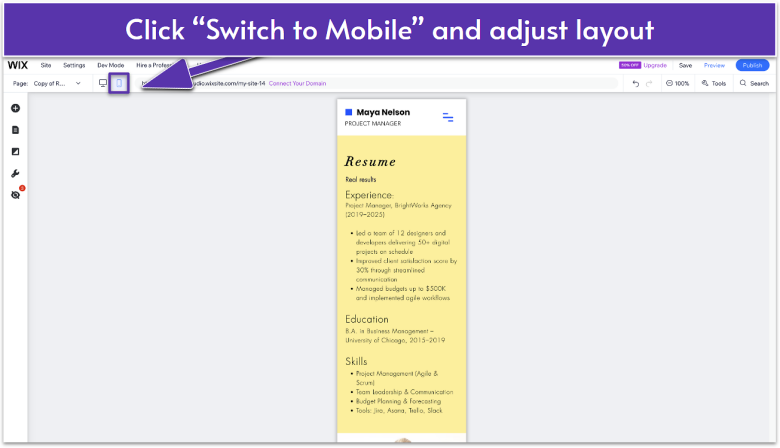
- Click the Mobile View icon to switch to the mobile editor.
- Adjust the design so your resume section looks neat on smaller screens. If needed, you can:
- Resize text boxes by dragging the edges or using the and buttons.
- Move text boxes and images to improve spacing and alignment for a balanced layout.
Showcase Your Experience with Ease
Adding your resume to your Wix site only takes a few minutes, and you’ve got three simple ways to do it. Whether you prefer a quick download button, a built-in PDF viewer, or a full resume section, each option makes your experience stand out. Pick the method that works best for you, and update your resume whenever your career grows.